As a manufacturer of acrylic sport surfaces, we are frequently asked how to paint a pickleball court. There are a few different levels and options, when it comes to painting your court, and each will result in different levels of cost and quality.
Option 1 | Painting a Pickleball Court
Acrylic surfacing products are specialized coatings that can be applied on asphalt or concrete surfaces. These coatings contain silica sand for non-slip texture. The fine sand in color coatings will provide surface texture, but not fill the pavement voids very well. If you just apply 2 coats of the textured color coatings, it will look decent, but you will see lots of surface voids and imperfections from the asphalt or concrete beneath. This will be similar to the surface of an orange peel, where you see the pores.
Option 2 | Resurfacing a Pickleball Court
We are using the term of resurfacing a pickleball court, to refer to the coating process and not resurfacing with pavement. In order to fill the pavement voids and provide the best prepared surface, generally one to two coats of Acrylic Resurfacer is ideal. This product is applied prior to the color coatings, and is designed to fill voids and add texture to the asphalt or concrete surface. Acrylic Resurfacer holds 14 to 15 pounds of sand, per gallon, and will fill the pavement voids to provide a tight, non-porous surface. This product followed by 2 coats of color will yield the best results.
Combination Sports Courts | Pickleball Paint
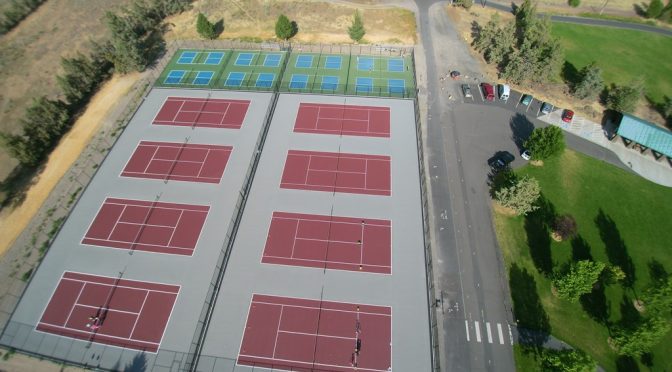
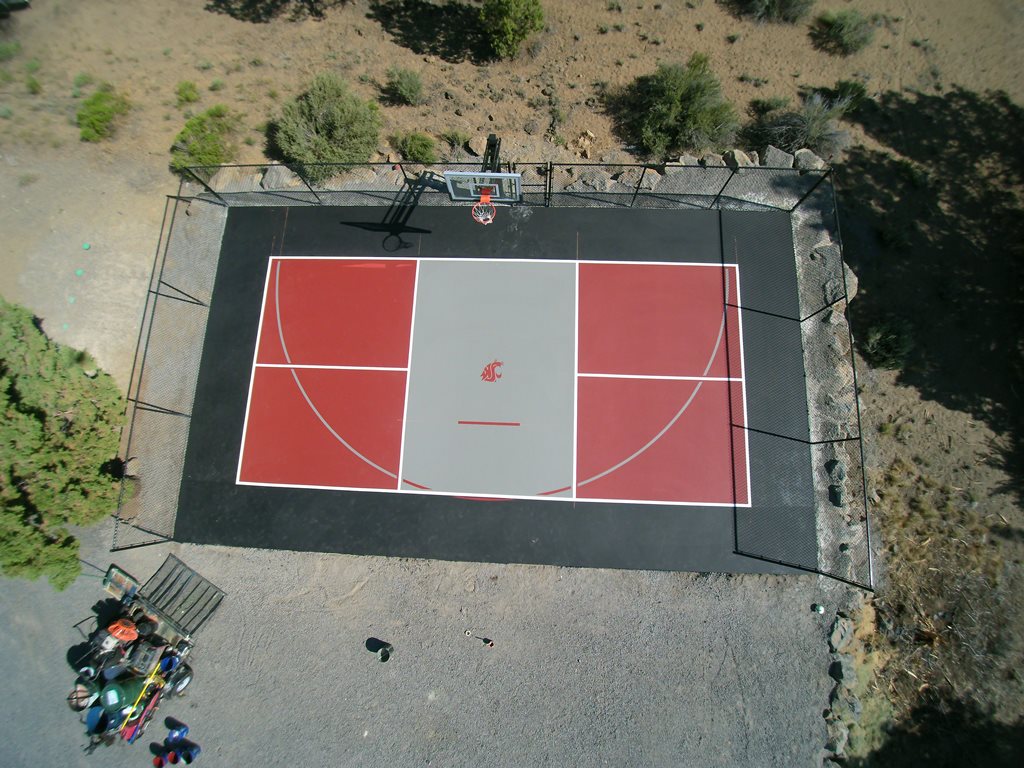
If you are painting a court for pickleball, it is easy to add blended lines for other sports too. A common trend is pickleball/basketball courts. These are courts that don’t take up a large footprint, so they can be squeezed into many areas like backyards, driveways, playgrounds, and more. You can use temporary nets for pickleball and then have the basketball goal on the courts edge.
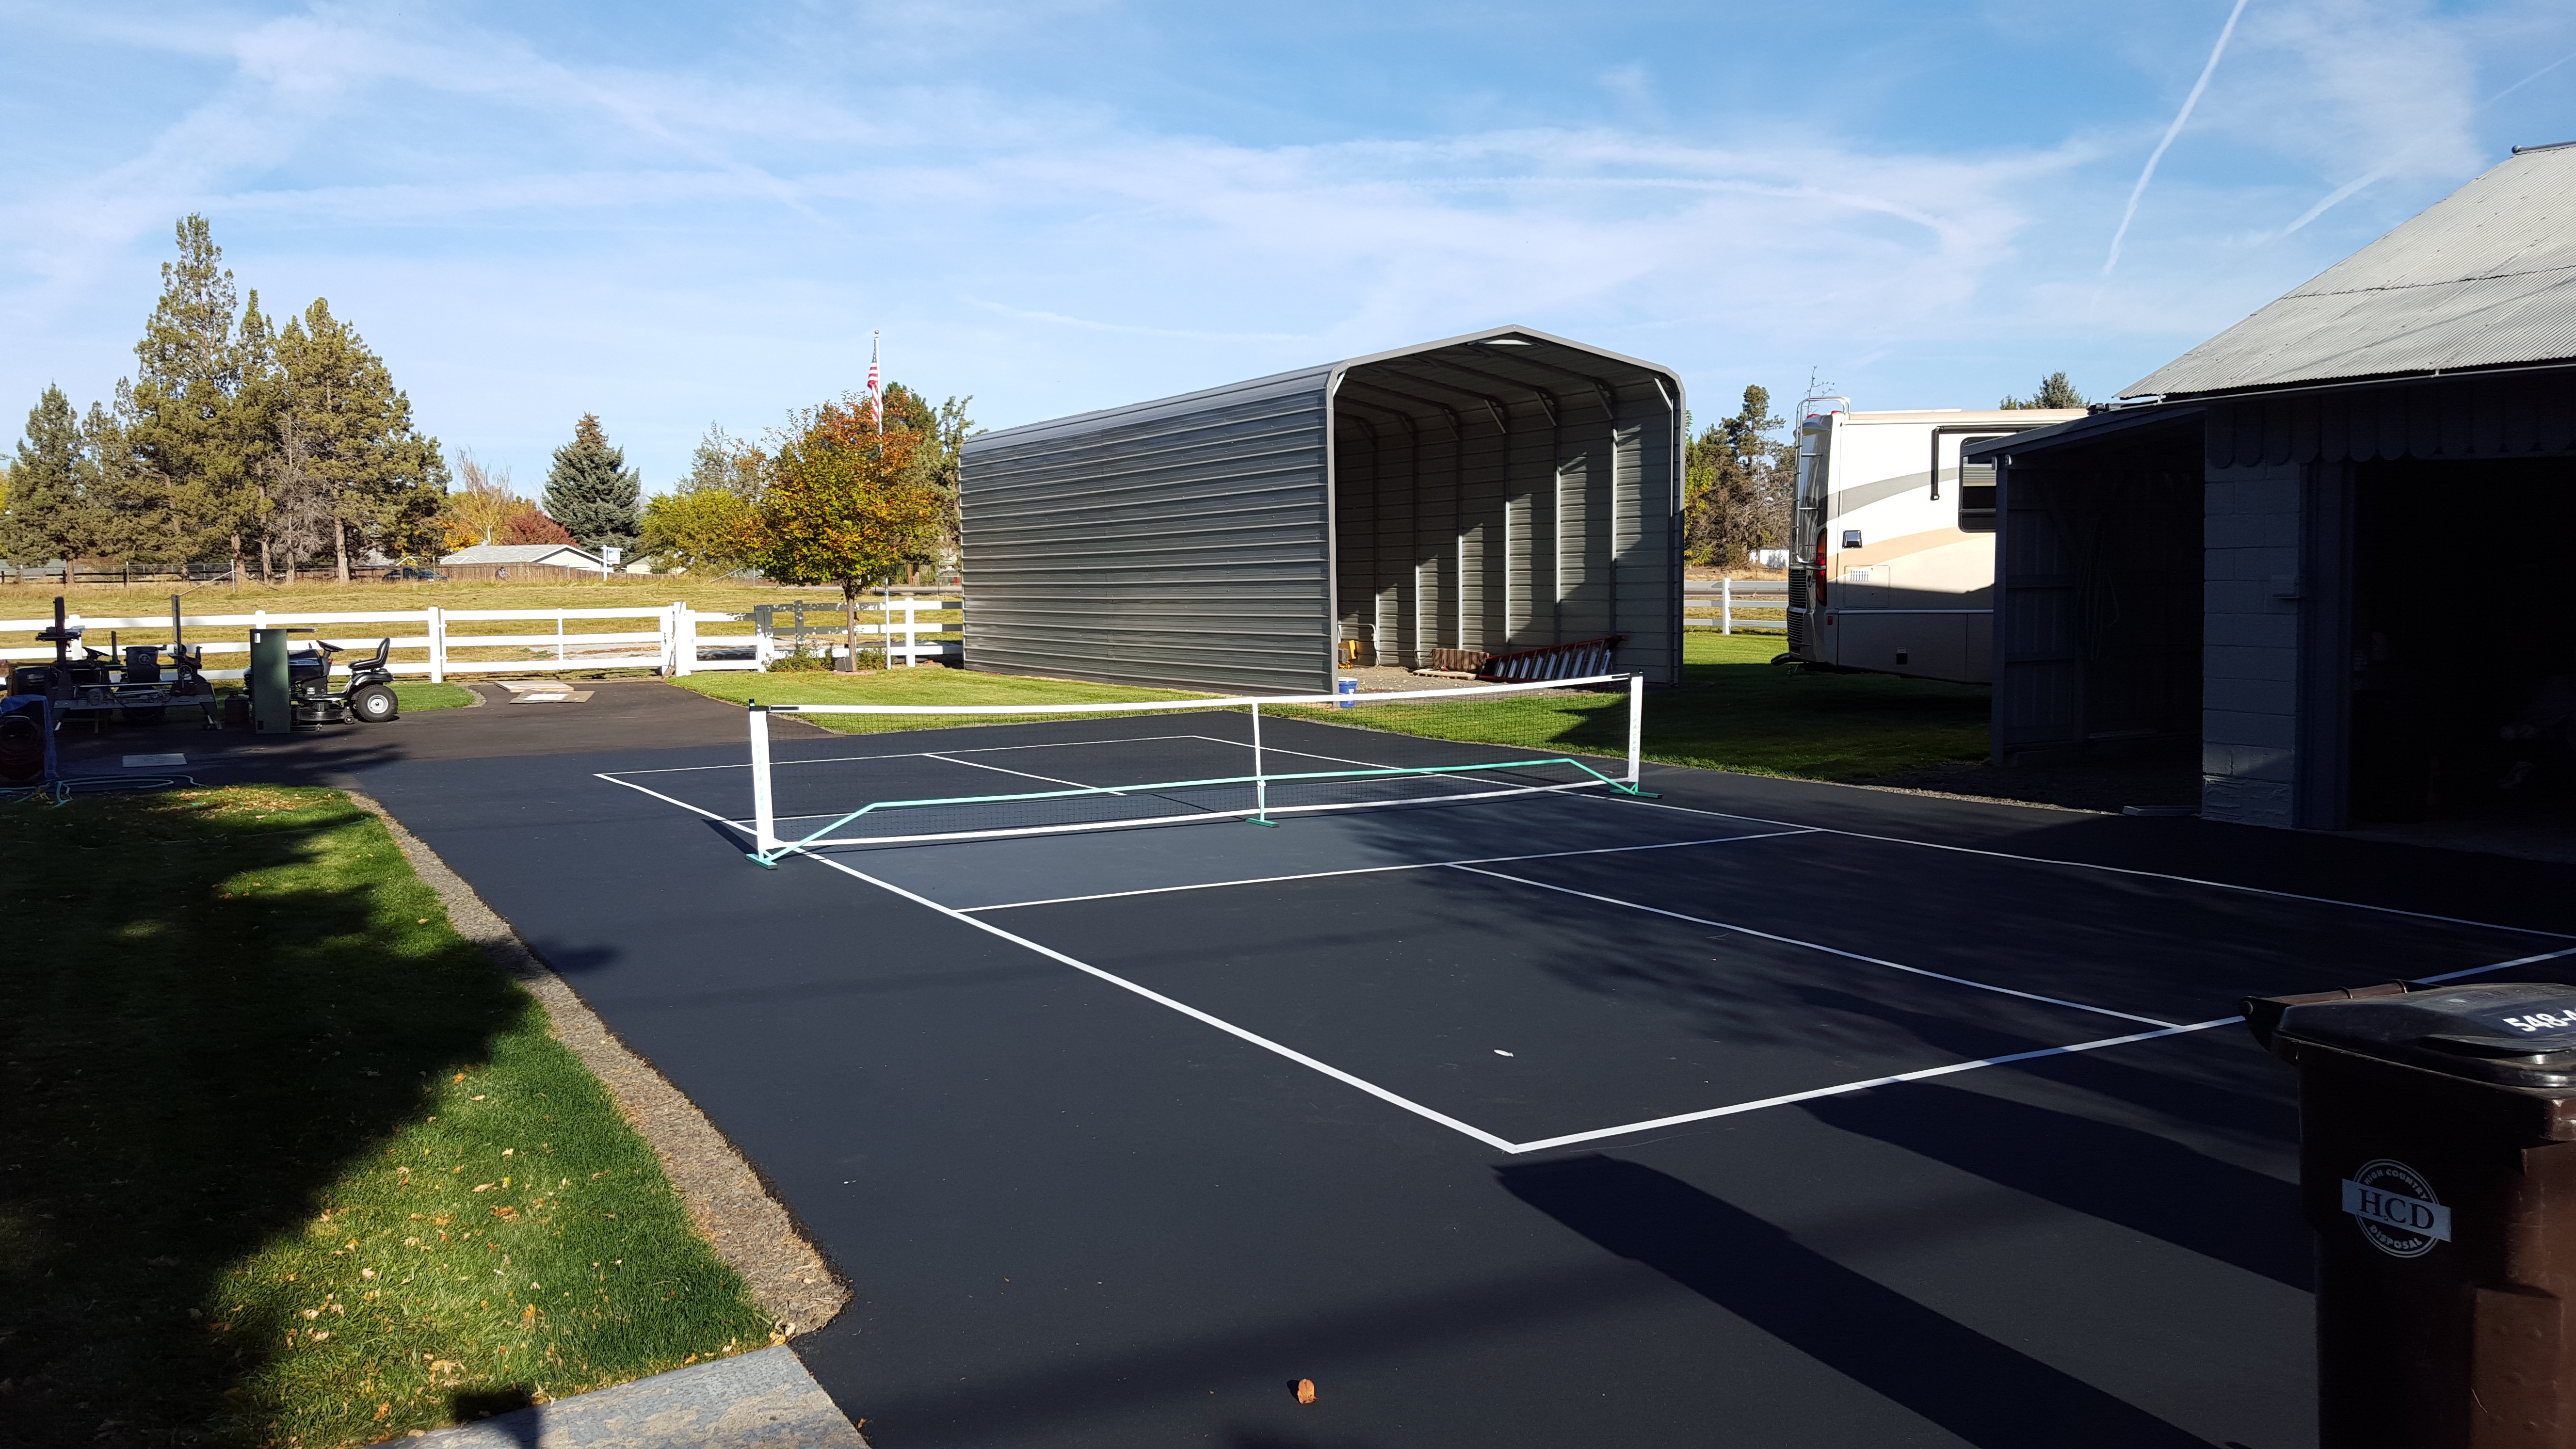
Here is a good example of a driveway pickleball court:
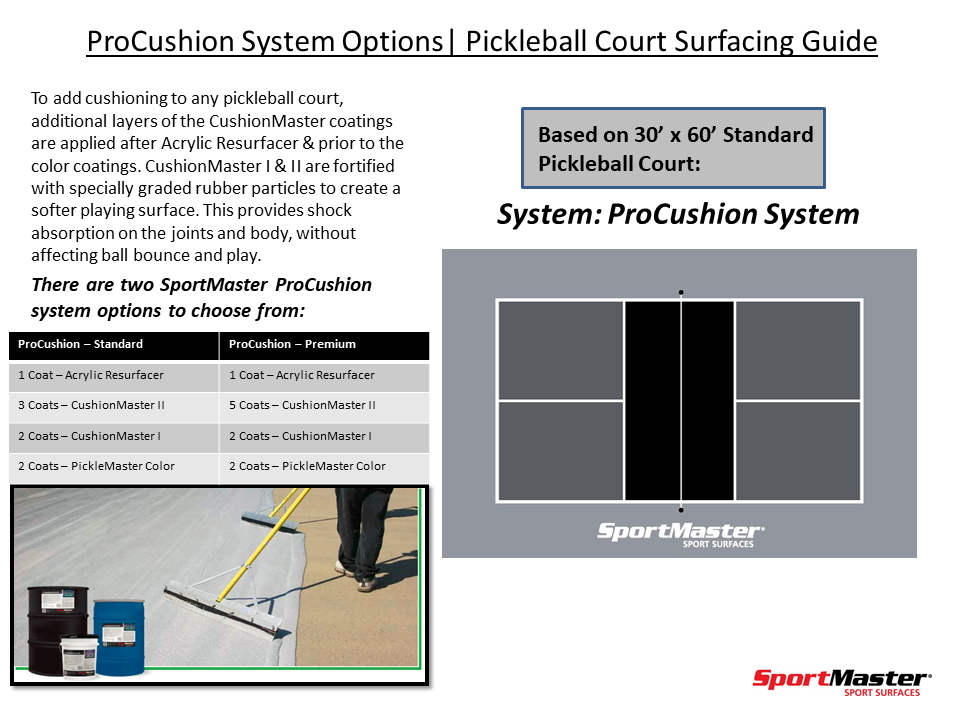
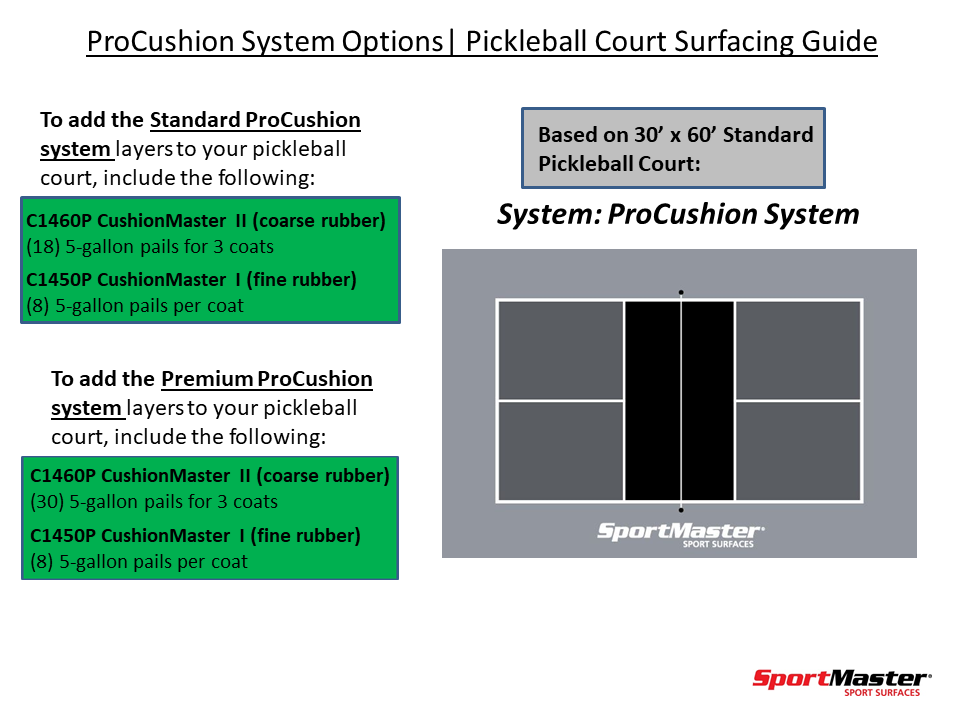
Cushioned Pickleball Courts | SportMaster ProCushion
A third option can be adding rubberized layers to get a cushioned pickleball court surface. Multiple layers of acrylic with small rubber granules are applied with a soft rubber squeegee, beneath the color coatings. This produces a pad of rubber under the court to absorb shock and improve player comfort. Make sure to ask the installer to provide an alternate quote for cushion, to see if it fits into your budget.
Free Estimates | Pickleball Court Contractors
In summary, painting a pickleball court can be performed with a roller, but best when applied with a sport squeegee. For best results, we also recommend hiring a qualified sport surfacing contractor. They are trained and best suited to apply sport coatings, and repair cracks, puddles, and other surface damage prior to the paint and coatings. Contact us today for referrals to experienced installers.
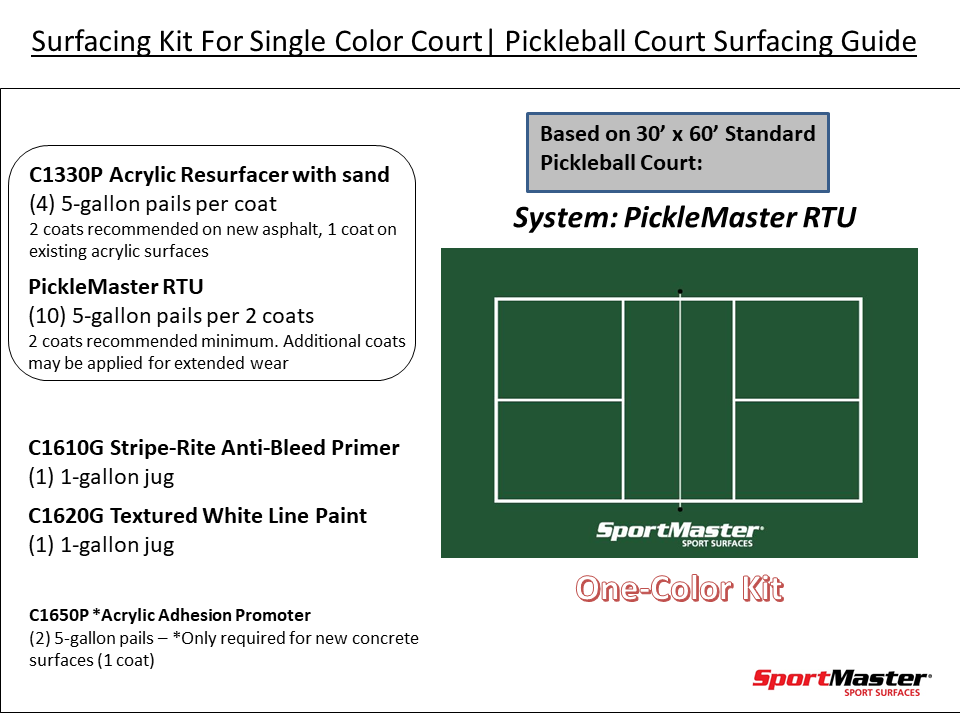
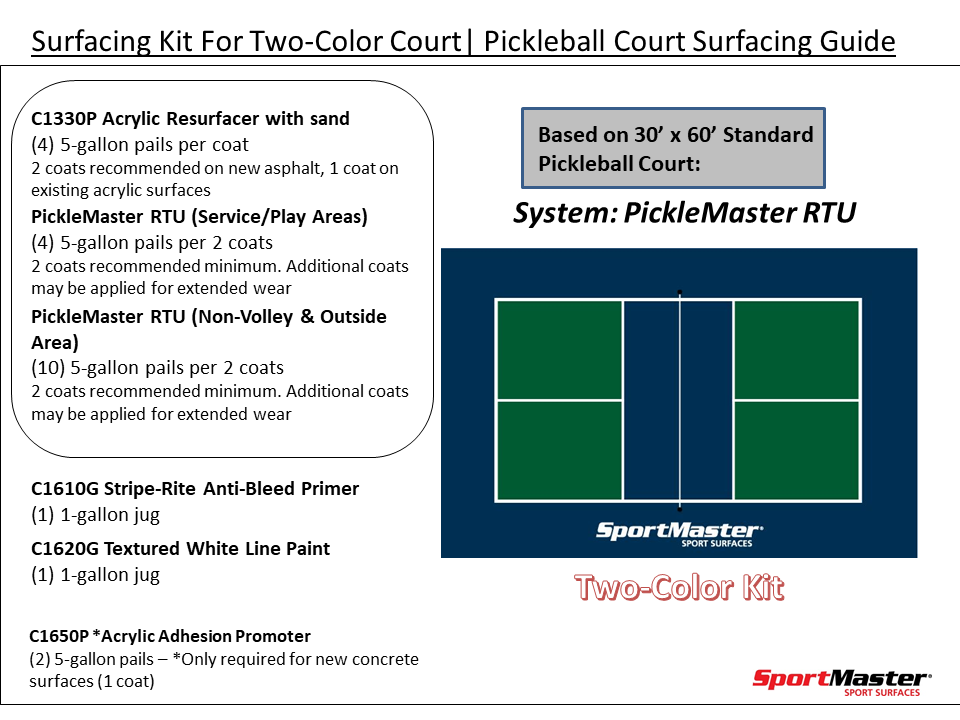
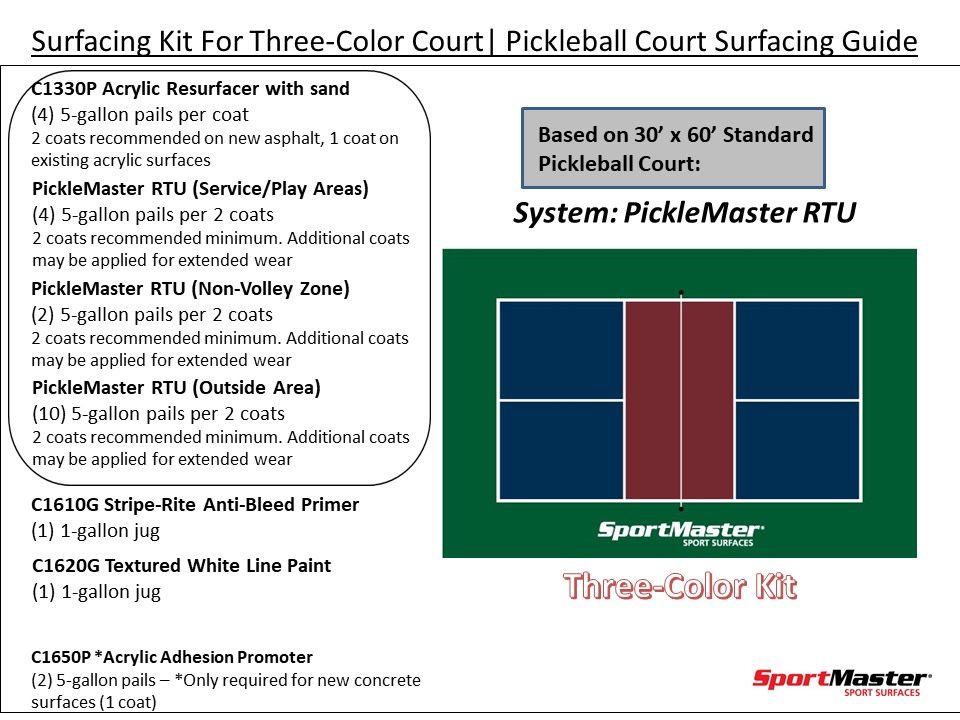
DIY Pickleball Surfacing & Paint Kits | PickleMaster
If you are up for the challenge of applying PickleMaster on your pickleball court surface, here are some material estimate kits. Each varies based on the number of color zones you prefer:
If you are interested in adding cushioning to your pickleball court, the SportMaster ProCushion layers can be installed beneath the PickleMaster surfacing layers to create a softer playing surface.