Tag Archives: pickleball

Should I Close My Recreational Courts For The Winter?

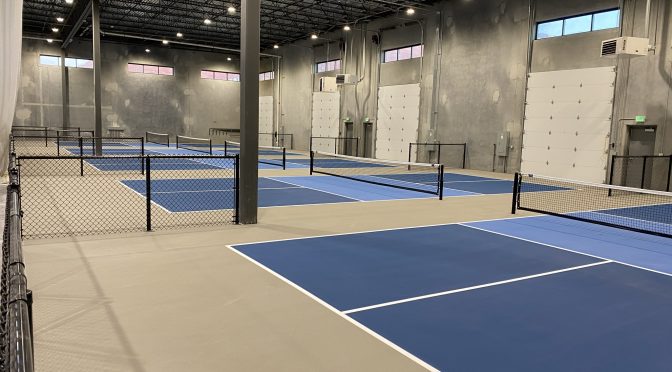
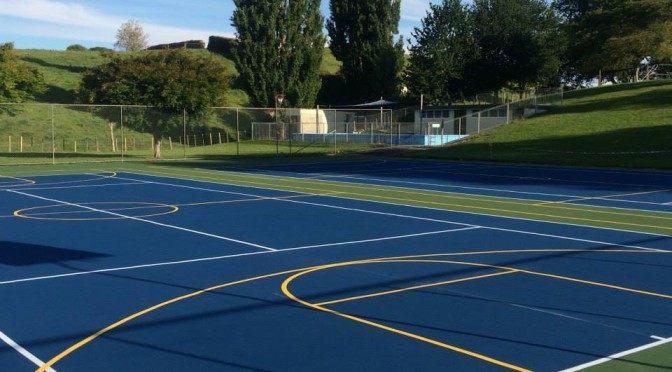
One of the most frequently asked questions, especially in northern climates, is: Should I close my recreational courts for the winter?  Once cured, acrylic court surfaces are very durable and require little maintenance.  However, below are some items to consider.

Basketball Court Winterizing

Does ice and snow damage acrylic court surfaces?

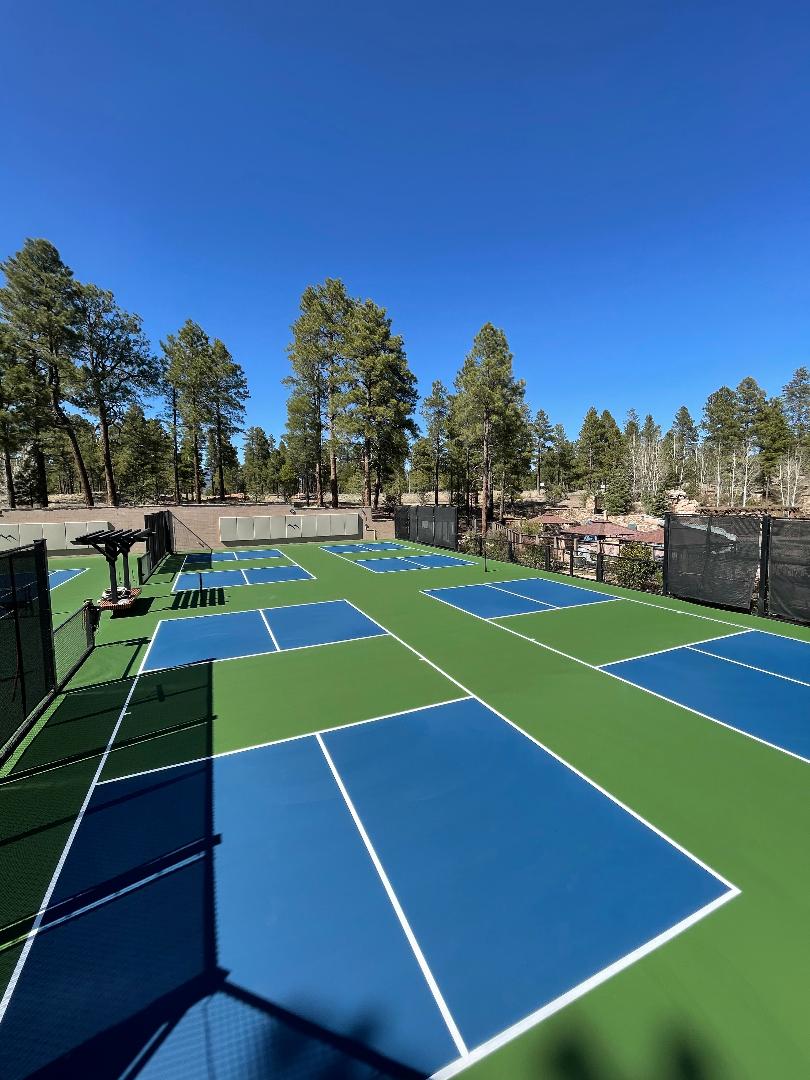
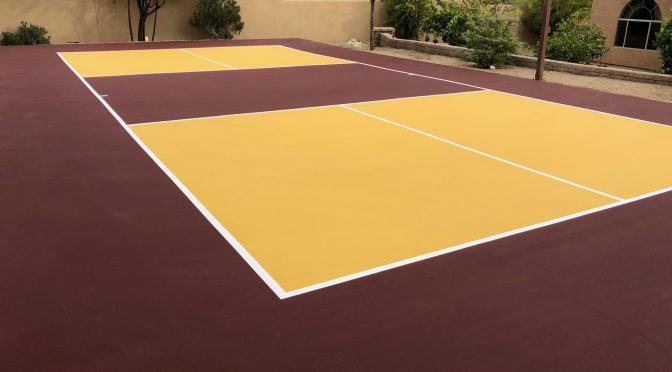
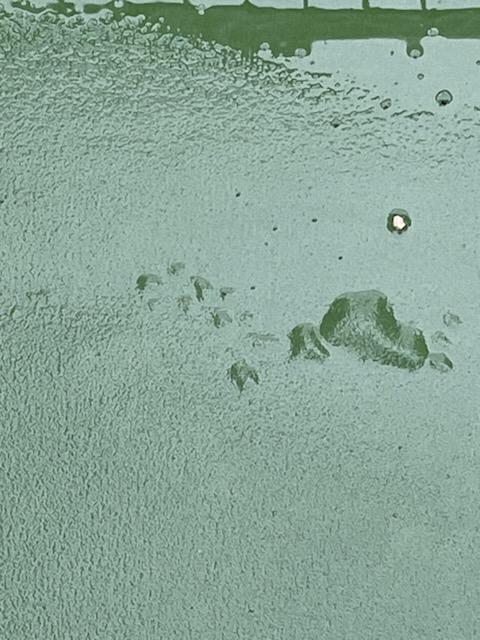
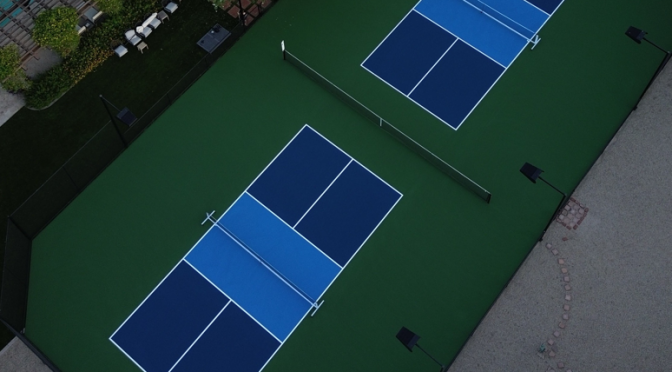
Athletic courts, like tennis, pickleball, and basketball courts, should be built with a 1% slope to allow positive drainage without creating difficult playing conditions.  This helps the court surface to dry quicker, but also to prevent water damage to the acrylic surfaces.  Acrylic court surfaces do not like to be submerged in water for long periods of time.  However, as long as the coatings have time to dry, water doesn’t affect the longevity.  Since ice and snow is in a sold state, it would not soak into the surface and cause damage as quickly as puddled water may do.

Snow Management & Debris | Winter Court Maintenance

The biggest issue with keeping your court open in the winter is snow management.  There is no problem with playing on courts when it is cold outside.  However, if you have piles of snow on the surface, here are a few things to keep in mind:

  • Try to limit physical removal of snow and ice. (Metal shovels and tools with a sharp edge can damage the surface.  Try to stick with plastic shovels or wait for snow to melt before playing.
  • Using salt or other granule-type snow melt products can lead to extra abrasion to the surface.  When playing on the courts, any debris under foot can damage or shorten the life of the coatings.
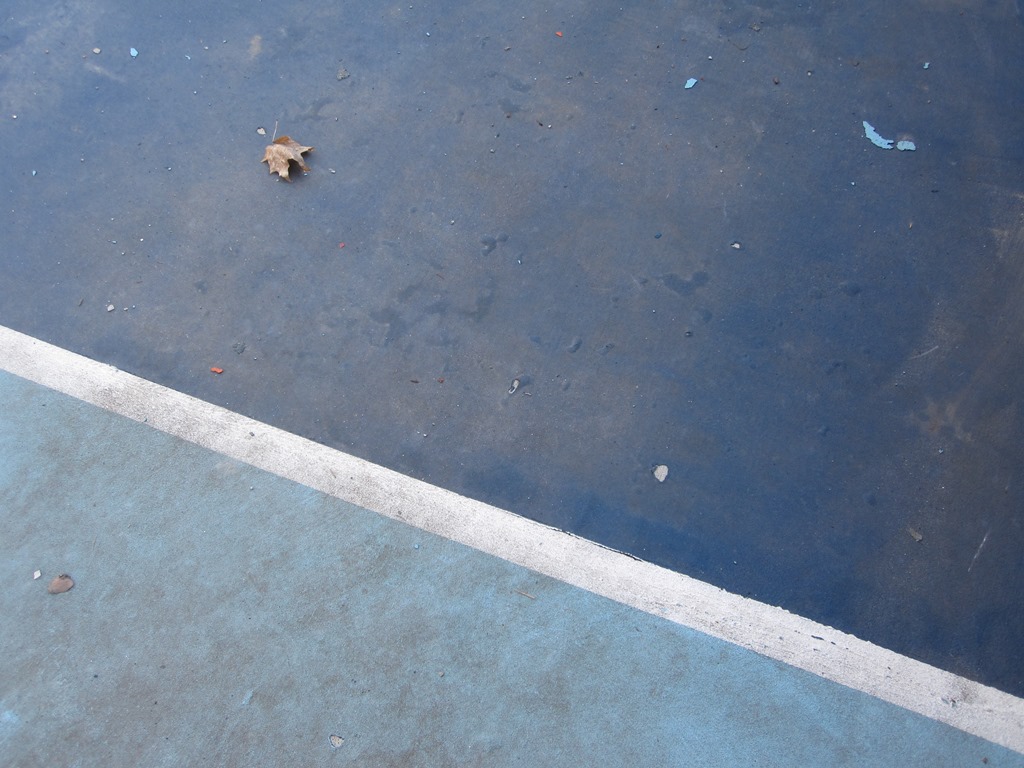
  • Make sure to also remove any debris that has fallen, like leaves or pine needles.  Not only does this minimize abrasion but it also prevents other organic staining or damage from wet rotting leaves.

Court Accessories During The Winter

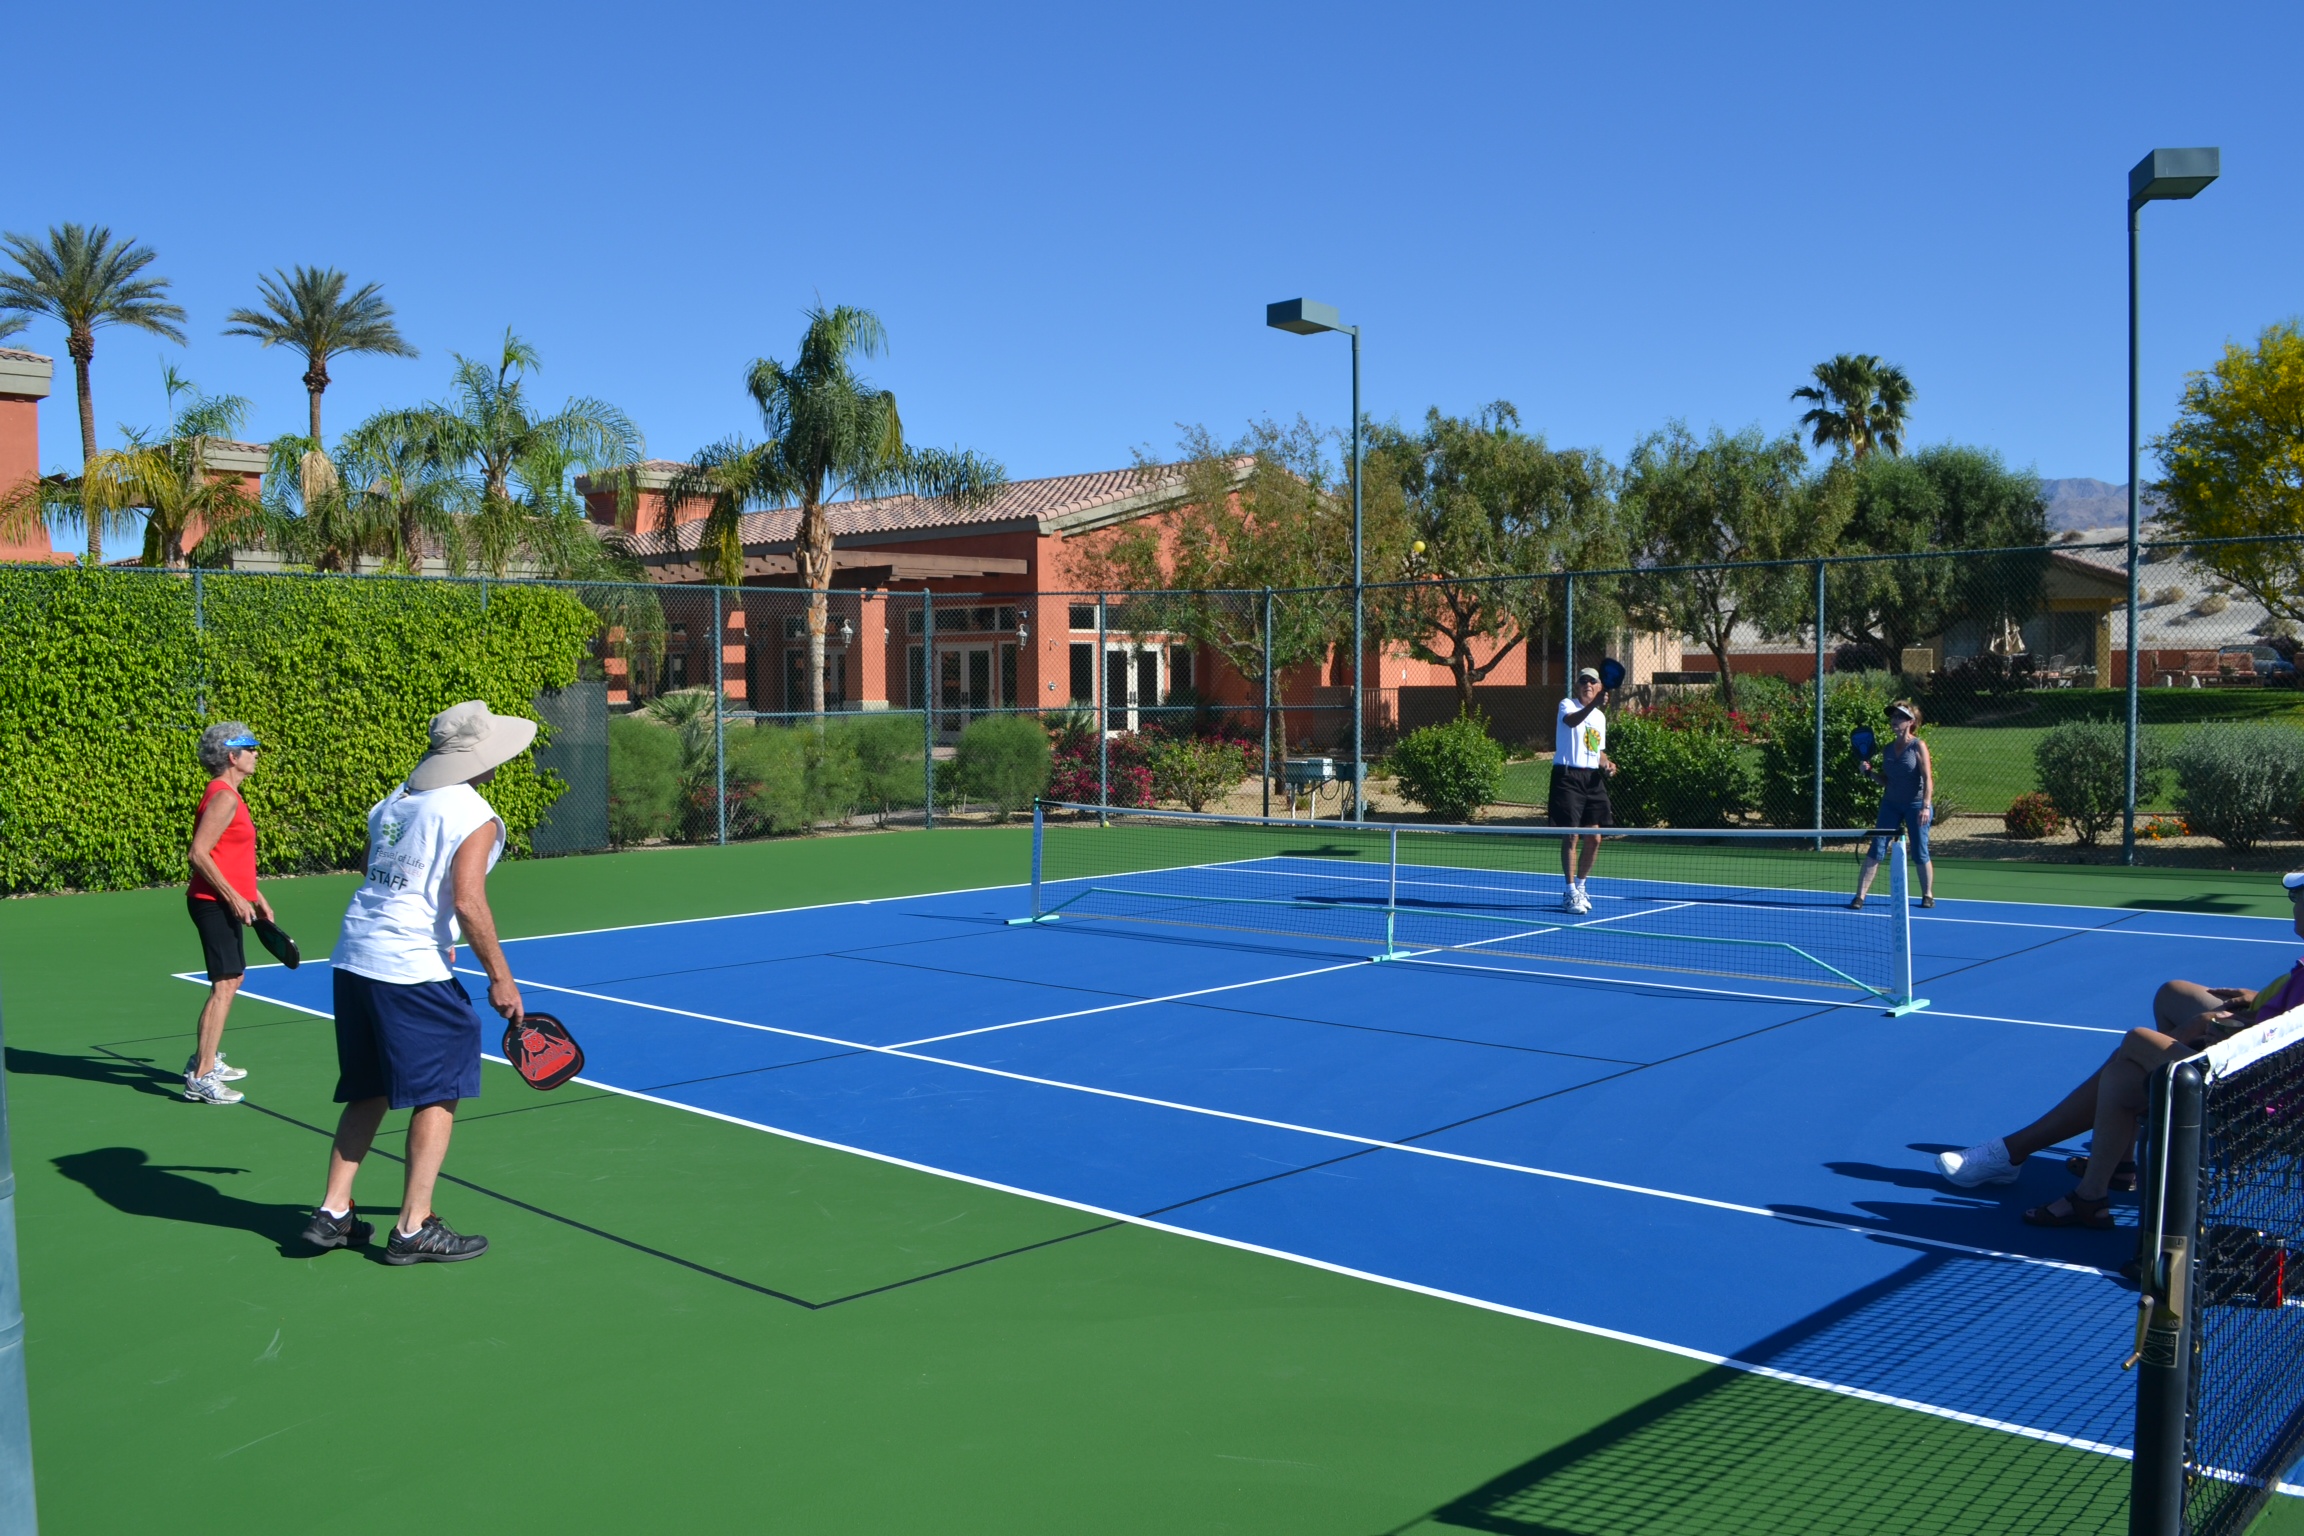
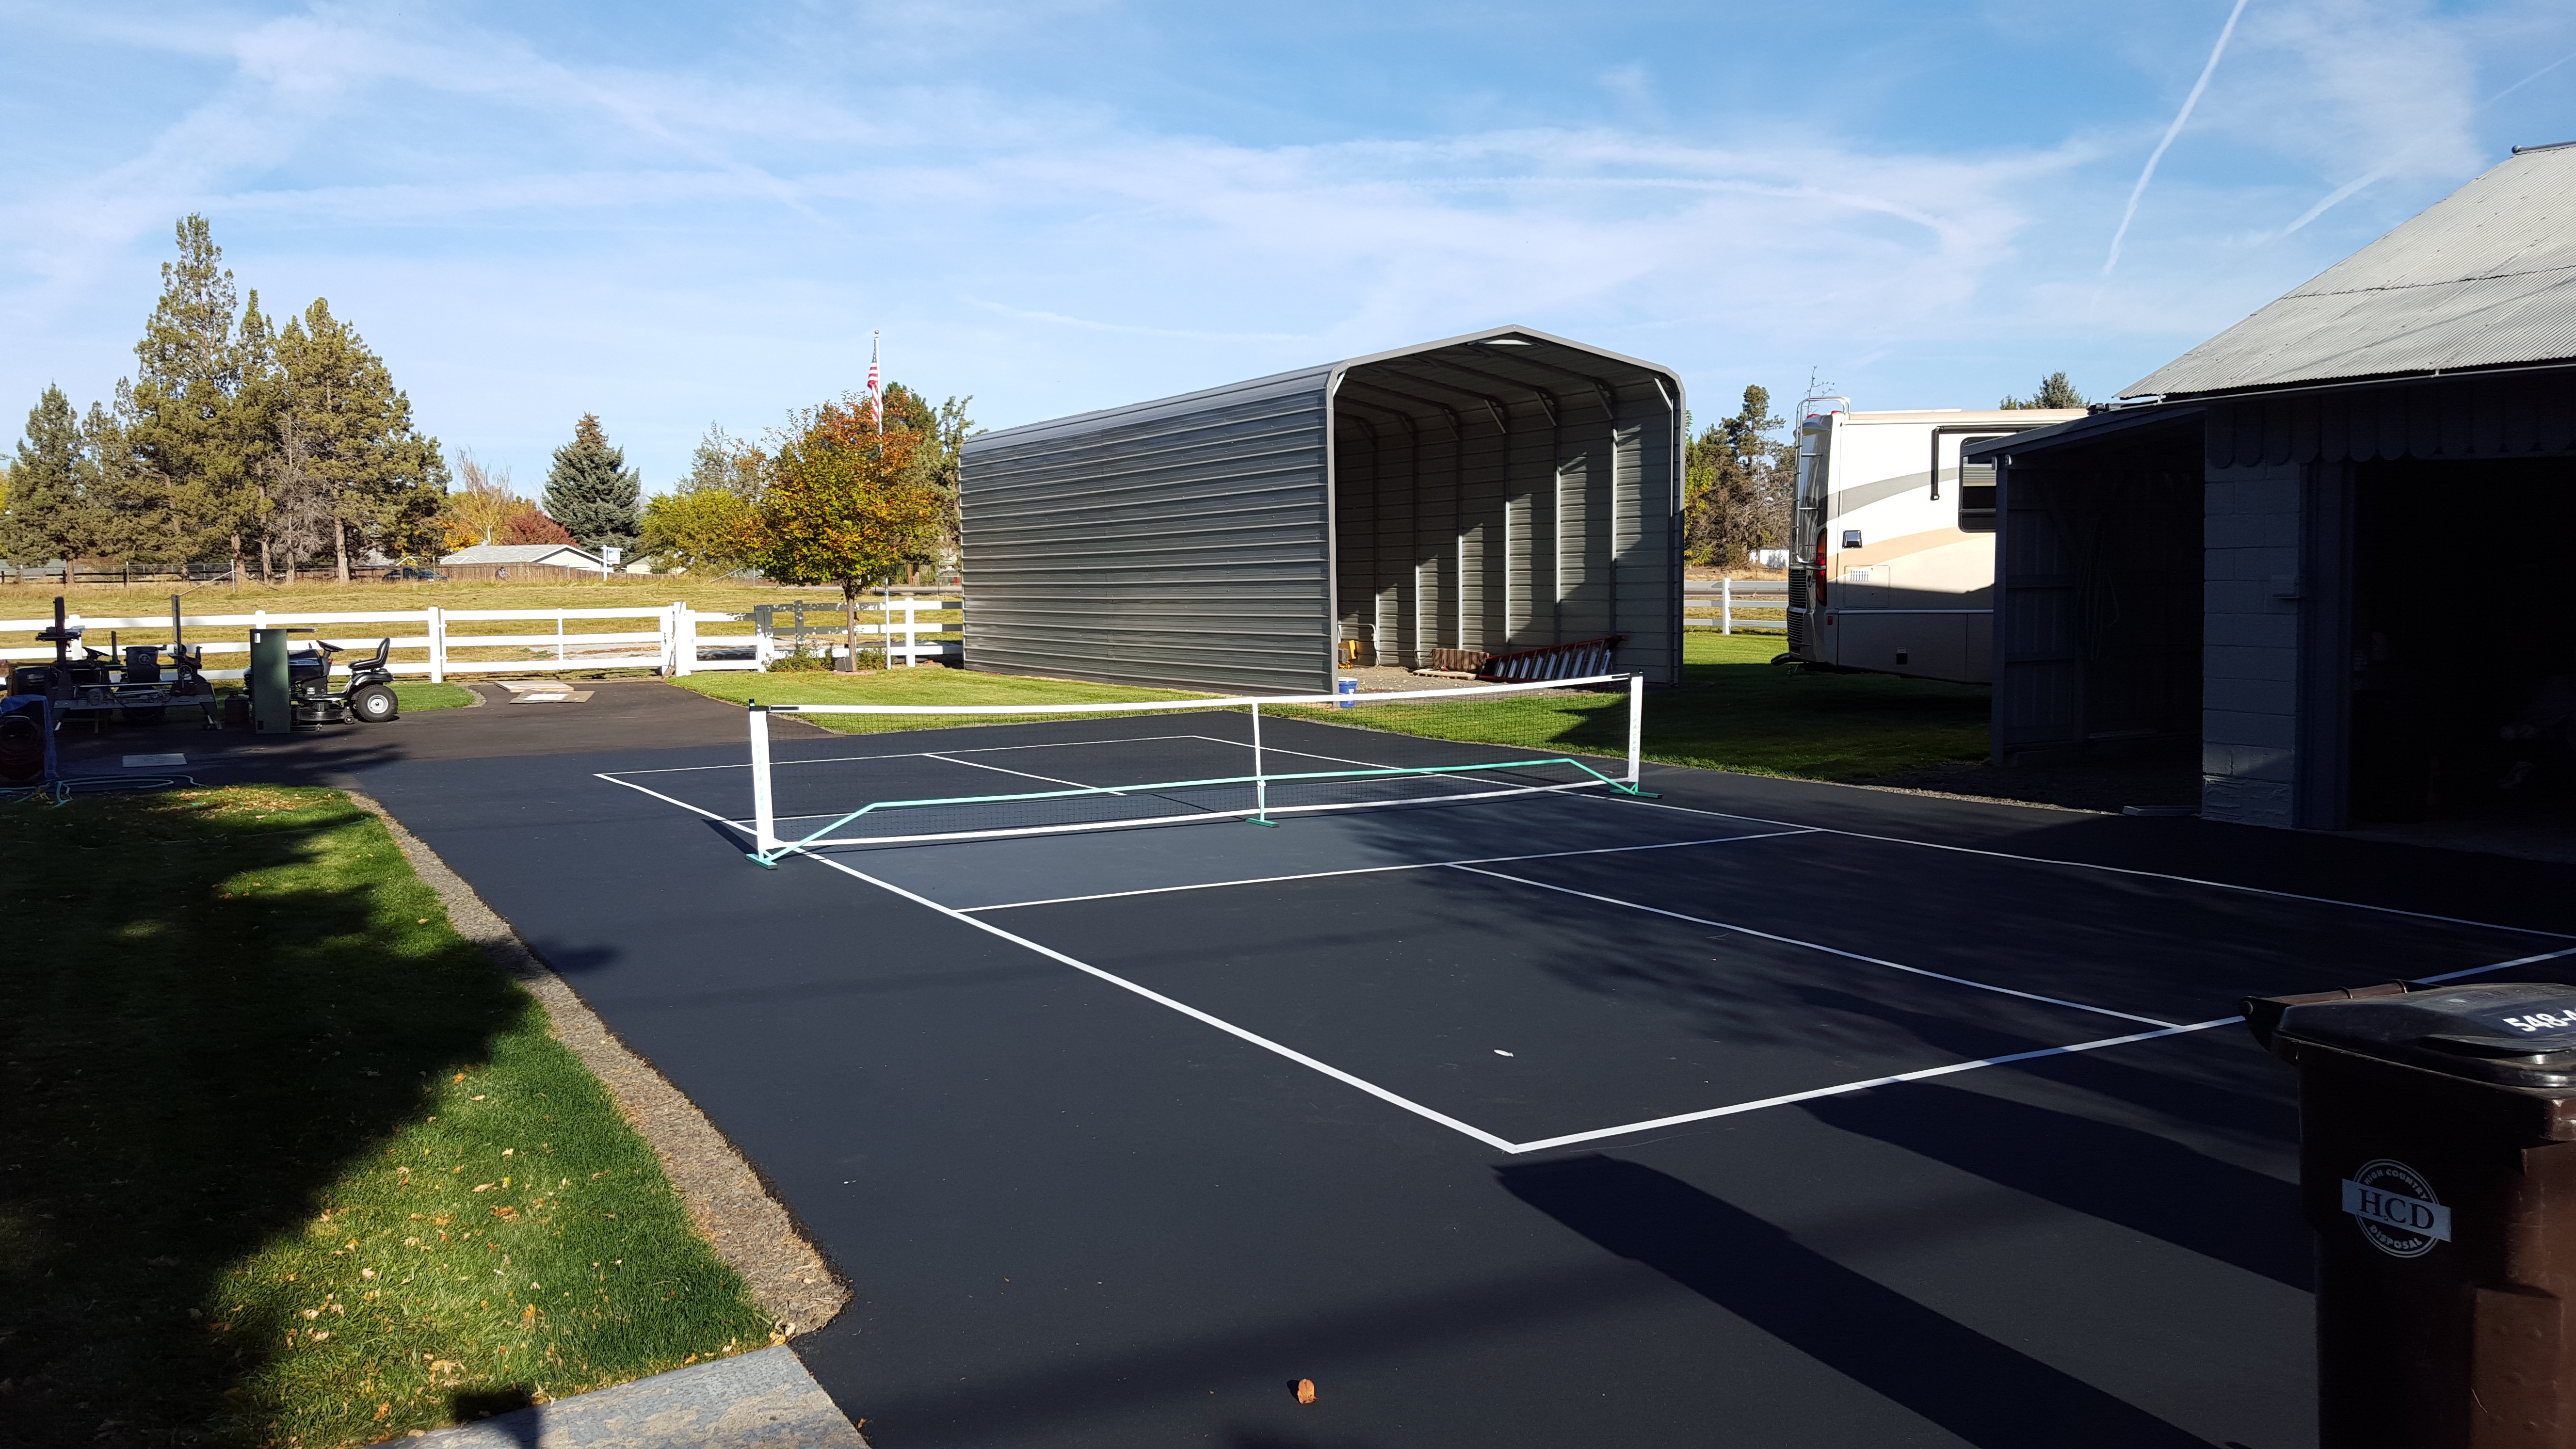
If you decide not to use your court during the winter, you may want to take down and store any windscreen that you are using.  This will help to prolong the life of windscreen.  If you decide to keep the tennis or pickleball nets up for winter play on nice days, you may want to reduce the tension on the net a bit.  Not enough to let it flap around in the wind, but a little tension relief can reduce extra strain on the net post footers and pavement during cold temperatures.  If you do decide to close your court for winter, remove the net and slide the tennis/pickleball posts out of the ground and cover the surface holes with a cap/plug.

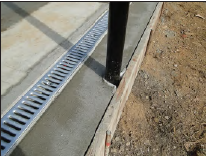
Maintaining Positive Court Drainage

As previously mentioned, it’s very important for court surfaces to drain and not hold water.  During the winter, and really throughout the year, keep an eye on the court and make sure that nothing is stopping the flow of your court drainage design.

  • Make sure any drains around the court are not plugged with debris, like fallen leaves from the fall.  This will prevent back-up of water onto the court surface.
  • Keep vegetation trimmed around the edges of the court, especially on the low end of drainage.  Failing to do so can also create a dam for positive drainage.
  • The court should be built up a bit so that water can flow off the court to the drainage plan.  Make sure dirt or other obstructions are lower than the court surface edge, as well.

Winterizing Tennis Courts

Winterizing Your Tennis or Pickleball Court

Regardless of your decision to keep your court open for play during the winter, here are some court winterizing tips (recap):

  • Before the weather gets too cold, make sure to examine your court surface for cracks.  Fill the cracks with an acrylic crack filler to minimize the flow of water into the base of the court.  The less water that you have freezing and expanding under the base, the longer your court will stay in good condition.  Make sure to make these repairs far before the nighttime lows dip past 50 degrees F / 10 degrees C.
  • Walk the perimeter of the court and make sure there is nothing blocking drainage on any side of the slab.  Ensure that any visible drains are not blocked or plugged with debris.
  • Keep the surface free of debris, such as leaves, pine needles, and all other tree matter.
  • If you choose to close the court for winter, remove the net.  Optionally, if your posts are removeable, you can slide them out and store them.  If you do remove them, plug the surface holes with a cap (all post manufacturers make caps for the sleeves).  If you leave the posts and nets up, take a little tension off the net during the winter.
  • Avoid using sharp or potentially damaging tools on the surface for snow removal.  Salt and snow melting pellets may shorten the life of the surface, so use sparingly and make sure to blow or broom off excess particles to minimize damage.

How To Properly Prepare Concrete For Sport Surfacing Athletic Courts

Athletic & recreational courts (tennis, pickleball, basketball, etc.) are built from either asphalt or concrete pavement.  The type of substrate used is normally determined by region, cost, preference, availability or site access.

Each substrate (asphalt or concrete) has its own set of requirements, when it comes to application of acrylic sport surfaces.  This bulletin will discuss how to properly prepare concrete for sport surfacing athletic courts.

Concrete Court Construction

When it comes to proper concrete court construction, there is a long “to-do” list.  As with anything, there is always a good, better, best list of what to do and why it is important.  If you are considering having a recreational court built, we recommend getting a copy of the American Sports Builders Association’s construction & maintenance manual.  They publish and sell these for tennis or pickleball, which is also useful for basketball and other sports.  That being said, we will reference a short list of the most important factors, prior to application of acrylic surfaces.

New Concrete Pickleball Court

Install Vapor Barrier

Prior to pouring the concrete slab, a vapor barrier should be installed to prevent upward migration of ground moisture.  This normally consists of two sheets of 6 mil polyethylene plastic sheeting, laid in opposite directions.  Make sure it is overlapped and taped at the joints.  The vapor barrier is on top of the stone base and under the concrete slab.

Ensure Adequate Perimeter Drainage & Slope

Another very important factor, when trying to minimize water accumulation under the concrete slab, is good perimeter drainage.  If one or both of these items are lacking (vapor barrier & perimeter drainage), your court surface could be in danger of bubbles or blisters in the coating.  In most cases, this will lead to peeling of coatings and bare spots down to the concrete.  Court surfaces should be sloped at 1% in one direction, which is 1″ fall in every 10 feet.  This helps to keep water flowing off the court and ensures fast drying surfaces and less standing water.

Medium-broom Finish or Similar Surface Texture

When pouring and finishing the concrete, make sure that the concrete contractor applies a medium-broom finish on the surface of the concrete.  This is very important to a good physical bond of the sport coatings.  A steel-troweled finish is too smooth and will also raise the chances of peeling surfaces.  If the concrete is already in place and doesn’t have a medium-broom finish, you can use specialized equipment to achieve sufficient texture.  The most commonly used piece of equipment is a shot blaster.  For more information, check out our dedicated page on shot blasting concrete court surfaces.

Medium Broom Finish Concrete Court
Medium Broom Finished Concrete Court

Allow Full Cure Before Coating Application

The curing process of concrete is a chemical reaction that takes 28 days to complete.  During the process, quite a bit of water is escaping from the slab and depositing high-alkaline salts on the surface.  It is important to allow a full 28 day minimum cure, prior to moving forward with coating application.  Also, after the full cure and prior to application of coatings, the concrete slab must be acid etched (or acid washed).  This helps to create a neutral PH on the surface for an ideal chemical bond of coatings.  This is fully explained on our page, acid etching concrete sport surfaces.

One more note on curing, avoid using curing compounds on concrete court surfaces.  Once the concrete is poured, it will instantly begin to losing water via evaporation.  If the temperatures are hot, water will leave the wet slab quickly, and this could lead to surface cracking (like mud cracking in a puddle).  To prevent this, most concrete contractors spray curing compounds on the surface to slow down the evaporation of water.  Many curing compounds are made up of oil based or incompatible materials that can leave a residue on the the concrete surface.  This residue, or film, can potentially cause a bond breaker and lead to failure of the acrylic sport coatings.  To avoid this situation, make sure the concrete contractor moisture cures the slab.  This is performed by keeping the slab wet after pouring, with a covering of moistened burlap, a polyethylene sheet, or other curing paper.  After 7 to 10 days, it can be allowed to dry and cure under normal conditions without the keeping the slab moist.

Not sure if curing compounds have been used, or you know they have been used?  The surface can be shot blasted to remove any bond-breaking films.  Note, you can pour a small amount of water onto the concrete slab to see if water beads up on the surface.  If it does, there is likely a curing compound or sealant on the surface.

Application Of Concrete Primer & Sport Surfaces

At this point, the concrete slab should be ready to receive the sport surfacing system.  Once the surface is clean and dry, apply one coat of SportMaster Acrylic Adhesion Promoter.  This product acts as a concrete primer and helps the SportMaster color coating system adhere to the concrete.  It also helps to lock down potential concrete powder, or efflorescence,  that may migrate into the color coating “paint” layers and leave a hazy color hue.

Concrete Primer for Sport Surface
Acrylic Adhesion Promoter being applied on concrete court surface

After the Acrylic Adhesion Promoter dries, Acrylic Resurfacer and the colored surface coatings can be applied.  There is no special timing required with Acrylic Adhesion Promoter.  The successive coatings can be applied as soon as it is dry to the touch, or on another day thereafter.

One or two coats of Acrylic Resurfacer is usually sufficient to fill broom patterns and concrete surface texture on a new concrete court surface.  Follow that with SportMaster color coatings, 2 coats minimum, and striping to complete the new concrete recreational court surfacing.

New Concrete Pickleball Surface Preparation

Shot Blasting Concrete Sport Surfaces | Tennis – Pickleball – Basketball

A shot blaster is a machine that is commonly used to create a texture, or profile, on concrete.  There are various sizes of “shot” that can be used in these machines.  Shot blasters propel the shot particles, or media, onto the surface and suck it back in to create texture.  Our coating systems, and many other coatings, need some texture on the surface to create a good physical bond.  We recommend concrete being finished with a medium-broom finish, as opposed to a smooth trowel finish.  Sometimes this doesn’t happen, so the best way to get a good texture profile is to shot blast the smooth surface.

Shot Blasted Area Concrete
Shot Blasted Concrete Area

This is also a good way to “open up” the concrete and remove potential curing compounds or surface residue that can cause bonding issues.

Shot Blast Profile For Tennis, Pickleball, and Basketball Court Surfaces

The shot blast industry has a shot blast profile chart that lists various levels of texture, created by the shot blast.  It also ties each of the texture levels to a recommended thickness of coating system.  In other words, the thicker the coating system build, the more texture needed on the surface.  Our sport coating systems, based on the average thickness and factoring in multiple resurfacings over time, work well over a shot blast profile of CSP3 or CSP4.  Don’t worry, if the shot blaster profile turns out with a little too much, Acrylic Resurfacer will fill in and hide the voids.   This may require extra coats, but better to have more than less for good physical adhesion.

Shot Blast Profiles For Sport Surfaces & Courts

Where To Find Shot Blasters For Court Surfaces

Shot blasters come in various sizes and are commonly rented at equipment rental stores.  Many times, flooring contractors that apply epoxy and polyurethane (industrial coatings) own these machines.  It may be best to hire and/or subcontract this work to contractors with experience to get past the learning curve.  They usually have larger ride-on models that get it done quickly, too.

Applying Sport Coatings on Concrete Surfaces | Specifications

To see the SportMaster engineering specification, which includes the basic steps of the process,  click on the link below.  This will open a .pdf version of the document.

Applying Sport Surfaces On Concrete

Visit our full page for more information on proper preparation of concrete sport surfaces.

Acid Etching Concrete Sport Surfaces

Sport and game courts are as popular as ever, especially with the extreme growth of sports like pickleball and continued popularity of basketball, tennis and multi-sport games and courts.

SportMaster has a multitude of durable and vibrant acrylic surfacing systems that are designed for asphalt or concrete courts.   Each substrate has a somewhat different approach to preparation, prior to application of the sport surfaces.  We are going to discuss a common step that is required when coating concrete courts for the first time.  This process is called acid etching or acid washing.

What Is Acid Etching? | Concrete Court Surfacing

Acid etching is the process of pouring a mixture of water and acid on a fully cured concrete slab.  Generally, either muriatic or phosphoric acid is used, but muriatic is a bit easier to find.  In a nutshell, acid etching promotes an ideal environment for chemical bond of coatings to concrete.  If done properly, acid etching only has to be performed once.  If a concrete slab has not been acid etched or coated, even years after it was built, it’s always a good idea to do it.

What is acid etching?

Why do I Need To Acid Etch My Concrete Court Surface?

Concrete goes through a chemical curing process after it is poured. It takes 28 days for a concrete slab to completely cure. There is a good bit of water in the concrete mix and as the concrete is curing, water is continuously wicking and evaporating upward and out of the slab.  As the water is migrating upward, it brings efflorescence, or salts, that reside in the concrete.  After the initial curing phase is complete, there is a crust of efflorescence on the surface of the concrete.

Lesson In PH & Surface Chemistry

PH, or “potential of hydrogen” is the scale of acid vs base.  The PH scale goes from 0 to 14, whereas 0 is very acidic and 14 is very basic (alkaline).  For ideal chemical adhesion, coatings prefer a neutral environment.  This would be 7 on the PH scale.  When concrete cures, the surface crust or salt deposits, are very high in alkaline (a PH around 13.5).  The process of acid etching neutralizes the high alkaline crust and brings the surface PH back to neutral.  The acid washing process also helps to break down and rinse away the powdery efflorescence.  This also prevents flaking or peeling of coatings & migration of powder into the color coatings resulting in a cloudy appearance.

Concrete Sport Surface PH

How To Acid Etch A Court | Pickleball – Basketball – Tennis

In this section, we will outline how to acid etch a concrete court surface.  But first, here are a few pointers:

  • Make sure to acquire and wear adequate safety gear, when working with acid.  Thick rubber gloves, safety glasses, and relevant clothing and boots.  Avoid breathing in the direct fumes of concentrated acid and ensure that you have plenty of air flow when inside.
  • As a general guideline, it should take around 2 to 3 gallons of acid to etch a smaller court, like a 30′ x 60′ pickleball court & around 8 to 9 gallons for a full tennis court (60′ x 120′).
  • Protect any sensitive plants or surrounding materials around the border of the court.  Even though you will be rinsing off acid that is very diluted and has already reacted with the surface, it’s a good idea to minimize contact as much as possible.

Step 1:  Spray water on the court to dampen the surface.  This helps the mixed acid and water to flow and better penetrate the surface.

Step 2:  Properly mix the acid and water, following the dilution measurements on the acid bottle.  There should be directions for “masonry etching” on the bottle instructions.  Remember to fill the empty bucket with water first and then pour the correct amount of acid into the water.  This helps to prevent splashing of acid.

Pouring Acid Into Water

Step 3:  Pour the acid & water mixture onto the concrete, working in small areas or sections at a time.  If you’re able to have a helper, have the 2nd person immediately broom the solution around with a push broom to make sure the acid comes into contact with every square foot of concrete.  Make sure that you don’t pour the acid mixture and expect it to span a long distance.  Instead, pour around a small zone in a tight “s” pattern to ensure direct contact with the surface.  Since the acid mixture reacts instantly with concrete, the potency diminishes as it spreads.

Pouring and Brooming Acid Concrete

You will notice a cloudy appearance in the liquid and minor bubbling reaction, which means the acid is working to neutralize the surface salts.

Acid Neutralizing Concrete


Step 4:  As you move on from section to section, you will notice the reaction dissipates in the previously treated area.  At that point, you can rinse those areas off to flush surface contaminants and  move the neutralized acid solution off the court surface.  If possible, it’s best to start on the high end of the court and slowly move all of the water toward the low end of drainage.  If possible, try to keep the entire court damp throughout the process, which keeps the sediment from sticking to the surface.

Step 5:  After you have etched the entire court surface, and rinsed away most of the remaining acid mixture and sediment, it’s always good to do a final rinse of the entire surface.  This ensures a completely clean surface, free to any potential acid or other contaminants.  If you’re indoor and don’t have available drains, a floor cleaner machine can be used for a good final cleaning.

Rinse Surface Clean Water

*Remember to protect and avoid adjacent concrete areas that are not receiving the sport coatings, as the acid can create a different color or appearance to exposed concrete.  This is hidden when coatings are applied over the acid etched play areas.

Acid Directly On Concrete

Common Misconception About Acid Etching

Many people think that acid etching creates a physically textured surface for the coating to adhere.  This is not the case, as the actual purpose was established earlier in this bulletin.  It is still very important for the concrete surface to have a medium-broom finish or similar.  That is very important for physical adhesion of coating systems.  Remember, the two most importance factors for good adhesion of sport coatings is:

  • A good surface texture/profile for physical adhesion
  • Neutral surface PH for excellent chemical adhesion


Multi Sport Backyard Courts

Multi sport backyard courts are a great way to optimize space in your backyard, driveway, or playground.  With the onslaught in popularity of Pickleball, there has been a demand for smaller courts and combination courts to accommodate players.  In areas where the interest in Pickleball exceeds tennis, blended lines are added in another color so that the courts can be used for both sports.

Pickleball Courts with Blended Lines


Another option is to use your driveway for double duty, as you may already do for basketball, and add coatings and blended lines for pickleball and you’ve really got a multi use court.Driveway Pickleball Court


Playgrounds are also underutilized. Many times, there are large areas behind schools that are plain asphalt blacktop. Acrylic sport surfaces can provide a lighter, cooler surface to play basketball, volleyball, pickleball, and many other games. The lightly textured surfaces are also safer, especially when conditions are damp and potentially slippery on normal pavement.

Game Courts


SportMaster also makes a special color coating for higher wear areas, including areas with moderate traffic from vehicles, bikes, and more aggressive play. The system is called ColorPave, and there are a few different variations. The ColorPave system was recently used at the new Facebook campus in Menlo Park, CA, in their under-building parking garage.
ColorPave Red Asphalt Color

ColorPave is also ideal for high-wear, multi sport surfaces and driveway basketball and pickleball court areas.  Bike lanes, zoos, amusement parks, and other specialty asphalt colored areas can also benefit from a coating system like ColorPave.

If you are thinking about building a new multi sport court or have an existing pavement area or sports court, we can put you in touch with an experienced sport surfacing contractor.  They can perform a site visit to evaluate your project and provide a free estimate.  Not sure what you want, our installers can provide recommendations based on the available space you have and on your sport and activity preferences.

How Do You Paint A Tennis Court?

If you ask any professional house painter they will tell you, “In hard times, everyone is a painter.”  But if you have ever hired a professional house painter, you will see that they make the job look much easier and better in much less time than the average home owner.  Hiring a professional tennis court painter, or sport surfacing contractor, is the smartest move you will ever make!

Just because it looks like paint and kind of smells like paint, doesn’t mean you apply it the same way.  Tennis court coatings are heavy-bodied and fortified with specialty sand and aggregate.  So, how do you paint a tennis court?  The only good way to apply these coatings is with a specialized tennis court application squeegee.  Using a paint roller on a hot day, in the full sun, on coatings that hold up to 15 pounds of sand per gallon can make a real mess.  Plus, if you’ve never applied coatings with a squeegee, you are in for a not-so-good surprise.  Especially, if you are attempting to paint a two-color court.  Experienced tennis court resurfacing contractors may paint anywhere from 50 to 400 tennis courts in a season.  They have plenty of practice and have the skills to squeegee two different colors that are only separated by a 2″ line, without going over into the other color area.  Not to mention, multiple coats within the same day.

Over the years, many do-it-yourselfers have attempted to paint their own courts with a variety of results.  The vast majority will never do it again and even needed to hire a professional surfacing company to fix their attempt.  Here is just a short list of reasons why it is cheaper and easier to have an experienced tennis court contractor paint or resurface your tennis, basketball, or sports court:

  • Tennis court contractors buy concentrated coatings in large volumes and have better pricing on materials than DIY.
  • Sport contractors have all of the necessary tools and experience to do the job right and quickly.
  • Court contractors also have a specialized line taping machine for layout of straight and curved lines, prior to striping.
  • Most sport contractors have a variety of methods and systems for crack repair, including installation of patented membrane repair systems which require factory training.
  • Construction alternatives: If standard acrylic repair materials cannot address the repairs, tennis court construction companies can offer more permanent repair or reconstruction.

If it is time to paint or resurface your tennis, basketball, or pickleball court and you are looking for a qualified sport surfacing contractor, contact us.  We can put you in touch with experienced installers that can provide free estimates on a professional and affordable court repair, resurfacing, or construction project.


What causes bubbles or blisters on a tennis court surface?

Bubbles and blisters on a tennis court surface, or other coated sport surface, are fairly common.  This is usually a result of improper tennis court construction or malfunction of the drainage system. When sub-surface water becomes excessive and is not properly drained away from the court, it can breathe through the slab in a vapor form and create hydrostatic pressure under the coatings.  This pressure builds more in weaker surface areas and creates a blister or bubble.  When the blister is raised, water vapor stretches the coating film and slowly breathes through to escape.  After most of the water pushes through, blisters usually lay back down and disappear until the next rain or precipitation event.  It’s important to note that excessive watering (sprinklers) around the court edge can also lead to blistering problems.  That being said, it’s very important to minimize accumulation of water beneath the court slab.

bubbles blisters pickleball court surface
Bubbles or Blisters on Court Surface

How Do I Get Rid of Bubbles and Blisters on a Tennis Court Surface?

In order to take care of the bubbles and blisters, long term, you will need to do some investigating.  Start by making sure any and all drains around the tennis court are free of debris or anything that would prevent proper flow of drainage water.  You may want to enlist the help of an architect or excavation professional in order to evaluate the current drainage system and see if it was installed properly, or at all.  If the court substrate is concrete, you must ensure the following:

  • Was a vapor barrier installed beneath the court when poured?
  • Are there perimeter drains that can take the water away from the court when it runs off after a rain? (Important that water is intercepted on all side of the slab, to prevent water beneath the court)
  • Was the concrete allowed to cure for 28 days, prior to coating?
  • Was the concrete surface acid etched to neutralize the alkalinity and balance the PH?
  • Were any curing compounds used on the concrete?
Court Surface Edge Drain
Surface-type drain – good for the low court edge


The American Sports Builders Association (ASBA) maintains construction guidelines for asphalt and concrete tennis court and sport surfaces.  Ensure that the construction of the court meets their guidelines and find out from the tennis court builder if they followed the ASBA recommendations.  This may help you figure out why the blisters are occurring.  If you are still not sure what to do, feel free to fill out the contact form on this page and we can put you in touch with a SportMaster recommended, tennis court builder.  They can perform a free site visit with you and provide feedback and estimates for repair, resurfacing, or re-construction. You can view our Engineering Specification for Athletic and Recreational Surfacing on our SportMaster site.

Tennis Court Blisters