Tag Archives: Tennis Court Resurfacing

How To Properly Prepare Concrete For Sport Surfacing Athletic Courts

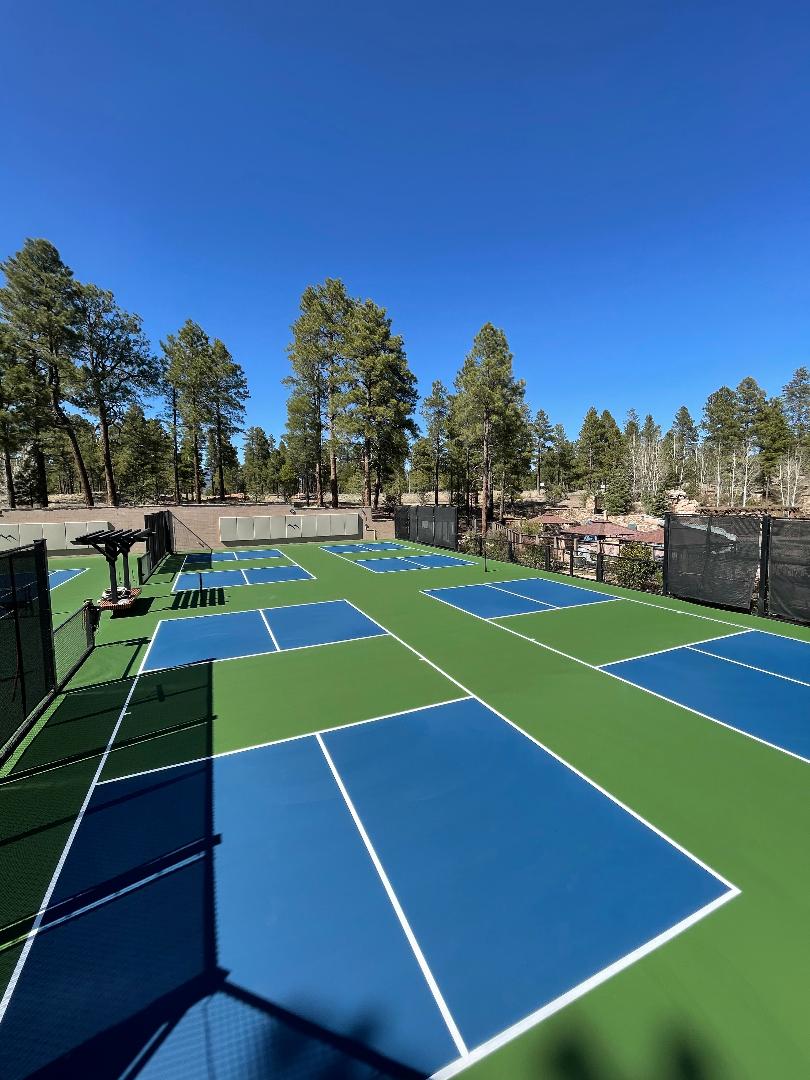
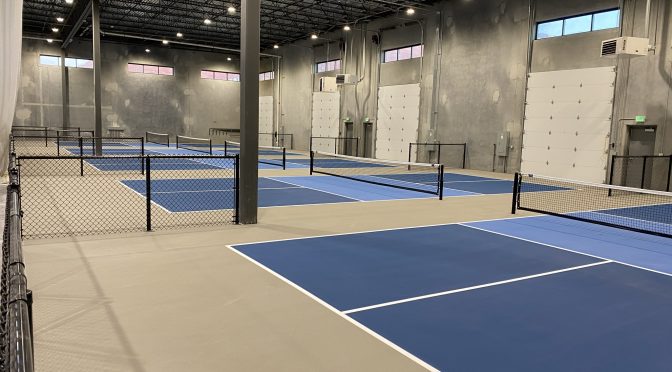
Athletic & recreational courts (tennis, pickleball, basketball, etc.) are built from either asphalt or concrete pavement.  The type of substrate used is normally determined by region, cost, preference, availability or site access.

Each substrate (asphalt or concrete) has its own set of requirements, when it comes to application of acrylic sport surfaces.  This bulletin will discuss how to properly prepare concrete for sport surfacing athletic courts.

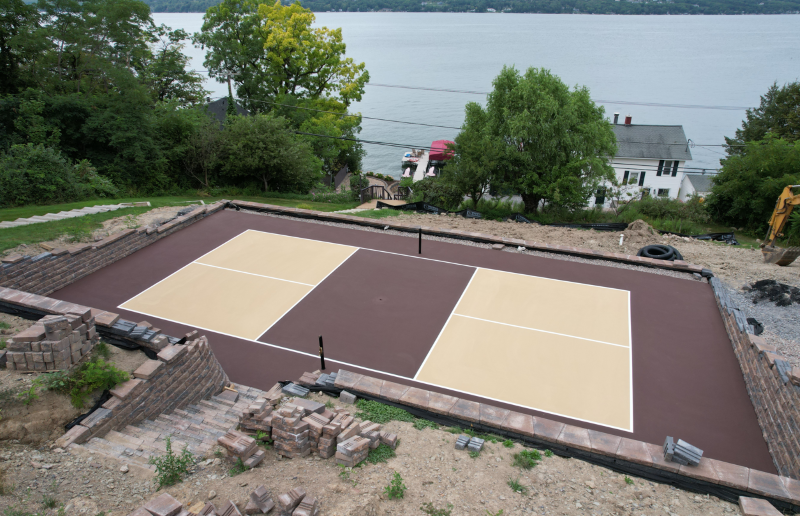
Concrete Court Construction

When it comes to proper concrete court construction, there is a long “to-do” list.  As with anything, there is always a good, better, best list of what to do and why it is important.  If you are considering having a recreational court built, we recommend getting a copy of the American Sports Builders Association’s construction & maintenance manual.  They publish and sell these for tennis or pickleball, which is also useful for basketball and other sports.  That being said, we will reference a short list of the most important factors, prior to application of acrylic surfaces.

New Concrete Pickleball Court

Install Vapor Barrier

Prior to pouring the concrete slab, a vapor barrier should be installed to prevent upward migration of ground moisture.  This normally consists of two sheets of 6 mil polyethylene plastic sheeting, laid in opposite directions.  Make sure it is overlapped and taped at the joints.  The vapor barrier is on top of the stone base and under the concrete slab.

Ensure Adequate Perimeter Drainage & Slope

Another very important factor, when trying to minimize water accumulation under the concrete slab, is good perimeter drainage.  If one or both of these items are lacking (vapor barrier & perimeter drainage), your court surface could be in danger of bubbles or blisters in the coating.  In most cases, this will lead to peeling of coatings and bare spots down to the concrete.  Court surfaces should be sloped at 1% in one direction, which is 1″ fall in every 10 feet.  This helps to keep water flowing off the court and ensures fast drying surfaces and less standing water.

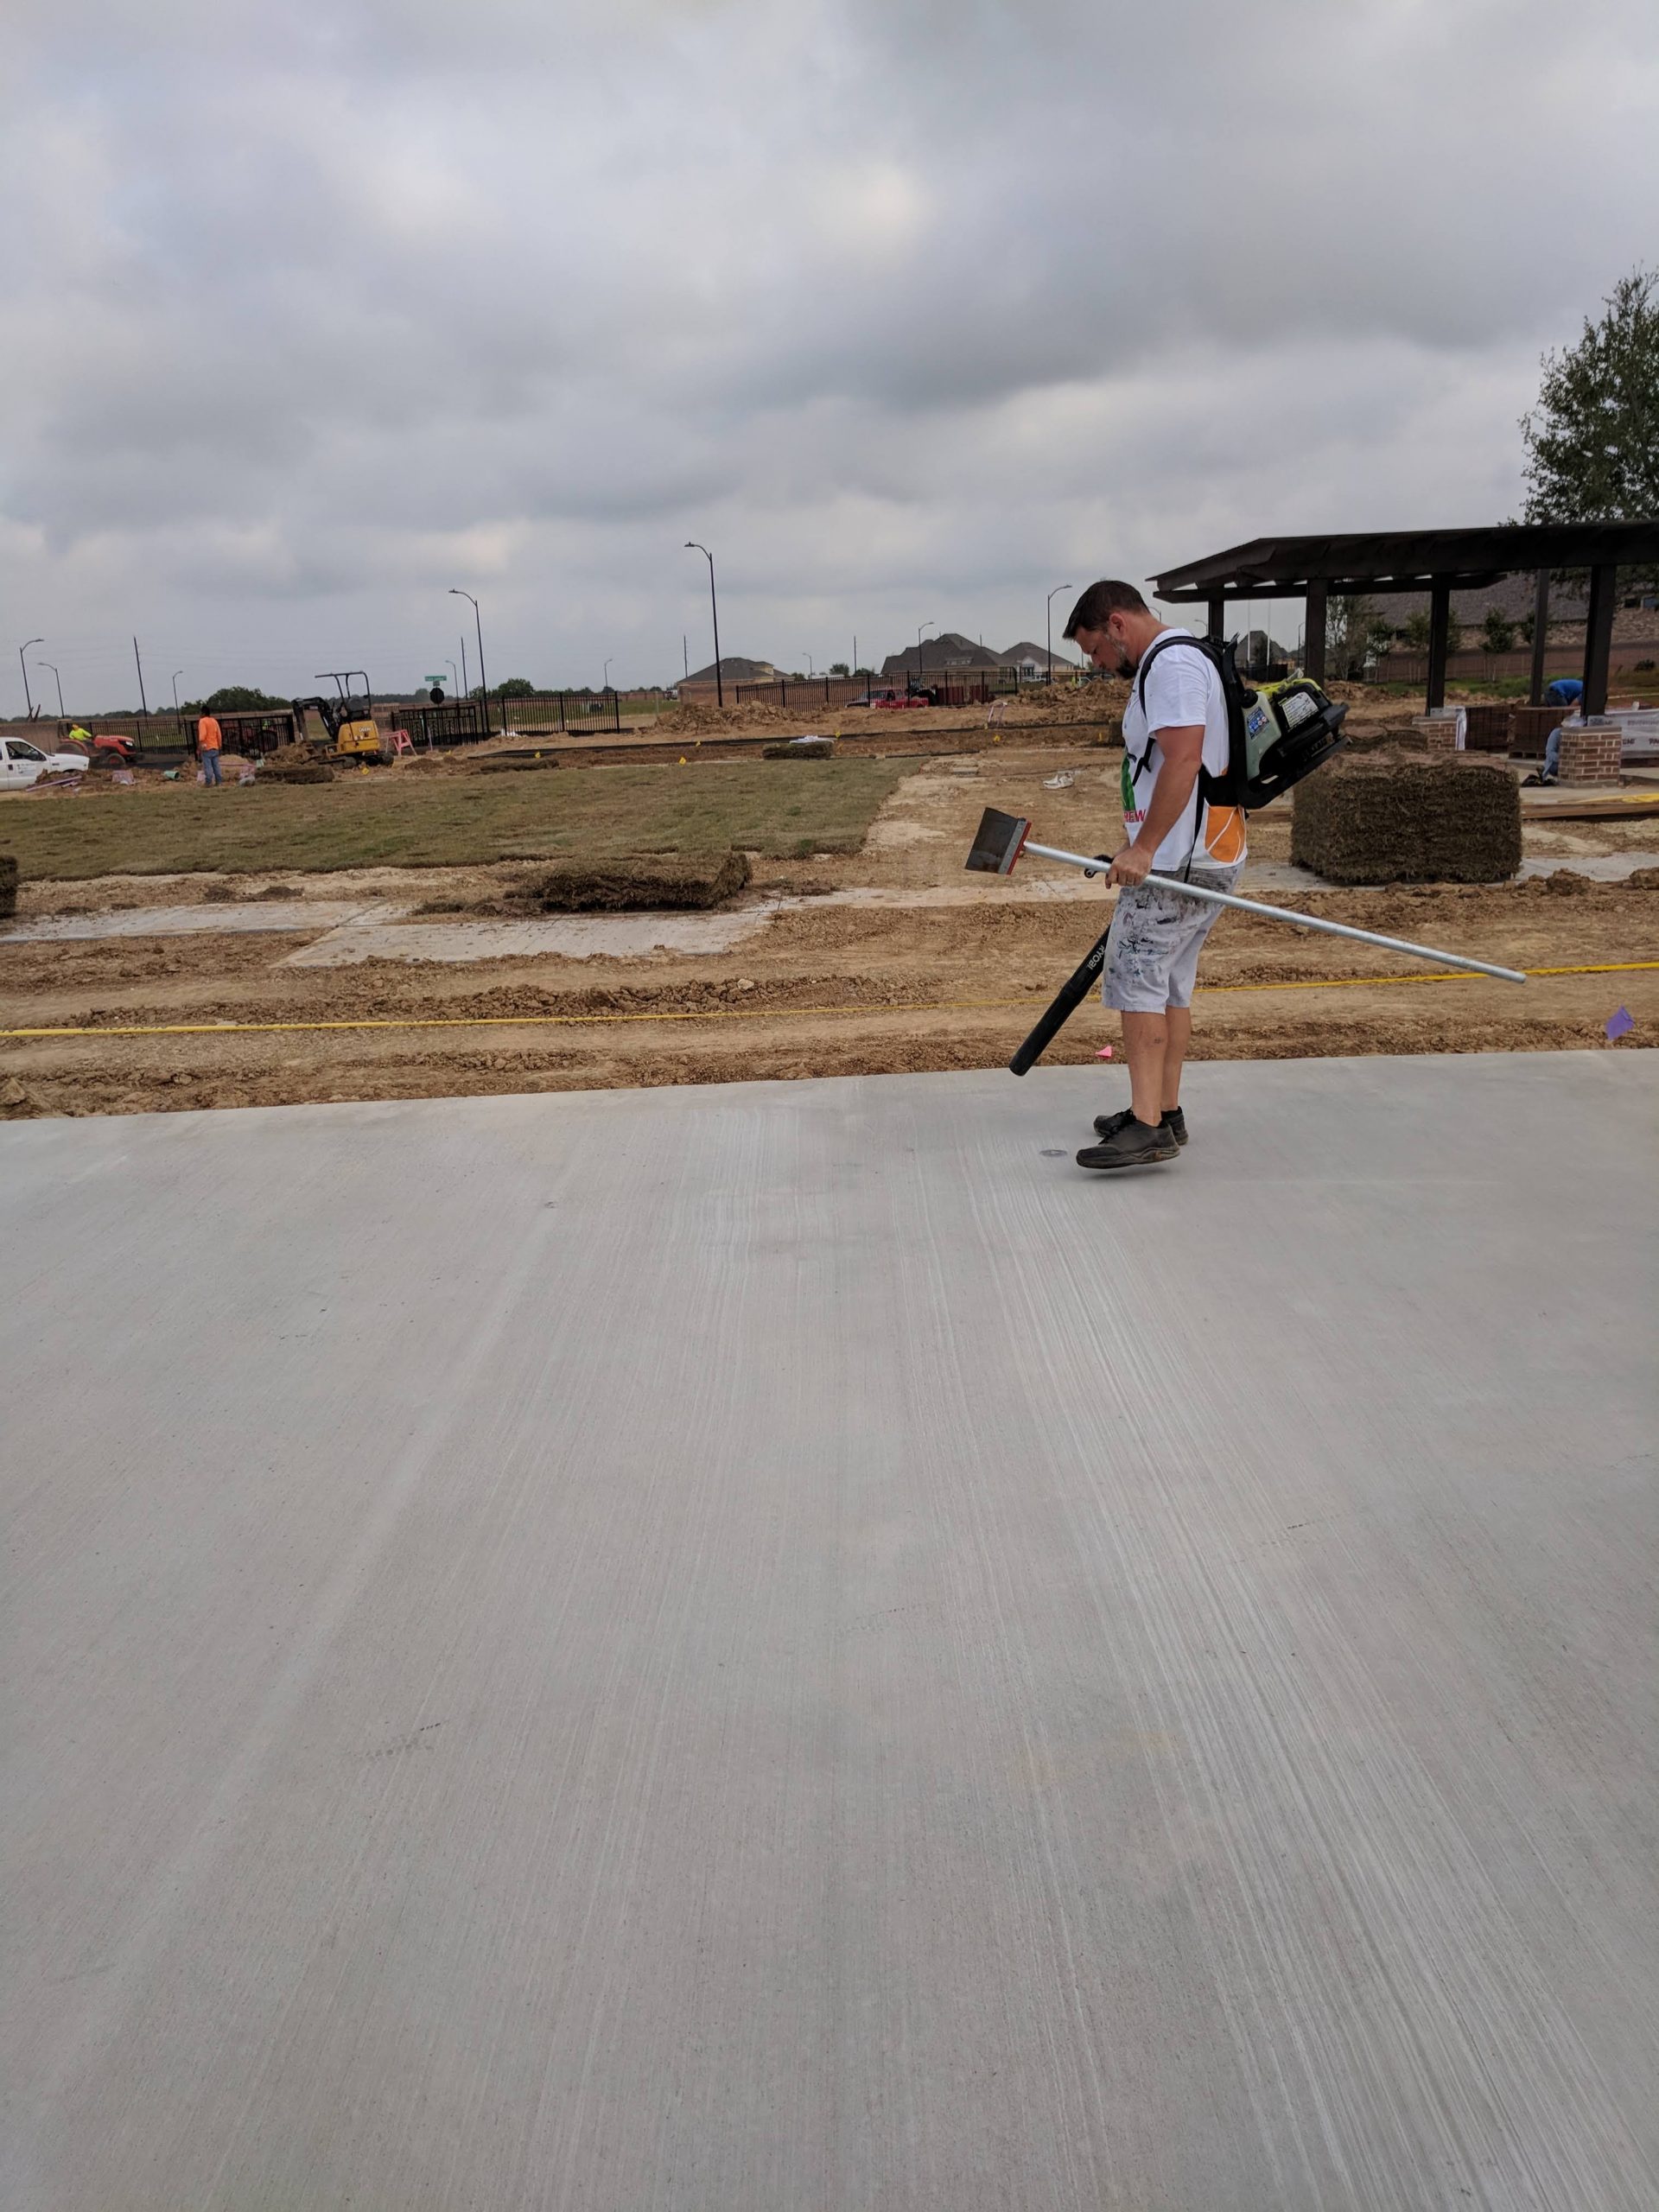
Medium-broom Finish or Similar Surface Texture

When pouring and finishing the concrete, make sure that the concrete contractor applies a medium-broom finish on the surface of the concrete.  This is very important to a good physical bond of the sport coatings.  A steel-troweled finish is too smooth and will also raise the chances of peeling surfaces.  If the concrete is already in place and doesn’t have a medium-broom finish, you can use specialized equipment to achieve sufficient texture.  The most commonly used piece of equipment is a shot blaster.  For more information, check out our dedicated page on shot blasting concrete court surfaces.

Medium Broom Finish Concrete Court
Medium Broom Finished Concrete Court

Allow Full Cure Before Coating Application

The curing process of concrete is a chemical reaction that takes 28 days to complete.  During the process, quite a bit of water is escaping from the slab and depositing high-alkaline salts on the surface.  It is important to allow a full 28 day minimum cure, prior to moving forward with coating application.  Also, after the full cure and prior to application of coatings, the concrete slab must be acid etched (or acid washed).  This helps to create a neutral PH on the surface for an ideal chemical bond of coatings.  This is fully explained on our page, acid etching concrete sport surfaces.

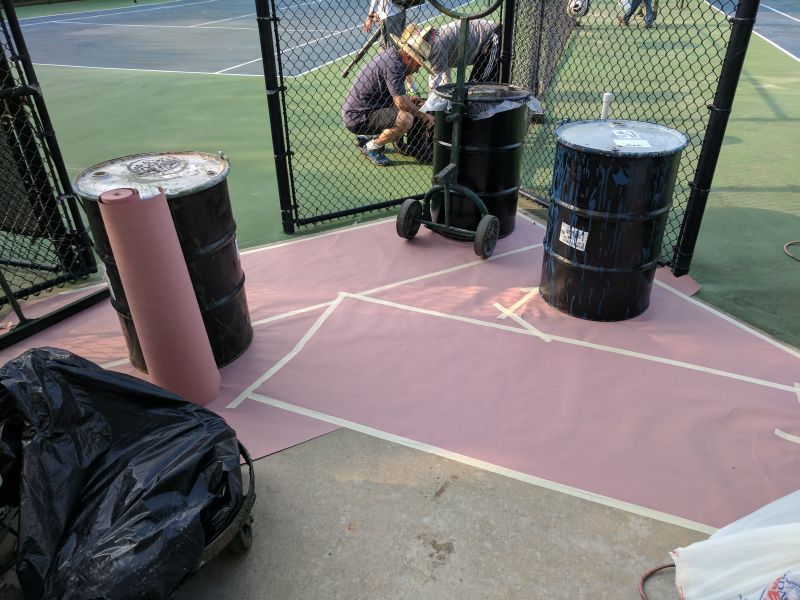
One more note on curing, avoid using curing compounds on concrete court surfaces.  Once the concrete is poured, it will instantly begin to losing water via evaporation.  If the temperatures are hot, water will leave the wet slab quickly, and this could lead to surface cracking (like mud cracking in a puddle).  To prevent this, most concrete contractors spray curing compounds on the surface to slow down the evaporation of water.  Many curing compounds are made up of oil based or incompatible materials that can leave a residue on the the concrete surface.  This residue, or film, can potentially cause a bond breaker and lead to failure of the acrylic sport coatings.  To avoid this situation, make sure the concrete contractor moisture cures the slab.  This is performed by keeping the slab wet after pouring, with a covering of moistened burlap, a polyethylene sheet, or other curing paper.  After 7 to 10 days, it can be allowed to dry and cure under normal conditions without the keeping the slab moist.

Not sure if curing compounds have been used, or you know they have been used?  The surface can be shot blasted to remove any bond-breaking films.  Note, you can pour a small amount of water onto the concrete slab to see if water beads up on the surface.  If it does, there is likely a curing compound or sealant on the surface.

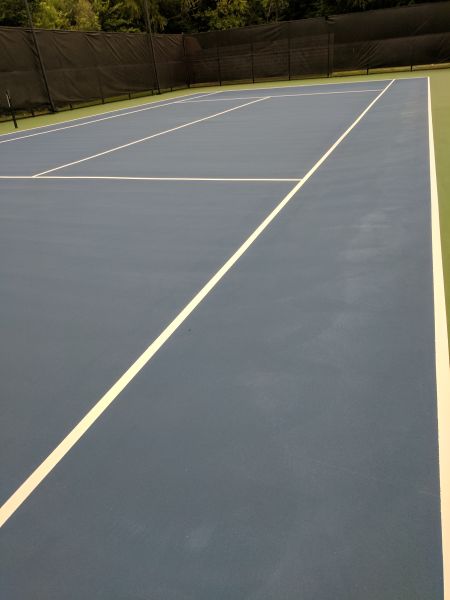
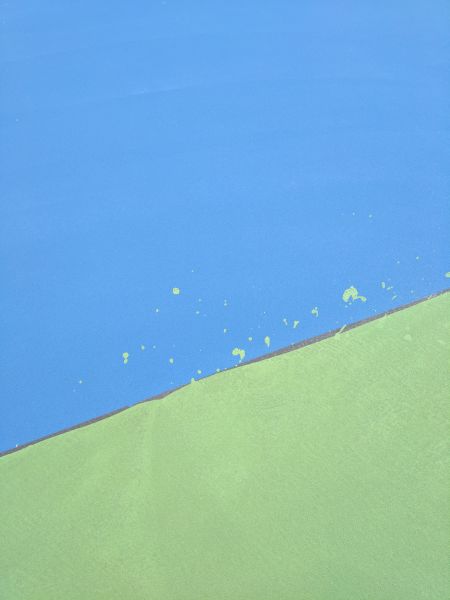
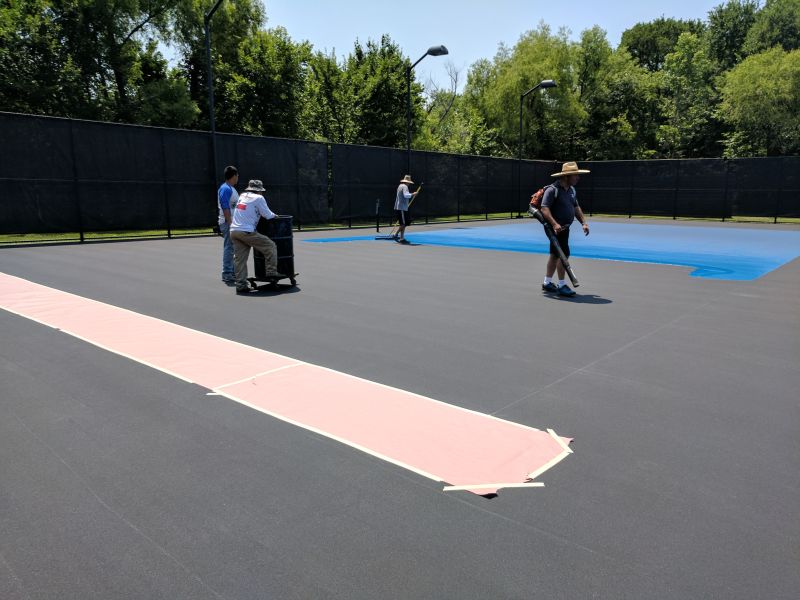
Application Of Concrete Primer & Sport Surfaces

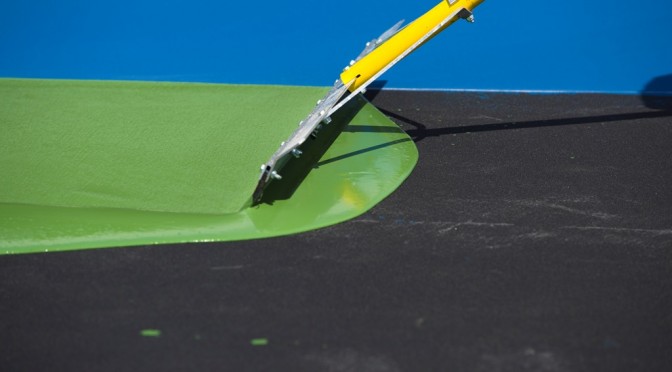
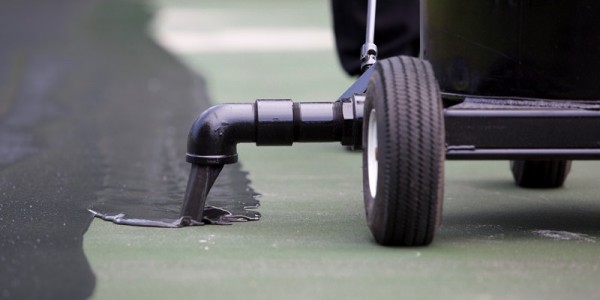
At this point, the concrete slab should be ready to receive the sport surfacing system.  Once the surface is clean and dry, apply one coat of SportMaster Acrylic Adhesion Promoter.  This product acts as a concrete primer and helps the SportMaster color coating system adhere to the concrete.  It also helps to lock down potential concrete powder, or efflorescence,  that may migrate into the color coating “paint” layers and leave a hazy color hue.

Concrete Primer for Sport Surface
Acrylic Adhesion Promoter being applied on concrete court surface

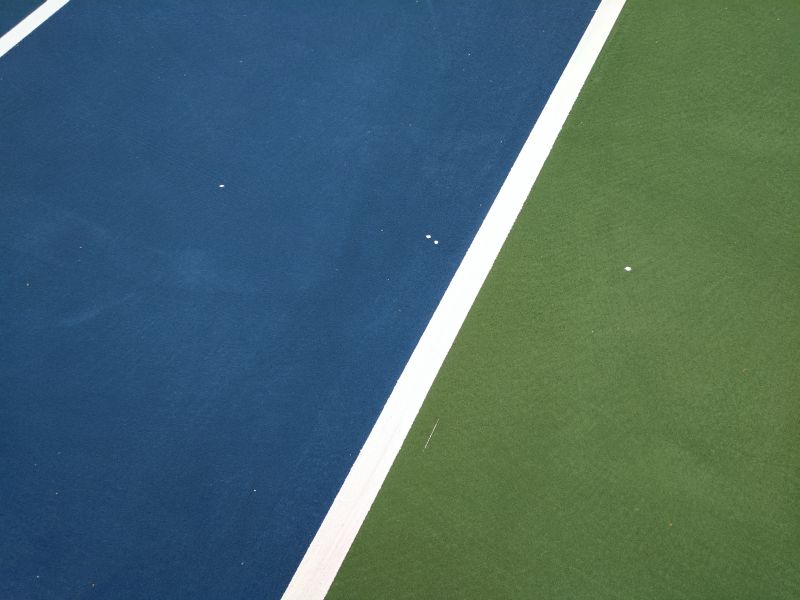
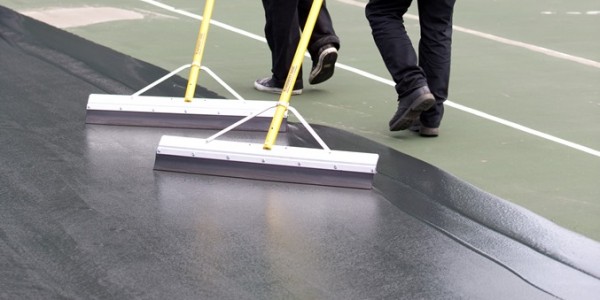
After the Acrylic Adhesion Promoter dries, Acrylic Resurfacer and the colored surface coatings can be applied.  There is no special timing required with Acrylic Adhesion Promoter.  The successive coatings can be applied as soon as it is dry to the touch, or on another day thereafter.

One or two coats of Acrylic Resurfacer is usually sufficient to fill broom patterns and concrete surface texture on a new concrete court surface.  Follow that with SportMaster color coatings, 2 coats minimum, and striping to complete the new concrete recreational court surfacing.

New Concrete Pickleball Surface Preparation

Tennis Court Resurfacing Application Tips & Techniques

Tennis court resurfacing & repair is best performed by experienced sport surfacing contractors.  However, sometimes tricks of the trade are lost in translation or bad habits can form.  Most of the time it is not intentional, but a result of limited training sources.  This article will point out some important  application tips and techniques that are often overlooked.  It will also highlight some common pitfalls or things to avoid doing, for a quality tennis court repair and resurfacing result.

Keep A Clean Work Area

Most experienced tennis court contractors know the value of a clean and organized work area.  From time to time, we still see work areas that are unprotected and open to spills and splatter.  Make sure to use a tarp, old carpet remnants, or layers of masking paper when setting up your staging and mixing.  Dried paint spills, bucket rings, and other such mishaps may not be hidden by the new paint job. Plus, if you are setup outside of the court playing area on a sidewalk, you don’t need the extra work of sandblasting and trying to remove dried paint and coating residue.

Mixing Area

Application Squeegee & Tool Marks

There are a variety of procedures and options, when it comes to tennis court resurfacing and repair.  Many of the industry tools are very specific and make quite a difference in quality and ease of application.  The application squeegee should be between 50 and 60 durometer, which is the measure of softness/hardness of the rubber. The lower the number, the softer the rubber squeegee blade.  If the blade is too soft, it will bend over in the middle and create problems, as well.  An application squeegee blade that is too hard, will cause more visible application rows and “scalp” the color coatings leaving more visible marks. There are different types of resurfacing materials you can use, including an Acrylic Resurfacer, which reduces surface porosity.

Inside Playing Color
Tennis Court Application Marks

Touch-up Paint & Edging | Court Surfaces

Many times, the difference between a court resurfacing that is just OK and one that is great, relies on the details.  Conscientious tennis court contractors will go the extra mile with the following items:

  • Paint old net posts that aren’t ready to replace, but look worn
  • trim around the outside edge of the court, under & behind fences
  • Pull off excess material onto masking paper, like rosin and roofing paper, instead of shoveling up on the surface or pulling into the other color area
  • Use an anti-bleed line primer, like SportMaster Stripe-Rite, for crisp lines
  • Remove center strap anchors and net posts that slide out of the sleeve before surfacing.  Then, tape over the open hole before surfacing.  This prevents filling the holes with paint and keeps squeegee rows straight during application.
  • Touch up as needed if one color went into the other area, or there were line paint mishaps
  • If possible, try to start and finish squeegee application away from main entrances into the court.  Start on an edge or area that is not in a high visible area, in case there is a line from starting and ending the application.
  • Try not to blast windscreens with a pressure washer, as they can damage older, sun-baked fabrics and leave pressure washer patterns.
  • Scrape and sand previous repairs and coats so that they don’t show show through the final coats.

Workmanship | Tennis Court Application

A few more common workmanship issues to mention is squeegee handling and proper pouring of mixed coating materials.  Avoid setting a wet squeegee blade down on dry pavement, as it can leave squeegee blade marks that mirror through the final coat.  When applying the material, set your squeegee down in the puddle of wet material and then begin squeegeeing as usual.  If you set the squeegee down by accident and leave a slash mark, use the bottom of your show to rub out the mark before it dries.

Pour Marks | Tennis Court Resurfacing

Pour Marks are nearly impossible to eliminate when tennis court resurfacing.  There are ways to minimize the marking, which include:

  • After your initial windrow pour, always pour into the existing puddle/windrow and not directly onto the dry surface.
  • Pour low & gently into the windrow and don’t toss the material.
  • Avoid extremely hot temperatures when pouring and applying, if possible.  This will also minimize squeegee application marks.
  • Mist the surface a few passes ahead of the squeegee applicator. This brings the surface temperature down and decreases heat shock and marking.

Many experienced tennis court contractors will also try space their material pours so that each pour happens on the area where a line will be.  This helps to mask the potential pour mark from the eye, beneath the tennis court striping.

How Do You Paint A Tennis Court?

If you ask any professional house painter they will tell you, “In hard times, everyone is a painter.”  But if you have ever hired a professional house painter, you will see that they make the job look much easier and better in much less time than the average home owner.  Hiring a professional tennis court painter, or sport surfacing contractor, is the smartest move you will ever make!

Just because it looks like paint and kind of smells like paint, doesn’t mean you apply it the same way.  Tennis court coatings are heavy-bodied and fortified with specialty sand and aggregate.  So, how do you paint a tennis court?  The only good way to apply these coatings is with a specialized tennis court application squeegee.  Using a paint roller on a hot day, in the full sun, on coatings that hold up to 15 pounds of sand per gallon can make a real mess.  Plus, if you’ve never applied coatings with a squeegee, you are in for a not-so-good surprise.  Especially, if you are attempting to paint a two-color court.  Experienced tennis court resurfacing contractors may paint anywhere from 50 to 400 tennis courts in a season.  They have plenty of practice and have the skills to squeegee two different colors that are only separated by a 2″ line, without going over into the other color area.  Not to mention, multiple coats within the same day.

Over the years, many do-it-yourselfers have attempted to paint their own courts with a variety of results.  The vast majority will never do it again and even needed to hire a professional surfacing company to fix their attempt.  Here is just a short list of reasons why it is cheaper and easier to have an experienced tennis court contractor paint or resurface your tennis, basketball, or sports court:

  • Tennis court contractors buy concentrated coatings in large volumes and have better pricing on materials than DIY.
  • Sport contractors have all of the necessary tools and experience to do the job right and quickly.
  • Court contractors also have a specialized line taping machine for layout of straight and curved lines, prior to striping.
  • Most sport contractors have a variety of methods and systems for crack repair, including installation of patented membrane repair systems which require factory training.
  • Construction alternatives: If standard acrylic repair materials cannot address the repairs, tennis court construction companies can offer more permanent repair or reconstruction.

If it is time to paint or resurface your tennis, basketball, or pickleball court and you are looking for a qualified sport surfacing contractor, contact us.  We can put you in touch with experienced installers that can provide free estimates on a professional and affordable court repair, resurfacing, or construction project.


How Often Should Tennis Courts Be Resurfaced?

Tennis courts should be resurfaced every 4 to 8 years.  This is a standard range with quite a few variables, as you could imagine. Lets go over some reasons why the same resurfacing process would last 4 years on one court and 8, or double the amount of time, on another.

Tennis Court Construction Methods | Surface Longevity

Tennis courts, and other sport surfaces, should be properly built. There are important differences between a parking lot or driveway, and a tennis court surface.  The American Sports Builders Association (ASBA) maintains construction guidelines for tennis courts and even has a certified tennis court builder program.  If tennis courts are not built correctly, they could require more frequent repairs and resurfacing.  Here are just some of the common construction problems influencing the decision of how often tennis courts should be resurfaced:

  • Improper slope = ponding water and premature breakdown of acrylic surfacing system.
  • Insufficient compaction  = susceptible to deforming, moisture damage, cracking, etc.
  • Incorrect or missing drainage system = backup of water and a long list of problems like surface bubbles/blisters, premature surface wear, and more.

Environmental Conditions and Surrounding Issues | Resurfacing Cycle

Acrylic tennis court surfaces require very little maintenance, but here are few important tips in extending the life of color coatings:

  • Surface debris removal – Don’t let leaves, pine needles, or any other organic debris build up on the court surface.  It will hold moisture and rot on the surface.  This is cause faster wear of the tennis court surfaces.
  • Trim edges – Be sure to keep grass, vegetation, and dirt trimmed down around the court edges.  This will help to prevent back-up of water that drains off of the court.  Puddled water will break down the acrylic surface coatings prematurely, and result the need for more frequent resurfacing.
  • Periodic washing –  Light to moderate pressure washing of the surface with mild detergents will help to extend the surface life and keep the court surface looking good.

Acrylic Resurfacer | Money Well Spent When Resurfacing

Many court owners want to skip the Acrylic Resurfacer step and just apply the color coatings.  Acrylic Resurfacer re-textures an old smooth court and helps to ensure the proper application rate of color coatings.  Since tennis court coatings are applied with a soft rubber squeegee, the colored surface coatings tend to “wipe off” when the surface is old, smooth and polished.  This results in thinner surface layers that won’t last as long, and definitely impacts how often the tennis court should be resurfaced.

Active Players and Busy Tennis Courts

Obviously, if there is good tennis programming and lots of players, it can impact the wear of the tennis court surfaces.  Active players and high traffic counts will speed up wear of the surfaces.  If this is known before resurfacing, talk to  a SportMaster representative and they can offer recommendations or prepare a custom scope tailored to your facility.  Extra coats may be recommended to extend the life of your tennis court surfaces.

Is It Time To Resurface Your Tennis Court?

Click on the “Contact Us” button and we can put you in touch with a factory-authorized tennis court contractor.  They can provide free estimates and make sure your tennis court is resurfaced properly. SportMaster Sport Surfaces are stocked and supported world-wide, and are ideal for all climates from extreme heat to frigid cold.