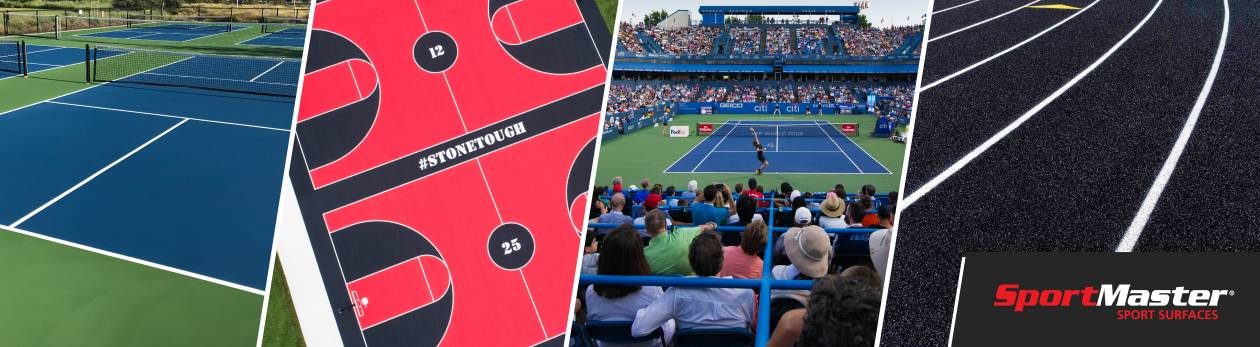
Tennis court resurfacing & repair is best performed by experienced sport surfacing contractors. However, sometimes tricks of the trade are lost in translation or bad habits can form. Most of the time it is not intentional, but a result of limited training sources. This article will point out some important application tips and techniques that are often overlooked. It will also highlight some common pitfalls or things to avoid doing, for a quality tennis court repair and resurfacing result.
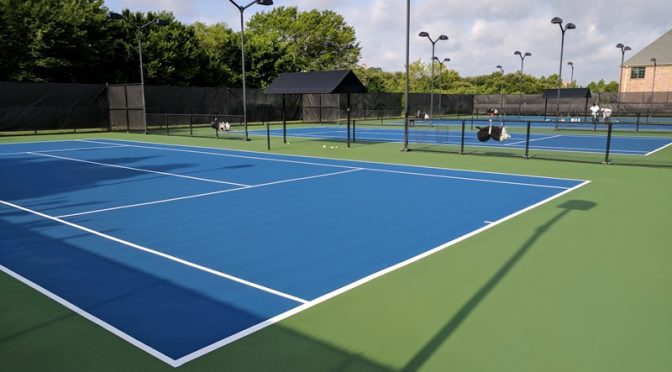
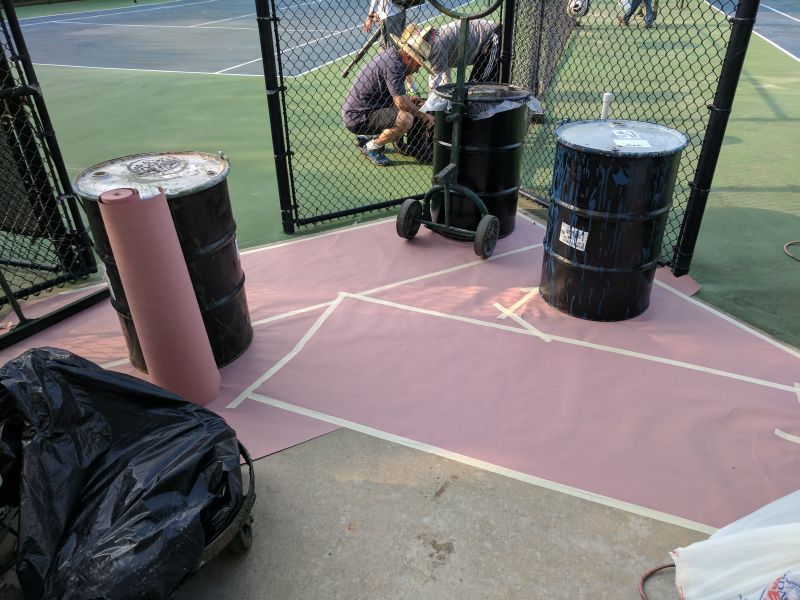
Keep A Clean Work Area
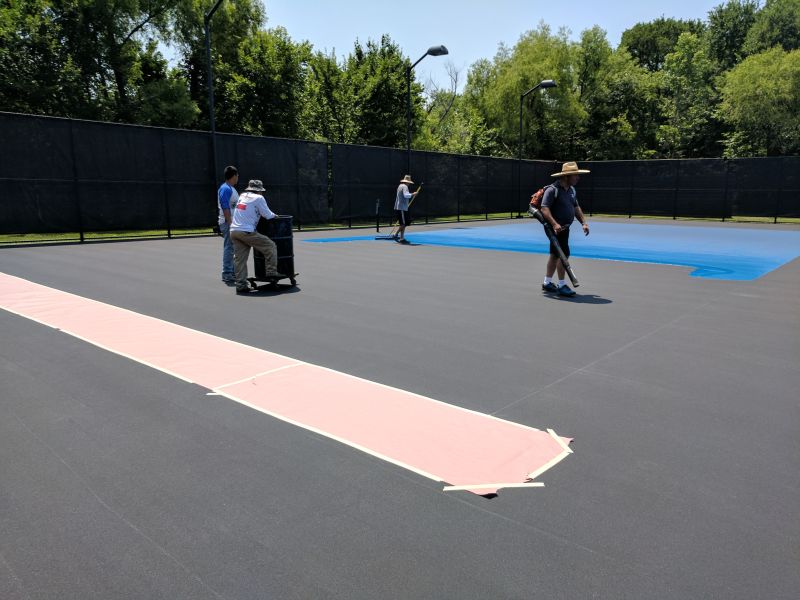
Most experienced tennis court contractors know the value of a clean and organized work area. From time to time, we still see work areas that are unprotected and open to spills and splatter. Make sure to use a tarp, old carpet remnants, or layers of masking paper when setting up your staging and mixing. Dried paint spills, bucket rings, and other such mishaps may not be hidden by the new paint job. Plus, if you are setup outside of the court playing area on a sidewalk, you don’t need the extra work of sandblasting and trying to remove dried paint and coating residue.
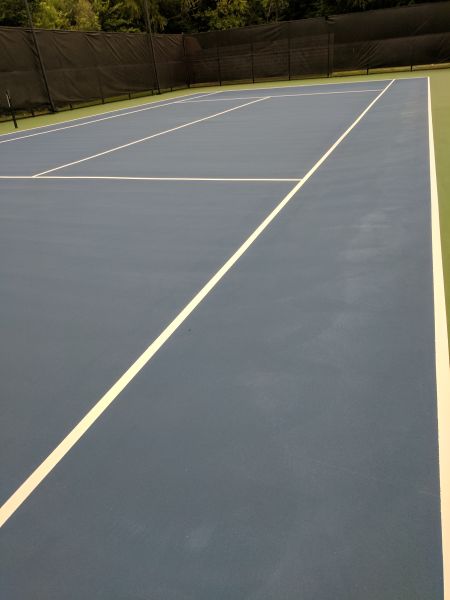
Application Squeegee & Tool Marks
There are a variety of procedures and options, when it comes to tennis court resurfacing and repair. Many of the industry tools are very specific and make quite a difference in quality and ease of application. The application squeegee should be between 50 and 60 durometer, which is the measure of softness/hardness of the rubber. The lower the number, the softer the rubber squeegee blade. If the blade is too soft, it will bend over in the middle and create problems, as well. An application squeegee blade that is too hard, will cause more visible application rows and “scalp” the color coatings leaving more visible marks. There are different types of resurfacing materials you can use, including an Acrylic Resurfacer, which reduces surface porosity.

Touch-up Paint & Edging | Court Surfaces
Many times, the difference between a court resurfacing that is just OK and one that is great, relies on the details. Conscientious tennis court contractors will go the extra mile with the following items:
- Paint old net posts that aren’t ready to replace, but look worn
- trim around the outside edge of the court, under & behind fences
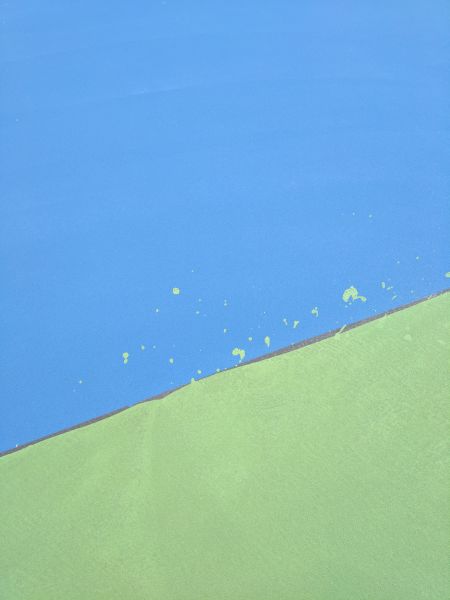
- Pull off excess material onto masking paper, like rosin and roofing paper, instead of shoveling up on the surface or pulling into the other color area
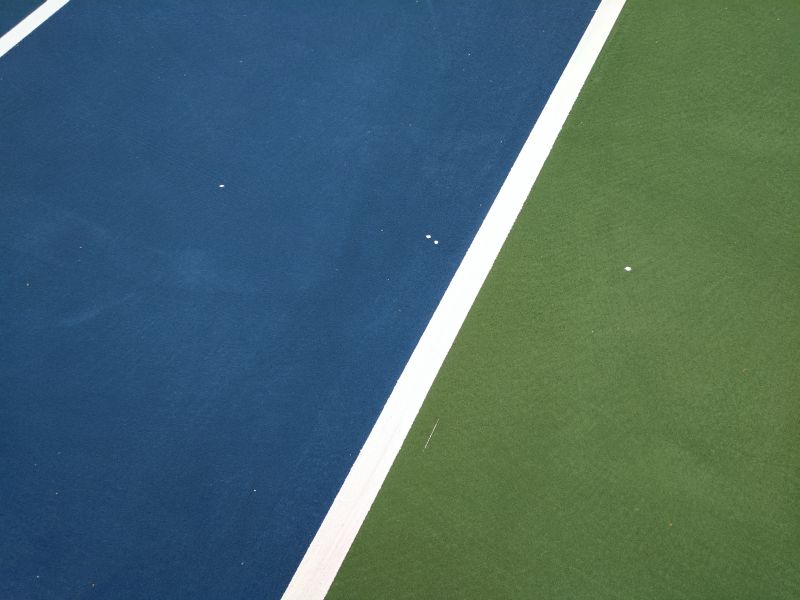
- Use an anti-bleed line primer, like SportMaster Stripe-Rite, for crisp lines
- Remove center strap anchors and net posts that slide out of the sleeve before surfacing. Then, tape over the open hole before surfacing. This prevents filling the holes with paint and keeps squeegee rows straight during application.
- Touch up as needed if one color went into the other area, or there were line paint mishaps
- If possible, try to start and finish squeegee application away from main entrances into the court. Start on an edge or area that is not in a high visible area, in case there is a line from starting and ending the application.
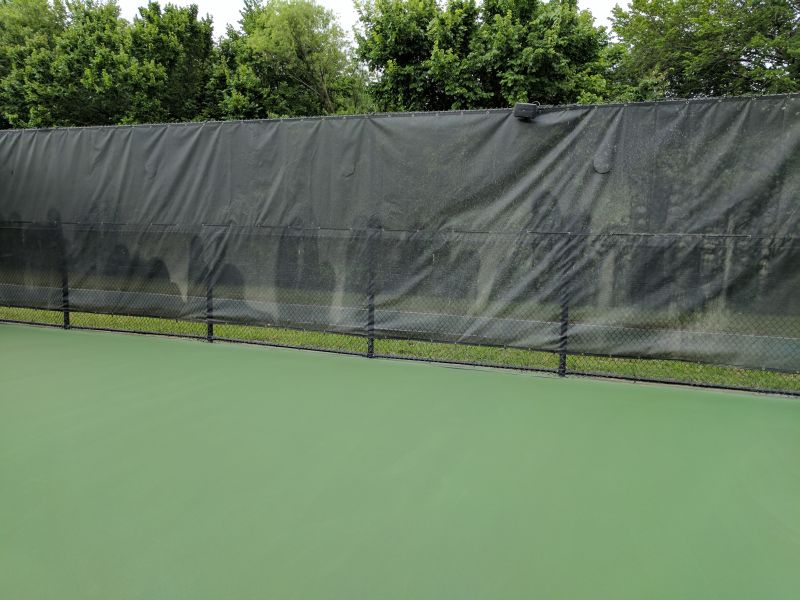
- Try not to blast windscreens with a pressure washer, as they can damage older, sun-baked fabrics and leave pressure washer patterns.
- Scrape and sand previous repairs and coats so that they don’t show show through the final coats.

Workmanship | Tennis Court Application
A few more common workmanship issues to mention is squeegee handling and proper pouring of mixed coating materials. Avoid setting a wet squeegee blade down on dry pavement, as it can leave squeegee blade marks that mirror through the final coat. When applying the material, set your squeegee down in the puddle of wet material and then begin squeegeeing as usual. If you set the squeegee down by accident and leave a slash mark, use the bottom of your show to rub out the mark before it dries.

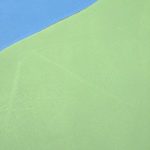
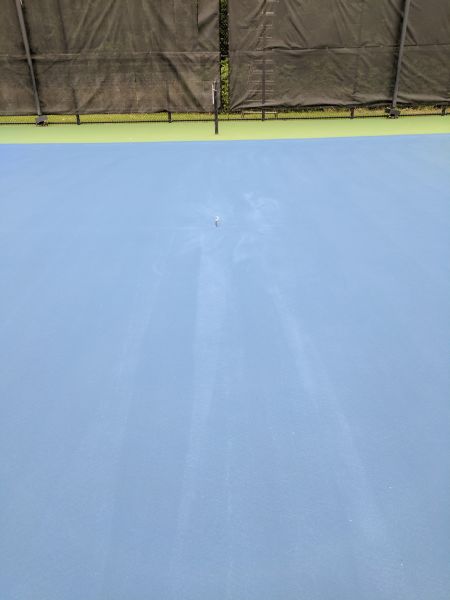
Pour Marks | Tennis Court Resurfacing
Pour Marks are nearly impossible to eliminate when tennis court resurfacing. There are ways to minimize the marking, which include:
- After your initial windrow pour, always pour into the existing puddle/windrow and not directly onto the dry surface.
- Pour low & gently into the windrow and don’t toss the material.
- Avoid extremely hot temperatures when pouring and applying, if possible. This will also minimize squeegee application marks.
- Mist the surface a few passes ahead of the squeegee applicator. This brings the surface temperature down and decreases heat shock and marking.
Many experienced tennis court contractors will also try space their material pours so that each pour happens on the area where a line will be. This helps to mask the potential pour mark from the eye, beneath the tennis court striping.