Category Archives: Tennis Court Repair

Asphalt Impurities & Clay Balls on Sports Court Surfaces

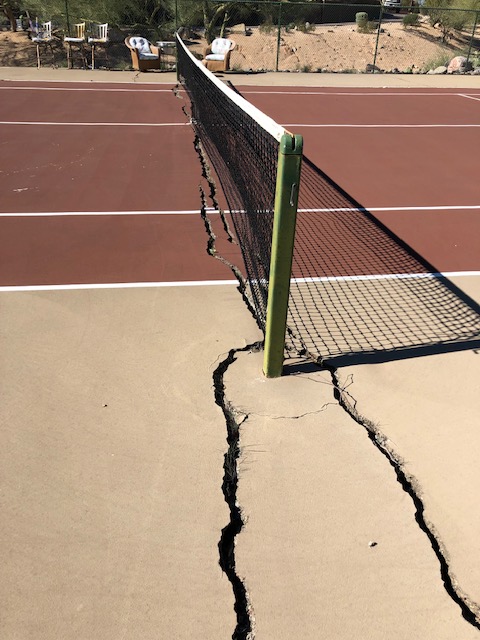
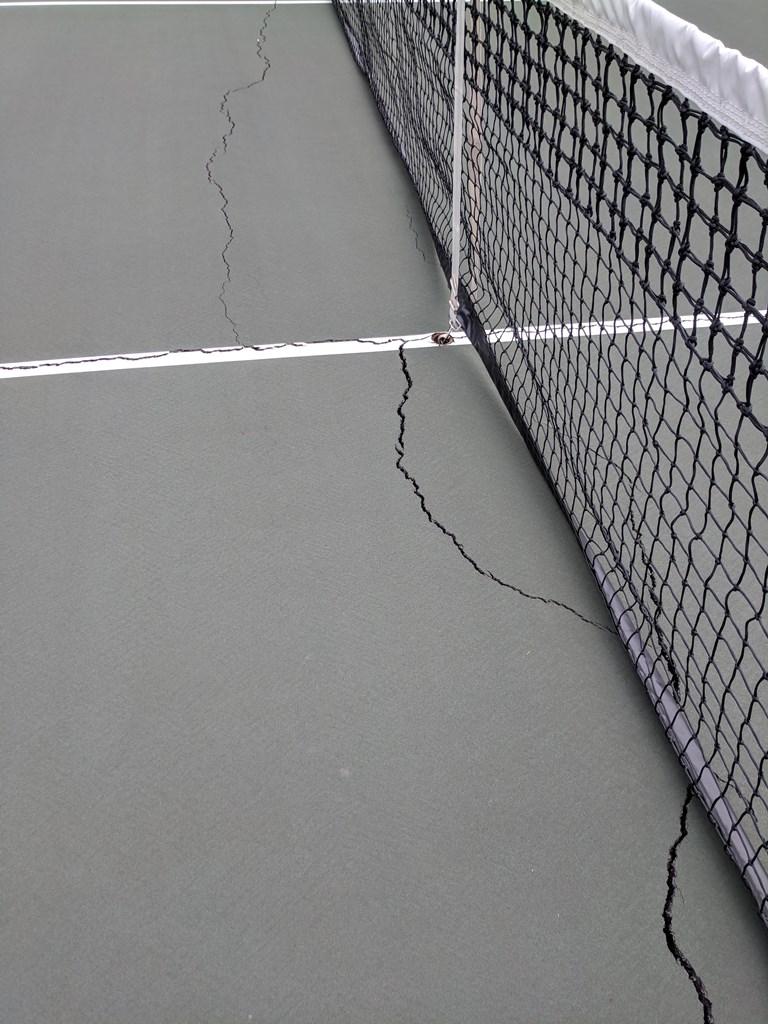
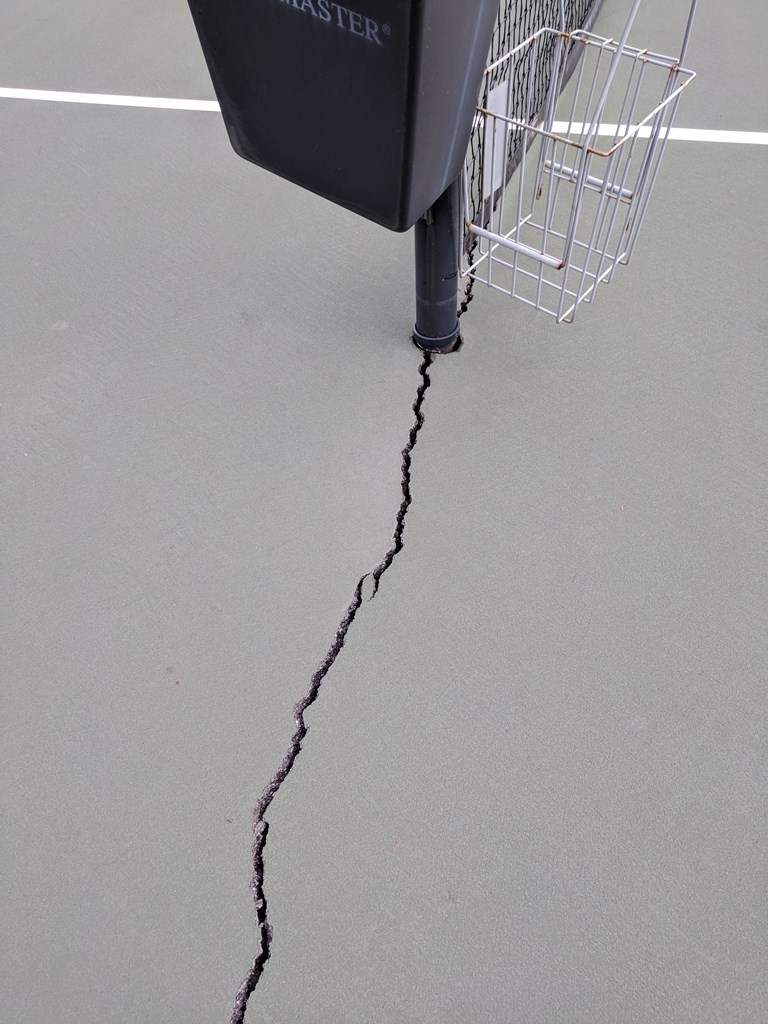
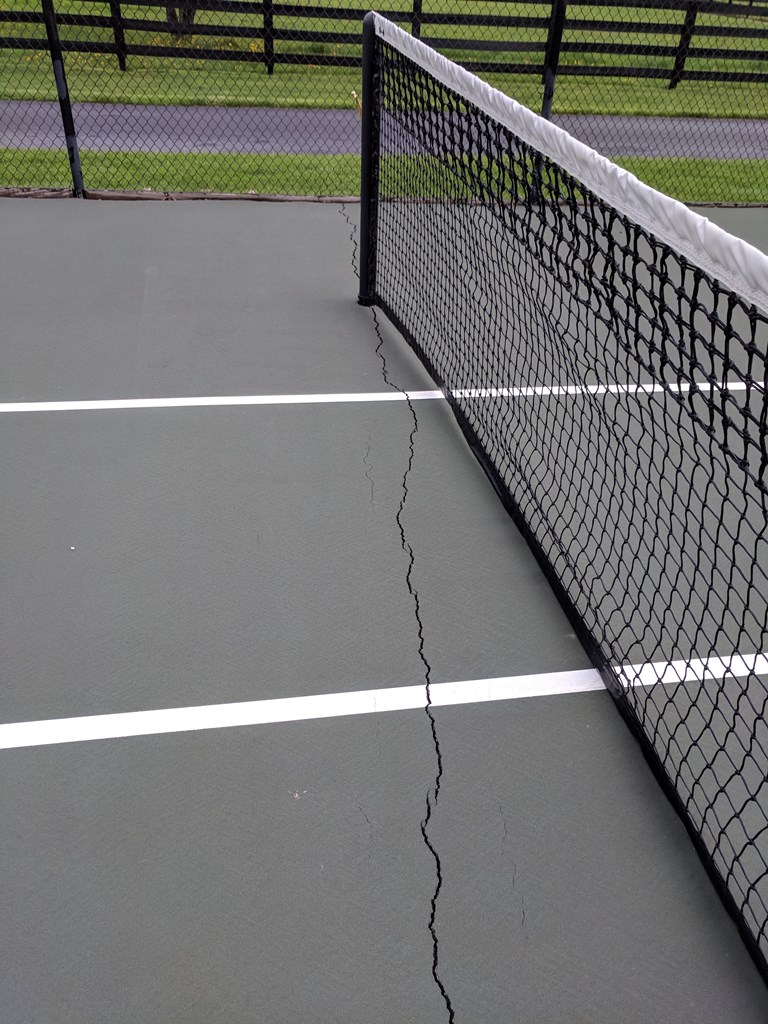
Another common issue seen on athletic court surfaces arises from asphalt impurities, most commonly clay balls.  In this bulletin, we will explain the occurrence of asphalt impurities & clay balls on sports court surfaces.  

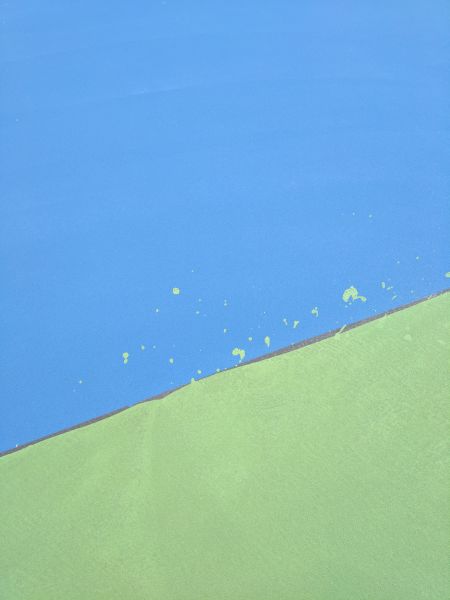
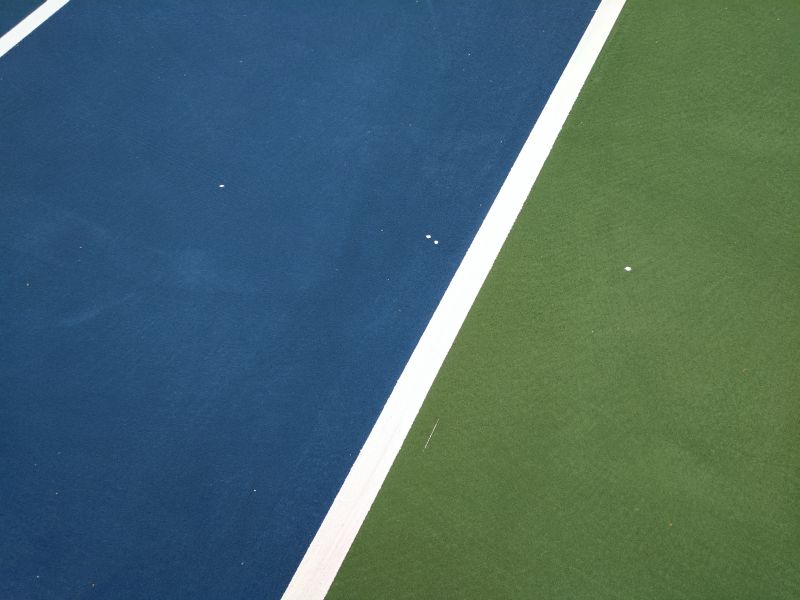
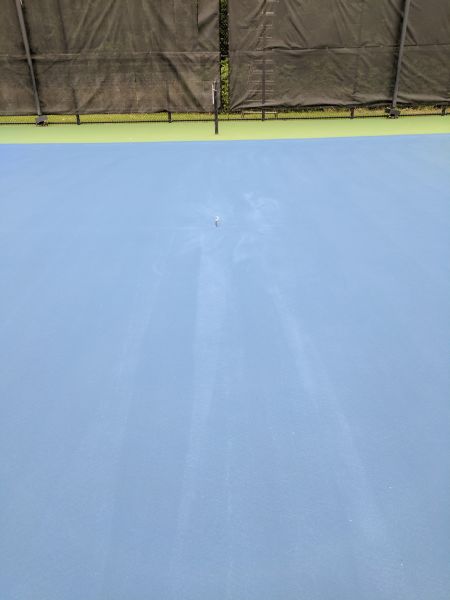
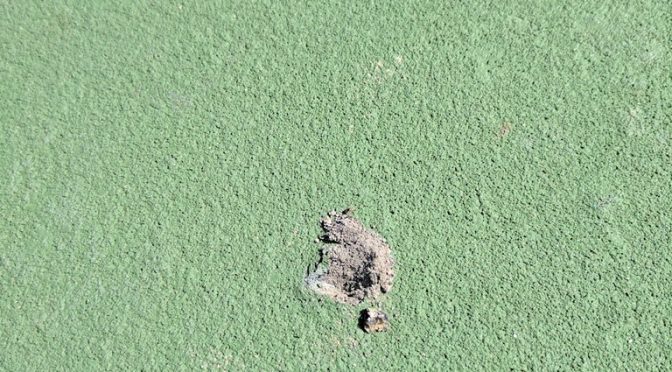
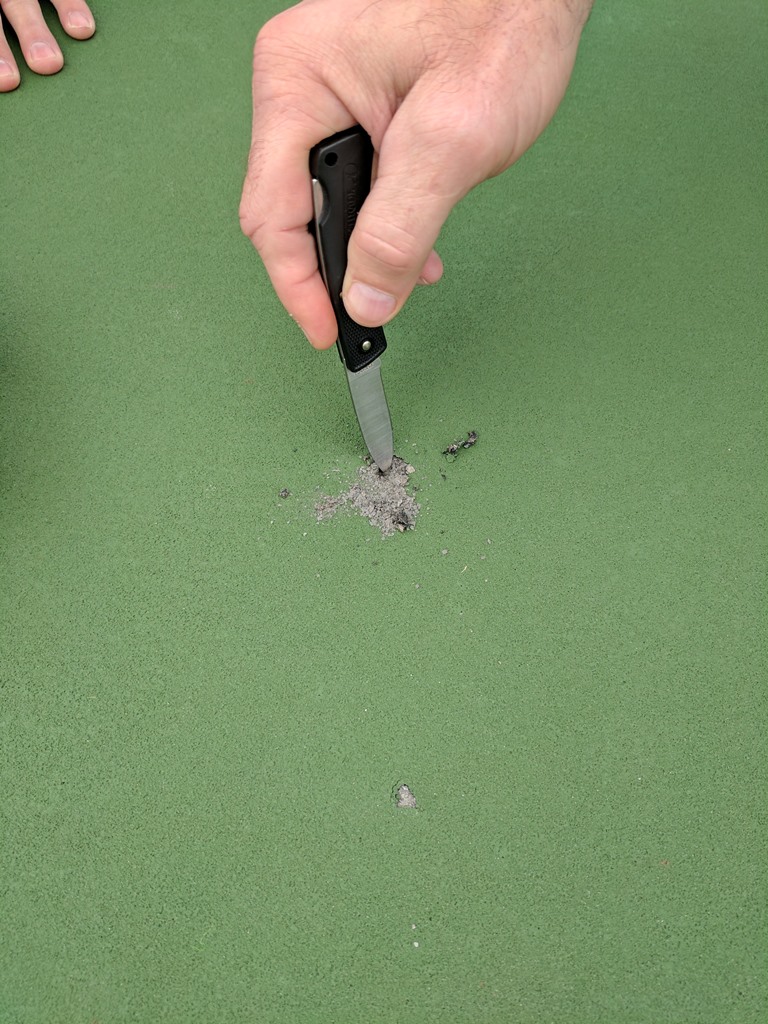
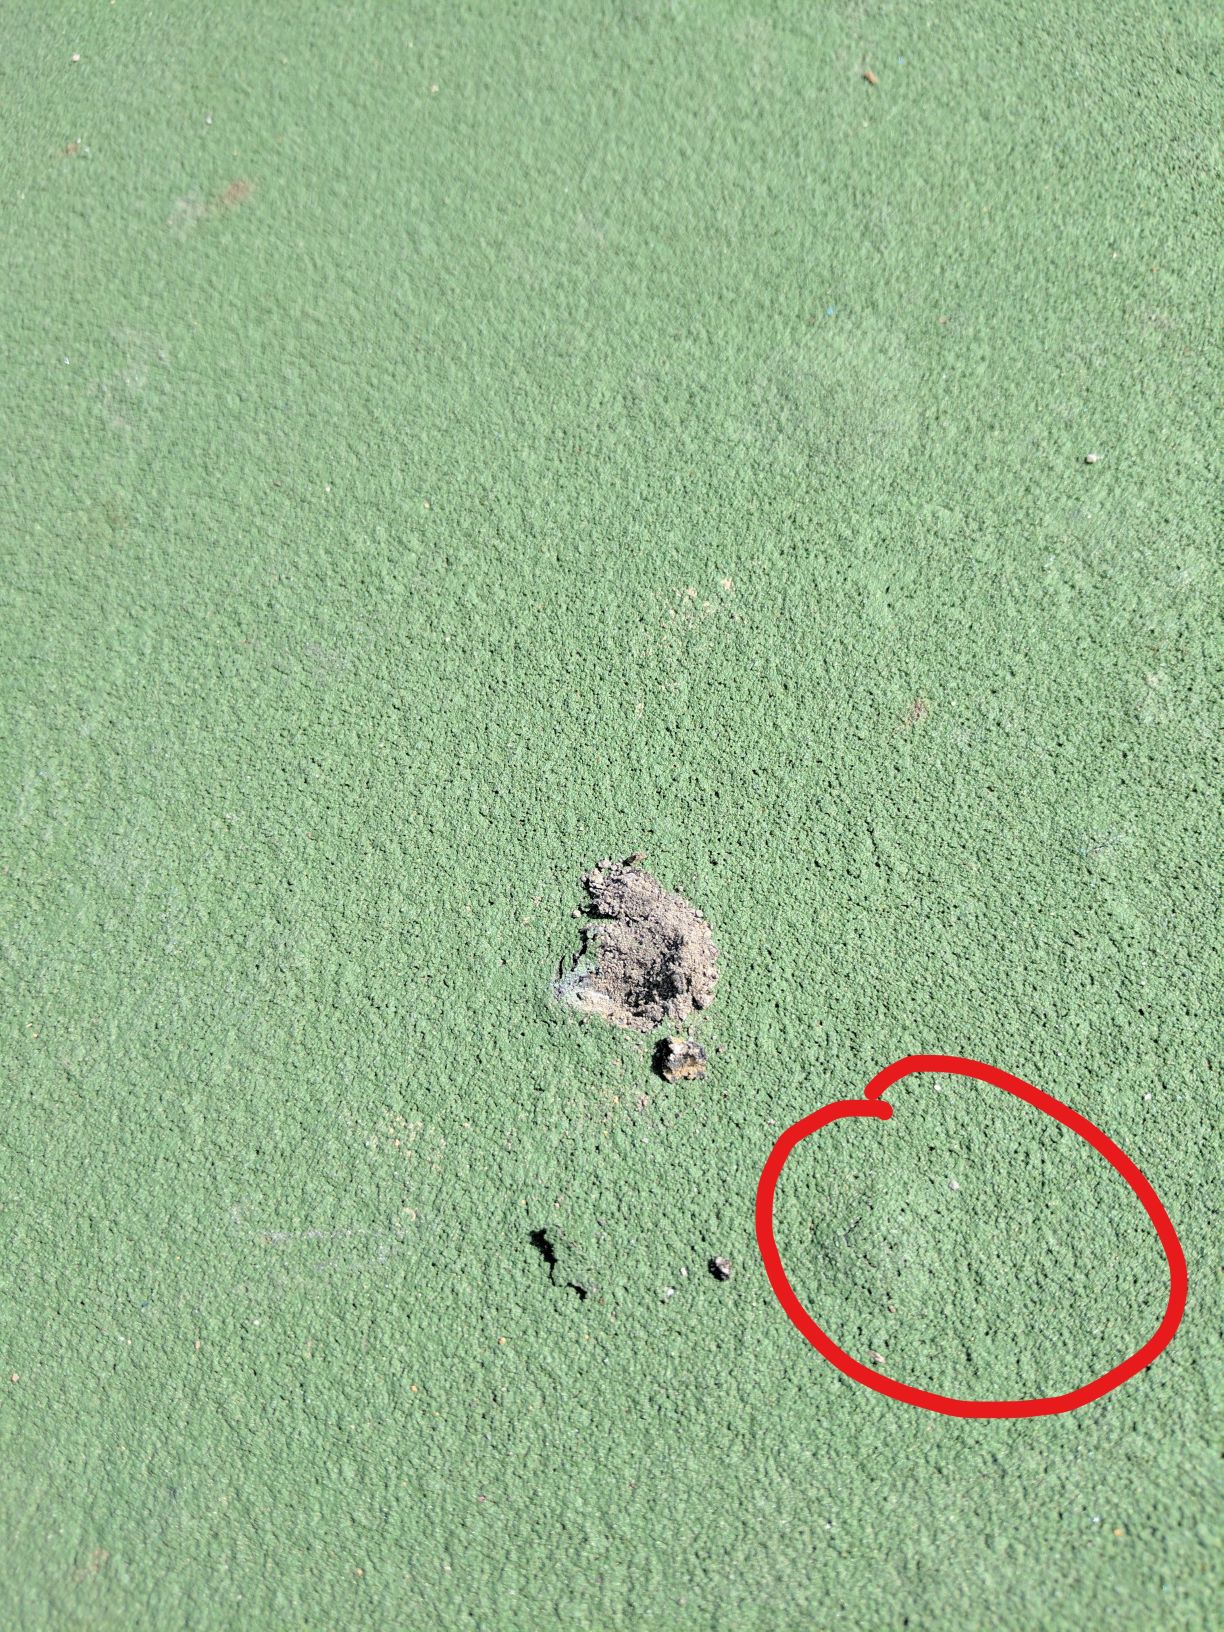
The appearance of clay balls begin with small bumps that appear in random areas of the court surface.  When you push on these bumps, they feel hard and do not give.  If you carefully cut into the bumps, you should discover a small pile that looks like ash.

How to clay ball deposits get below the court surface?

Asphalt is made up of rock (mostly limestone, with some other aggregates).  It is held together by asphalt binder, derived from the oil refining process.  Clay deposits are naturally occurring, and heavier in certain regions throughout the ground and rock quarries.  When excavating the limestone, it is impossible to remove 100% of the clay that is laced within.  As shown in the picture below, you can see random pockets of clay in the uncoated asphalt voids.

Why do the court surface bumps appear?

Asphalt is a porous pavement and will allow sub-surface moisture to breathe through it.  Acrylic sport surfacing systems are semi-permeable and will also allow a moderate amount of moisture to breathe through and escape.  Properly constructed courts should be pitched at 1% for drainage, but there is still ground moisture that travels up through the slab.  When the surface of the court is heated from the sun, it draws moisture up from beneath the court in a vapor state.  As the moisture is migrating through the asphalt,  it is absorbed into the clay deposits and the acrylic surfacing layers slow down the escape.  During the process, the clay balls swell and create the visible lumps on the surface.

Clay Ball Bumps On Sport Surface

How to remove clay balls from court surface

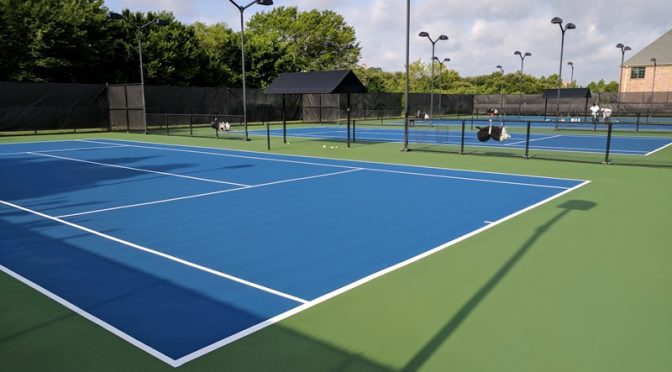
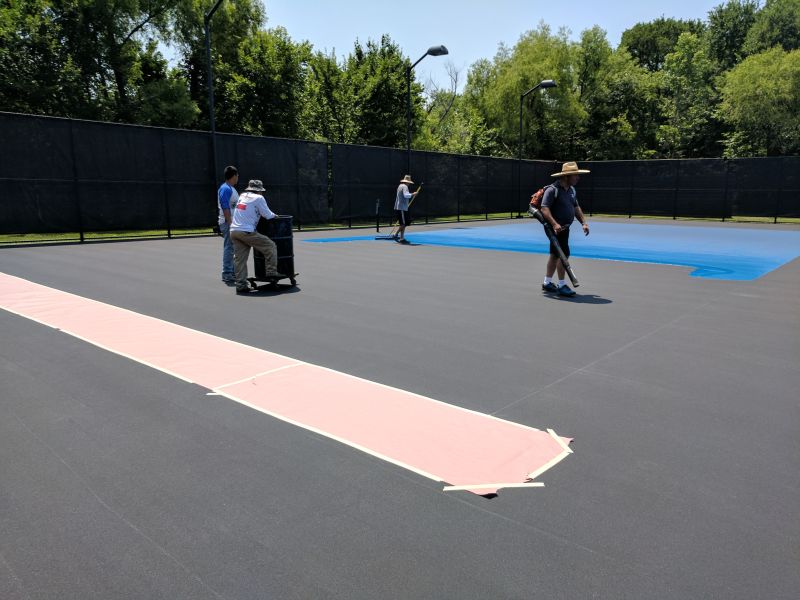
So, how do you remedy the situation and remove clay balls from the court surface?  This is usually just an aesthetic issue and normally not a problem that will affect play and the ball bounce.  If it becomes a problem, or when it is time to resurface the court, the following procedures can be performed:
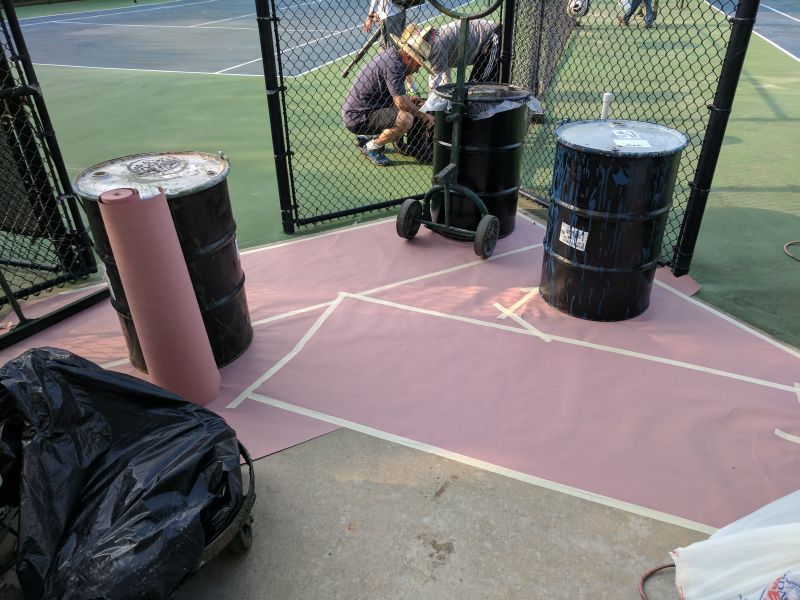
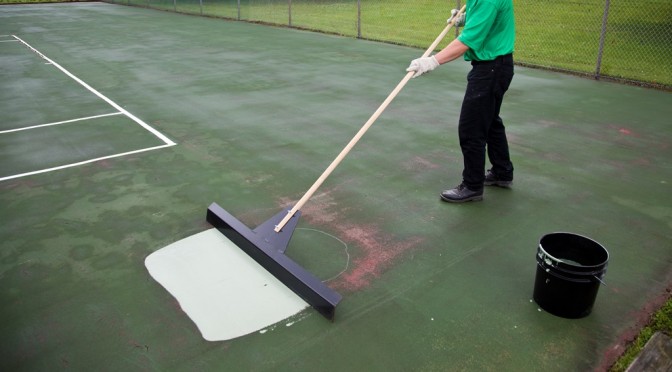
If the clay balls are not creating issues with play and you can wait to remediate the clay balls situation, it will allow time for any potential swelling reactions.  If you do this as soon as it happens, and resurface the court, others may pop up shortly after.  You can remove them as they show up, but you will likely see the touch-up from the different of texture and color.

Avoid Recycled Asphalt For Sport Surfaces

Other asphalt impurities can also create problems with court surfaces.  If possible, avoid using recycled asphalt as it may contain unknown foreign items (i.e. shingles and other various materials).  It is also important to seek out experienced sport construction companies, as they may know what quarries to avoid based on past history of clay deposits and foreign materials.  Contact us for free referrals to qualified installers.


Tennis Court Resurfacing Application Tips & Techniques

Tennis court resurfacing & repair is best performed by experienced sport surfacing contractors.  However, sometimes tricks of the trade are lost in translation or bad habits can form.  Most of the time it is not intentional, but a result of limited training sources.  This article will point out some important  application tips and techniques that are often overlooked.  It will also highlight some common pitfalls or things to avoid doing, for a quality tennis court repair and resurfacing result.

Keep A Clean Work Area

Most experienced tennis court contractors know the value of a clean and organized work area.  From time to time, we still see work areas that are unprotected and open to spills and splatter.  Make sure to use a tarp, old carpet remnants, or layers of masking paper when setting up your staging and mixing.  Dried paint spills, bucket rings, and other such mishaps may not be hidden by the new paint job. Plus, if you are setup outside of the court playing area on a sidewalk, you don’t need the extra work of sandblasting and trying to remove dried paint and coating residue.

Mixing Area

Application Squeegee & Tool Marks

There are a variety of procedures and options, when it comes to tennis court resurfacing and repair.  Many of the industry tools are very specific and make quite a difference in quality and ease of application.  The application squeegee should be between 50 and 60 durometer, which is the measure of softness/hardness of the rubber. The lower the number, the softer the rubber squeegee blade.  If the blade is too soft, it will bend over in the middle and create problems, as well.  An application squeegee blade that is too hard, will cause more visible application rows and “scalp” the color coatings leaving more visible marks. There are different types of resurfacing materials you can use, including an Acrylic Resurfacer, which reduces surface porosity.

Inside Playing Color
Tennis Court Application Marks

Touch-up Paint & Edging | Court Surfaces

Many times, the difference between a court resurfacing that is just OK and one that is great, relies on the details.  Conscientious tennis court contractors will go the extra mile with the following items:

  • Paint old net posts that aren’t ready to replace, but look worn
  • trim around the outside edge of the court, under & behind fences
  • Pull off excess material onto masking paper, like rosin and roofing paper, instead of shoveling up on the surface or pulling into the other color area
  • Use an anti-bleed line primer, like SportMaster Stripe-Rite, for crisp lines
  • Remove center strap anchors and net posts that slide out of the sleeve before surfacing.  Then, tape over the open hole before surfacing.  This prevents filling the holes with paint and keeps squeegee rows straight during application.
  • Touch up as needed if one color went into the other area, or there were line paint mishaps
  • If possible, try to start and finish squeegee application away from main entrances into the court.  Start on an edge or area that is not in a high visible area, in case there is a line from starting and ending the application.
  • Try not to blast windscreens with a pressure washer, as they can damage older, sun-baked fabrics and leave pressure washer patterns.
  • Scrape and sand previous repairs and coats so that they don’t show show through the final coats.

Workmanship | Tennis Court Application

A few more common workmanship issues to mention is squeegee handling and proper pouring of mixed coating materials.  Avoid setting a wet squeegee blade down on dry pavement, as it can leave squeegee blade marks that mirror through the final coat.  When applying the material, set your squeegee down in the puddle of wet material and then begin squeegeeing as usual.  If you set the squeegee down by accident and leave a slash mark, use the bottom of your show to rub out the mark before it dries.

Pour Marks | Tennis Court Resurfacing

Pour Marks are nearly impossible to eliminate when tennis court resurfacing.  There are ways to minimize the marking, which include:

  • After your initial windrow pour, always pour into the existing puddle/windrow and not directly onto the dry surface.
  • Pour low & gently into the windrow and don’t toss the material.
  • Avoid extremely hot temperatures when pouring and applying, if possible.  This will also minimize squeegee application marks.
  • Mist the surface a few passes ahead of the squeegee applicator. This brings the surface temperature down and decreases heat shock and marking.

Many experienced tennis court contractors will also try space their material pours so that each pour happens on the area where a line will be.  This helps to mask the potential pour mark from the eye, beneath the tennis court striping.

How To Install A Tennis Net

People often ask us how to install a tennis net.  Removing a tennis net and replacing it with a new one is an easy task, however we have created this page and video to walk you through the process.

Step 1 – Removing Old or Existing Net

  • Remove old net by cutting the twine.  Unhook center strap and release the net cable.
  • Fold up the old net and remove from the court for disposal.

Step 2 –  Prepare New Tennis Net For Install

  • Remove the new net from the box and prepare it for installation.

Step 3 – Attaching The New Tennis Net

  • Hook the loop end of the net cable to dead side cleat, opposite end of cable to the crank side.
  • Crank until the net is a little over 3′ (feet) above the playing surface in the center.

Replace A Tennis Net

Tennis Post Wind Assemblies:

There are a few different styles of wind assemblies, depending on the manufacturer and post type.  Generally, you will see and internal or external wind assembly.  The internal wind post will have the components of the winding mechanism inside the post.  The external wind assembly sits on the post and is mostly exposed to the elements.  The way that the wind assembly accepts the net cable is a bit different.  The video shows an example of both styles.  You will normally have to cut the loop off of the net cable in order to feed it into the internal wind assembly.  Just make sure not to cut the loop off of the dead end.

internal wind assembly

Step 4 – Center & Adjust The Tennis Net

  • Center the net on cable & pull the slack towards the dead side post.
  • Install the net dowels by sliding them down in to each side of the net.
  • Pull exposed cable to crank side post.

inserting dowel rod

Step 5 – Tighten The Tennis Net

  • Fully tighten the net.
  • The center of the net should be approximately 37″ – 38″ above the playing surface.

Step 6 – Lacing The Net

  • Lace the sides of the net.
  • Make a 2 inch loop, run lace through the headband on the net and back through the 2 inch loop.
  • Continue lacing the net down the post.  Knot the bottom and cut excess twine.
  • Remove the crank handle.

lacing a tennis net

Step 7 – Install Center Strap

  • Install the center strap.
  • The correct net height is 36″, at the center.

installing center strap


If you have further questions on how to install a tennis net or you need to purchase a tennis net, feel free to contact us and we can provide you with additional help.

How Often Should Tennis Courts Be Resurfaced?

Tennis courts should be resurfaced every 4 to 8 years.  This is a standard range with quite a few variables, as you could imagine. Lets go over some reasons why the same resurfacing process would last 4 years on one court and 8, or double the amount of time, on another.

Tennis Court Construction Methods | Surface Longevity

Tennis courts, and other sport surfaces, should be properly built. There are important differences between a parking lot or driveway, and a tennis court surface.  The American Sports Builders Association (ASBA) maintains construction guidelines for tennis courts and even has a certified tennis court builder program.  If tennis courts are not built correctly, they could require more frequent repairs and resurfacing.  Here are just some of the common construction problems influencing the decision of how often tennis courts should be resurfaced:

  • Improper slope = ponding water and premature breakdown of acrylic surfacing system.
  • Insufficient compaction  = susceptible to deforming, moisture damage, cracking, etc.
  • Incorrect or missing drainage system = backup of water and a long list of problems like surface bubbles/blisters, premature surface wear, and more.

Environmental Conditions and Surrounding Issues | Resurfacing Cycle

Acrylic tennis court surfaces require very little maintenance, but here are few important tips in extending the life of color coatings:

  • Surface debris removal – Don’t let leaves, pine needles, or any other organic debris build up on the court surface.  It will hold moisture and rot on the surface.  This is cause faster wear of the tennis court surfaces.
  • Trim edges – Be sure to keep grass, vegetation, and dirt trimmed down around the court edges.  This will help to prevent back-up of water that drains off of the court.  Puddled water will break down the acrylic surface coatings prematurely, and result the need for more frequent resurfacing.
  • Periodic washing –  Light to moderate pressure washing of the surface with mild detergents will help to extend the surface life and keep the court surface looking good.

Acrylic Resurfacer | Money Well Spent When Resurfacing

Many court owners want to skip the Acrylic Resurfacer step and just apply the color coatings.  Acrylic Resurfacer re-textures an old smooth court and helps to ensure the proper application rate of color coatings.  Since tennis court coatings are applied with a soft rubber squeegee, the colored surface coatings tend to “wipe off” when the surface is old, smooth and polished.  This results in thinner surface layers that won’t last as long, and definitely impacts how often the tennis court should be resurfaced.

Active Players and Busy Tennis Courts

Obviously, if there is good tennis programming and lots of players, it can impact the wear of the tennis court surfaces.  Active players and high traffic counts will speed up wear of the surfaces.  If this is known before resurfacing, talk to  a SportMaster representative and they can offer recommendations or prepare a custom scope tailored to your facility.  Extra coats may be recommended to extend the life of your tennis court surfaces.

Is It Time To Resurface Your Tennis Court?

Click on the “Contact Us” button and we can put you in touch with a factory-authorized tennis court contractor.  They can provide free estimates and make sure your tennis court is resurfaced properly. SportMaster Sport Surfaces are stocked and supported world-wide, and are ideal for all climates from extreme heat to frigid cold.


How Do You Get Rid Of Puddles On A Tennis Court?

So, how do you get rid of puddles on a tennis court?  Puddles on a tennis court are a nuisance for many reasons.  Either you wait for the water to evaporate before you play, or get a court dryer to move the puddles off the surface.  Puddled areas, or low spots, can also be a trip hazard if they have sunk enough to effect the players footing.

But what about adverse effects on the acrylic surfacing?  Acrylic tennis court surfaces are very durable, and designed to have good wet adhesion and resistance to the elements.  However, if water sits on the surface for prolonged periods of time, it will shorten the coating life and begin to break it down.  Plus, when water puddles in those areas, dirt and debris tends to accumulate in the water.  This creates a sandpaper-like friction on the surface from play and scuffing of tennis shoes.  The bottom line is, none of this is good for the tennis court surface.

Removing Low Spots and Puddles with Acrylic Patch Binder

The American Sports Builders Association maintains guidelines for puddles, or “birdbaths” on a tennis court surface.  A hour after a rain, or flooding the court, any area where standing water is measured at 1/16″ (2mm) is in need of patching.  This is usually measure by placing a U.S. nickel in the center of the puddle, and if the water covers the head of the nickel, it is deep enough to require leveling.

Acrylic Patch Binder is a 100% acrylic binder that is job-mixed with portland cement and specifically graded silica sand.  This creates a slurry that can be poured into the puddle area and screeded in with a steel or aluminum straightedge.  If done properly, this will bring the low, puddled area back to level and allow the water to flow off the court (with help from the court’s 1% slope).

Is Tennis Court Patching a DIY Project?

Leveling birdbaths and patching tennis courts can be very tricky without proper experience.  If not properly done, you can easily create a dam on your tennis court surface.  We would highly recommend seeking a qualified tennis court contractor to do this the correct way.  Feel free to contact us and we will be happy to provide you with experienced and affordable sport surfacing professionals.
Here is a short video demonstrating mixing and application of SportMaster Acrylic Patch Binder on tennis court puddles: