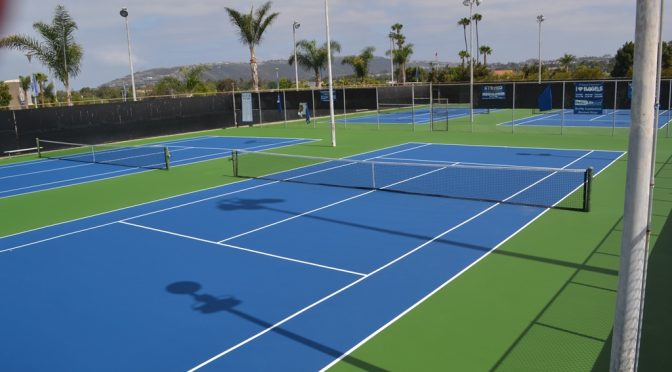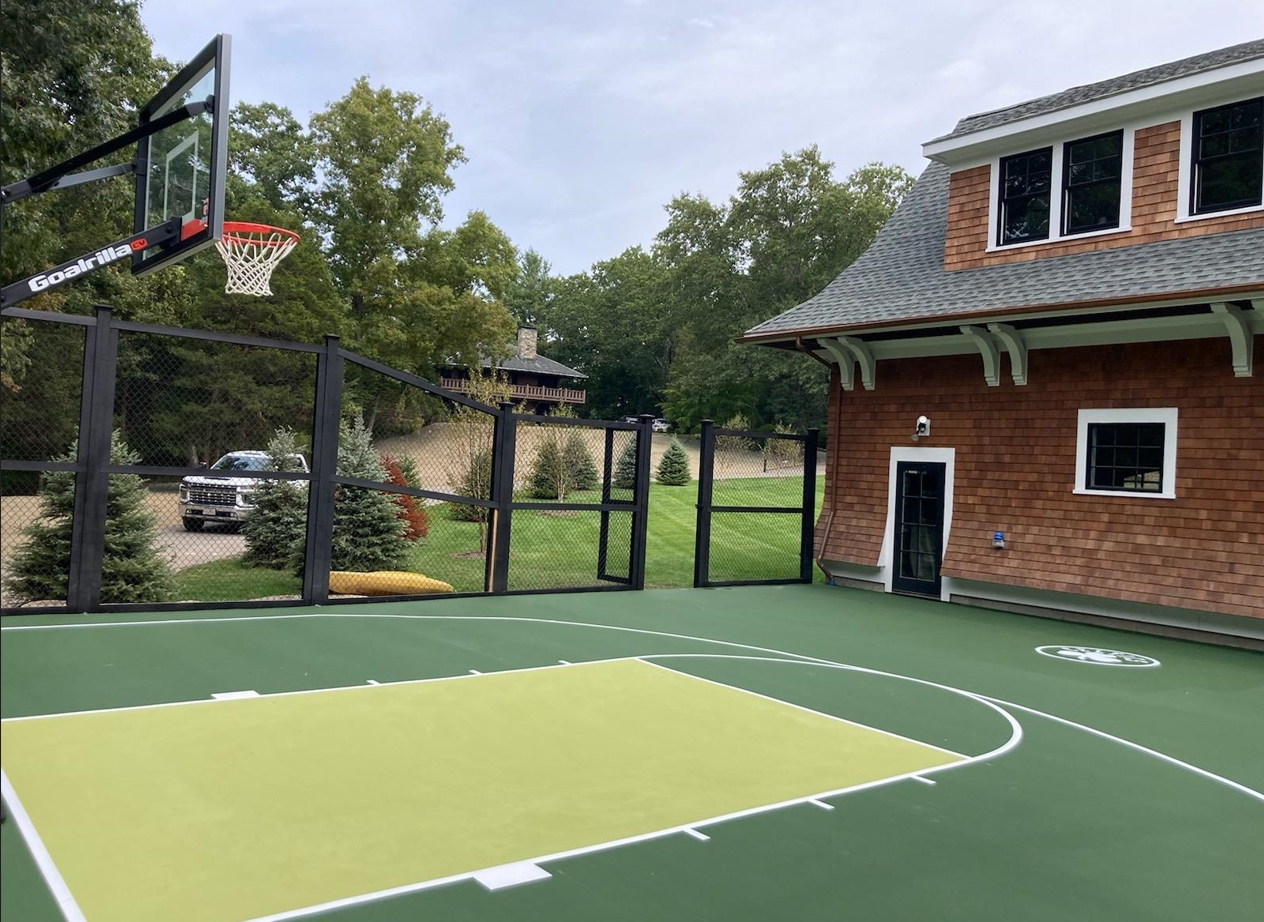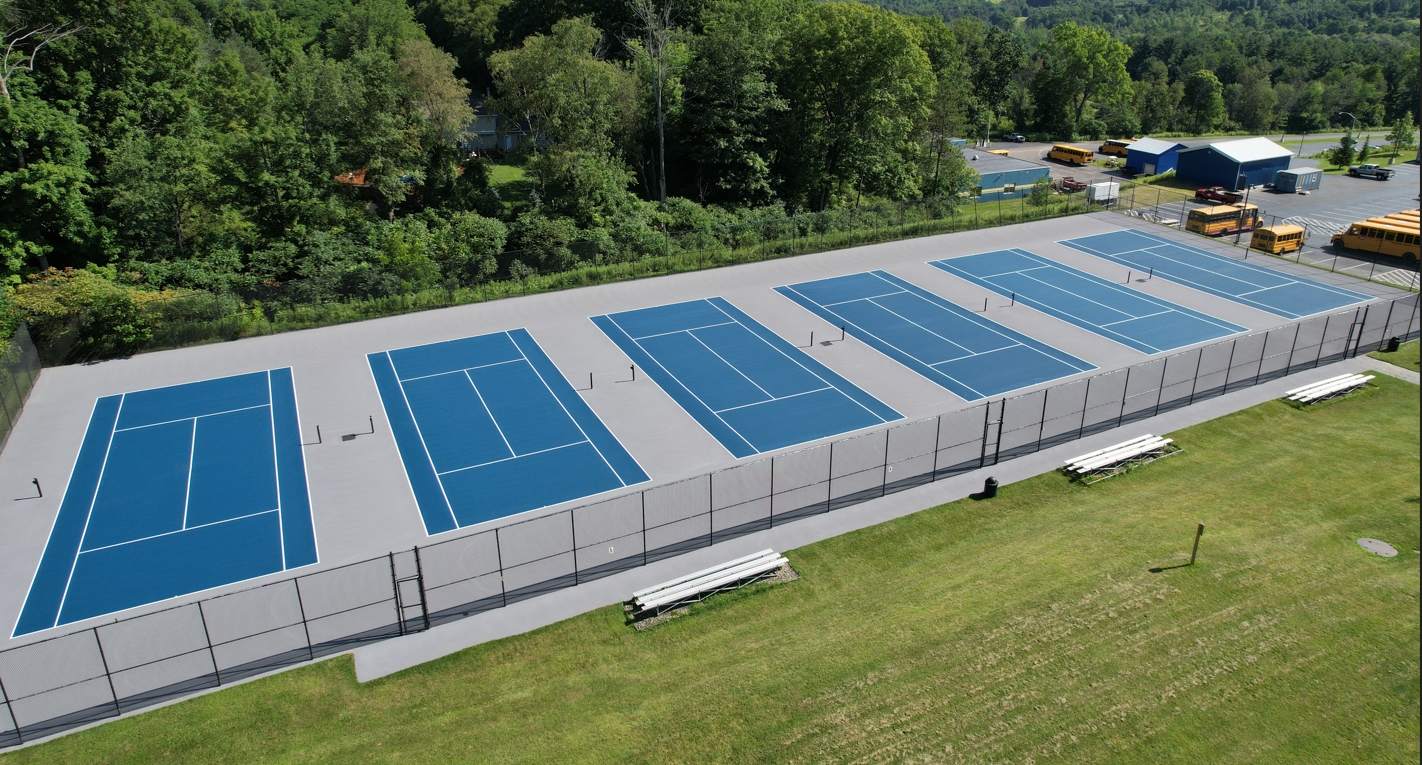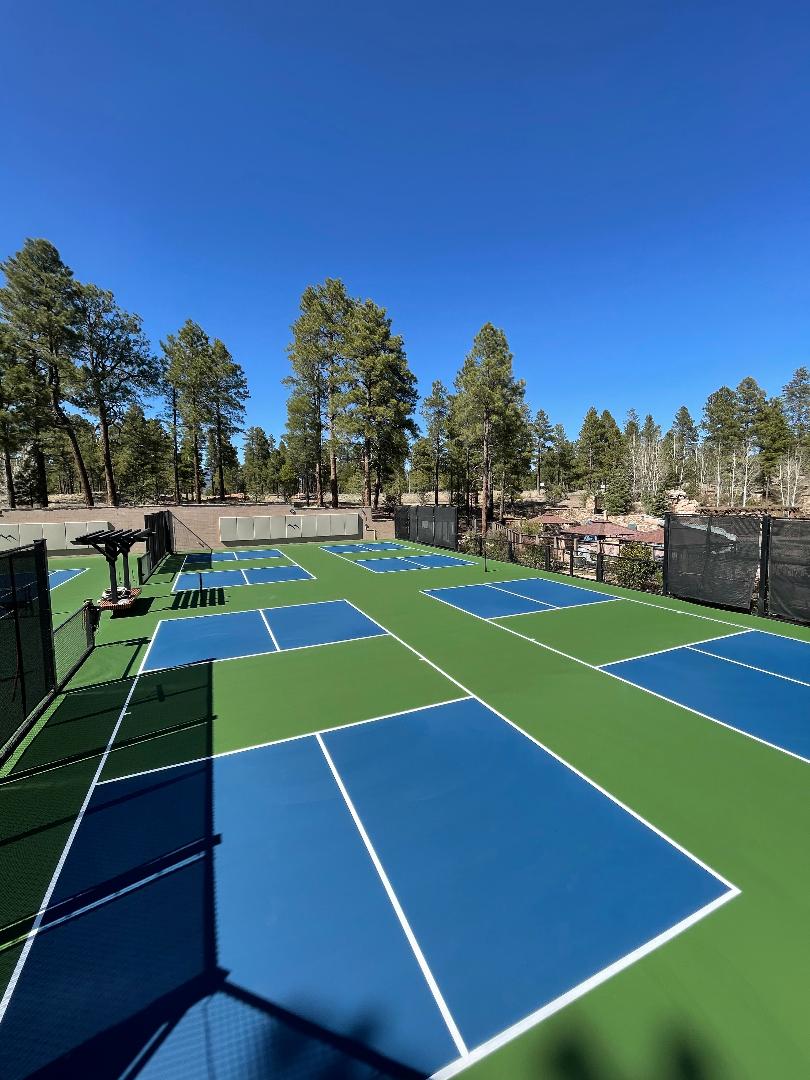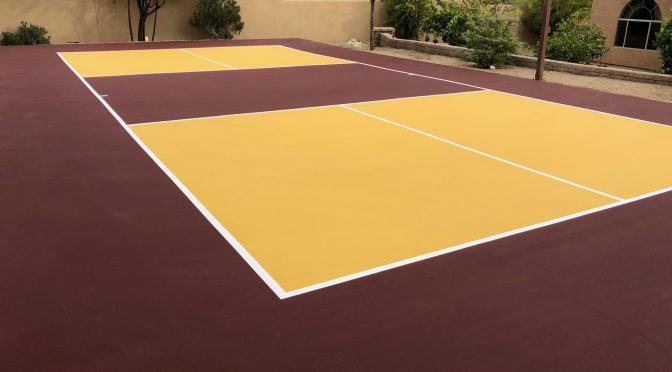
Acrylic athletic surfacing systems—including hard court and cushioned variants for tennis, pickleball, and basketball—are the industry standard for durability and performance. However, coating detachment in the form of blistering can occur if moisture dynamics beneath and within the concrete slab are not properly managed.
This bulletin explains the root causes of blistering, proper construction standards to prevent it, and methods for remediation.
The Science of Blistering: Vapor and Hydrostatic Pressure
Acrylic court coatings are engineered to be semi-permeable. This “breathability” allows microscopic amounts of moisture vapor to safely escape the system without compromising adhesion.
However, issues arise when the volume of moisture beneath the slab exceeds what the coatings can naturally vent:
Capillary Action & Solar Heat: While concrete appears solid, it is actually porous, containing a network of microscopic capillaries. When the sun beats down on the court surface, it creates a thermal draw, pulling moisture upward through these capillaries as water vapor.
Hydrostatic Pressure: If there is excessive water accumulation beneath the concrete, the upward pressure (hydrostatic pressure) overwhelms the chemical bond of the acrylic coatings.
System Thickness: This phenomenon is particularly critical for cushioned court systems. Because cushioned systems utilize thicker layers and more total coats of material, their overall breathability is naturally reduced, making proper moisture mitigation even more vital.
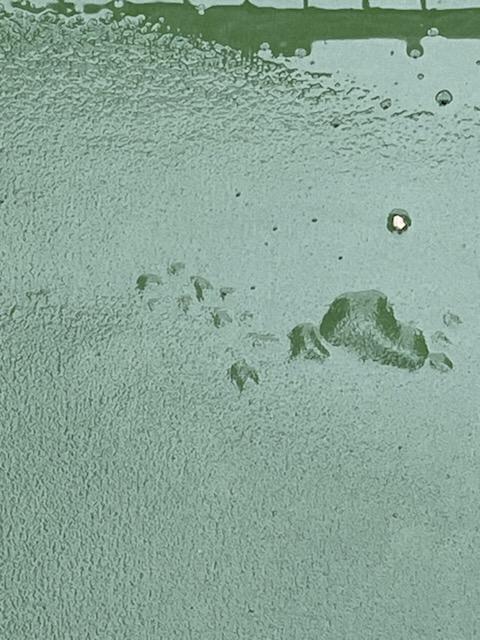
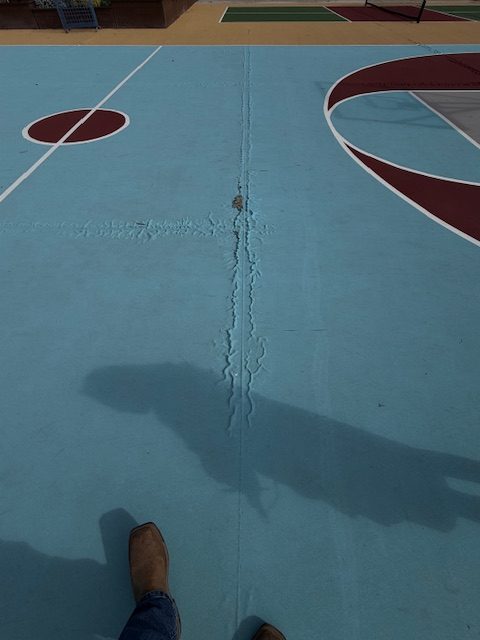
When hydrostatic pressure exceeds the coating’s bond strength, the material detaches from the substrate, resulting in fluid- or vapor-filled blisters.
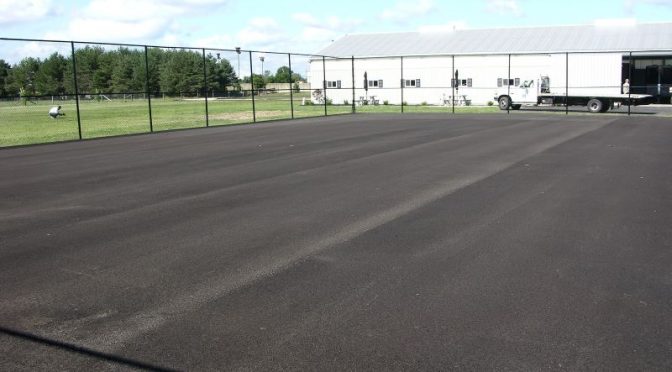
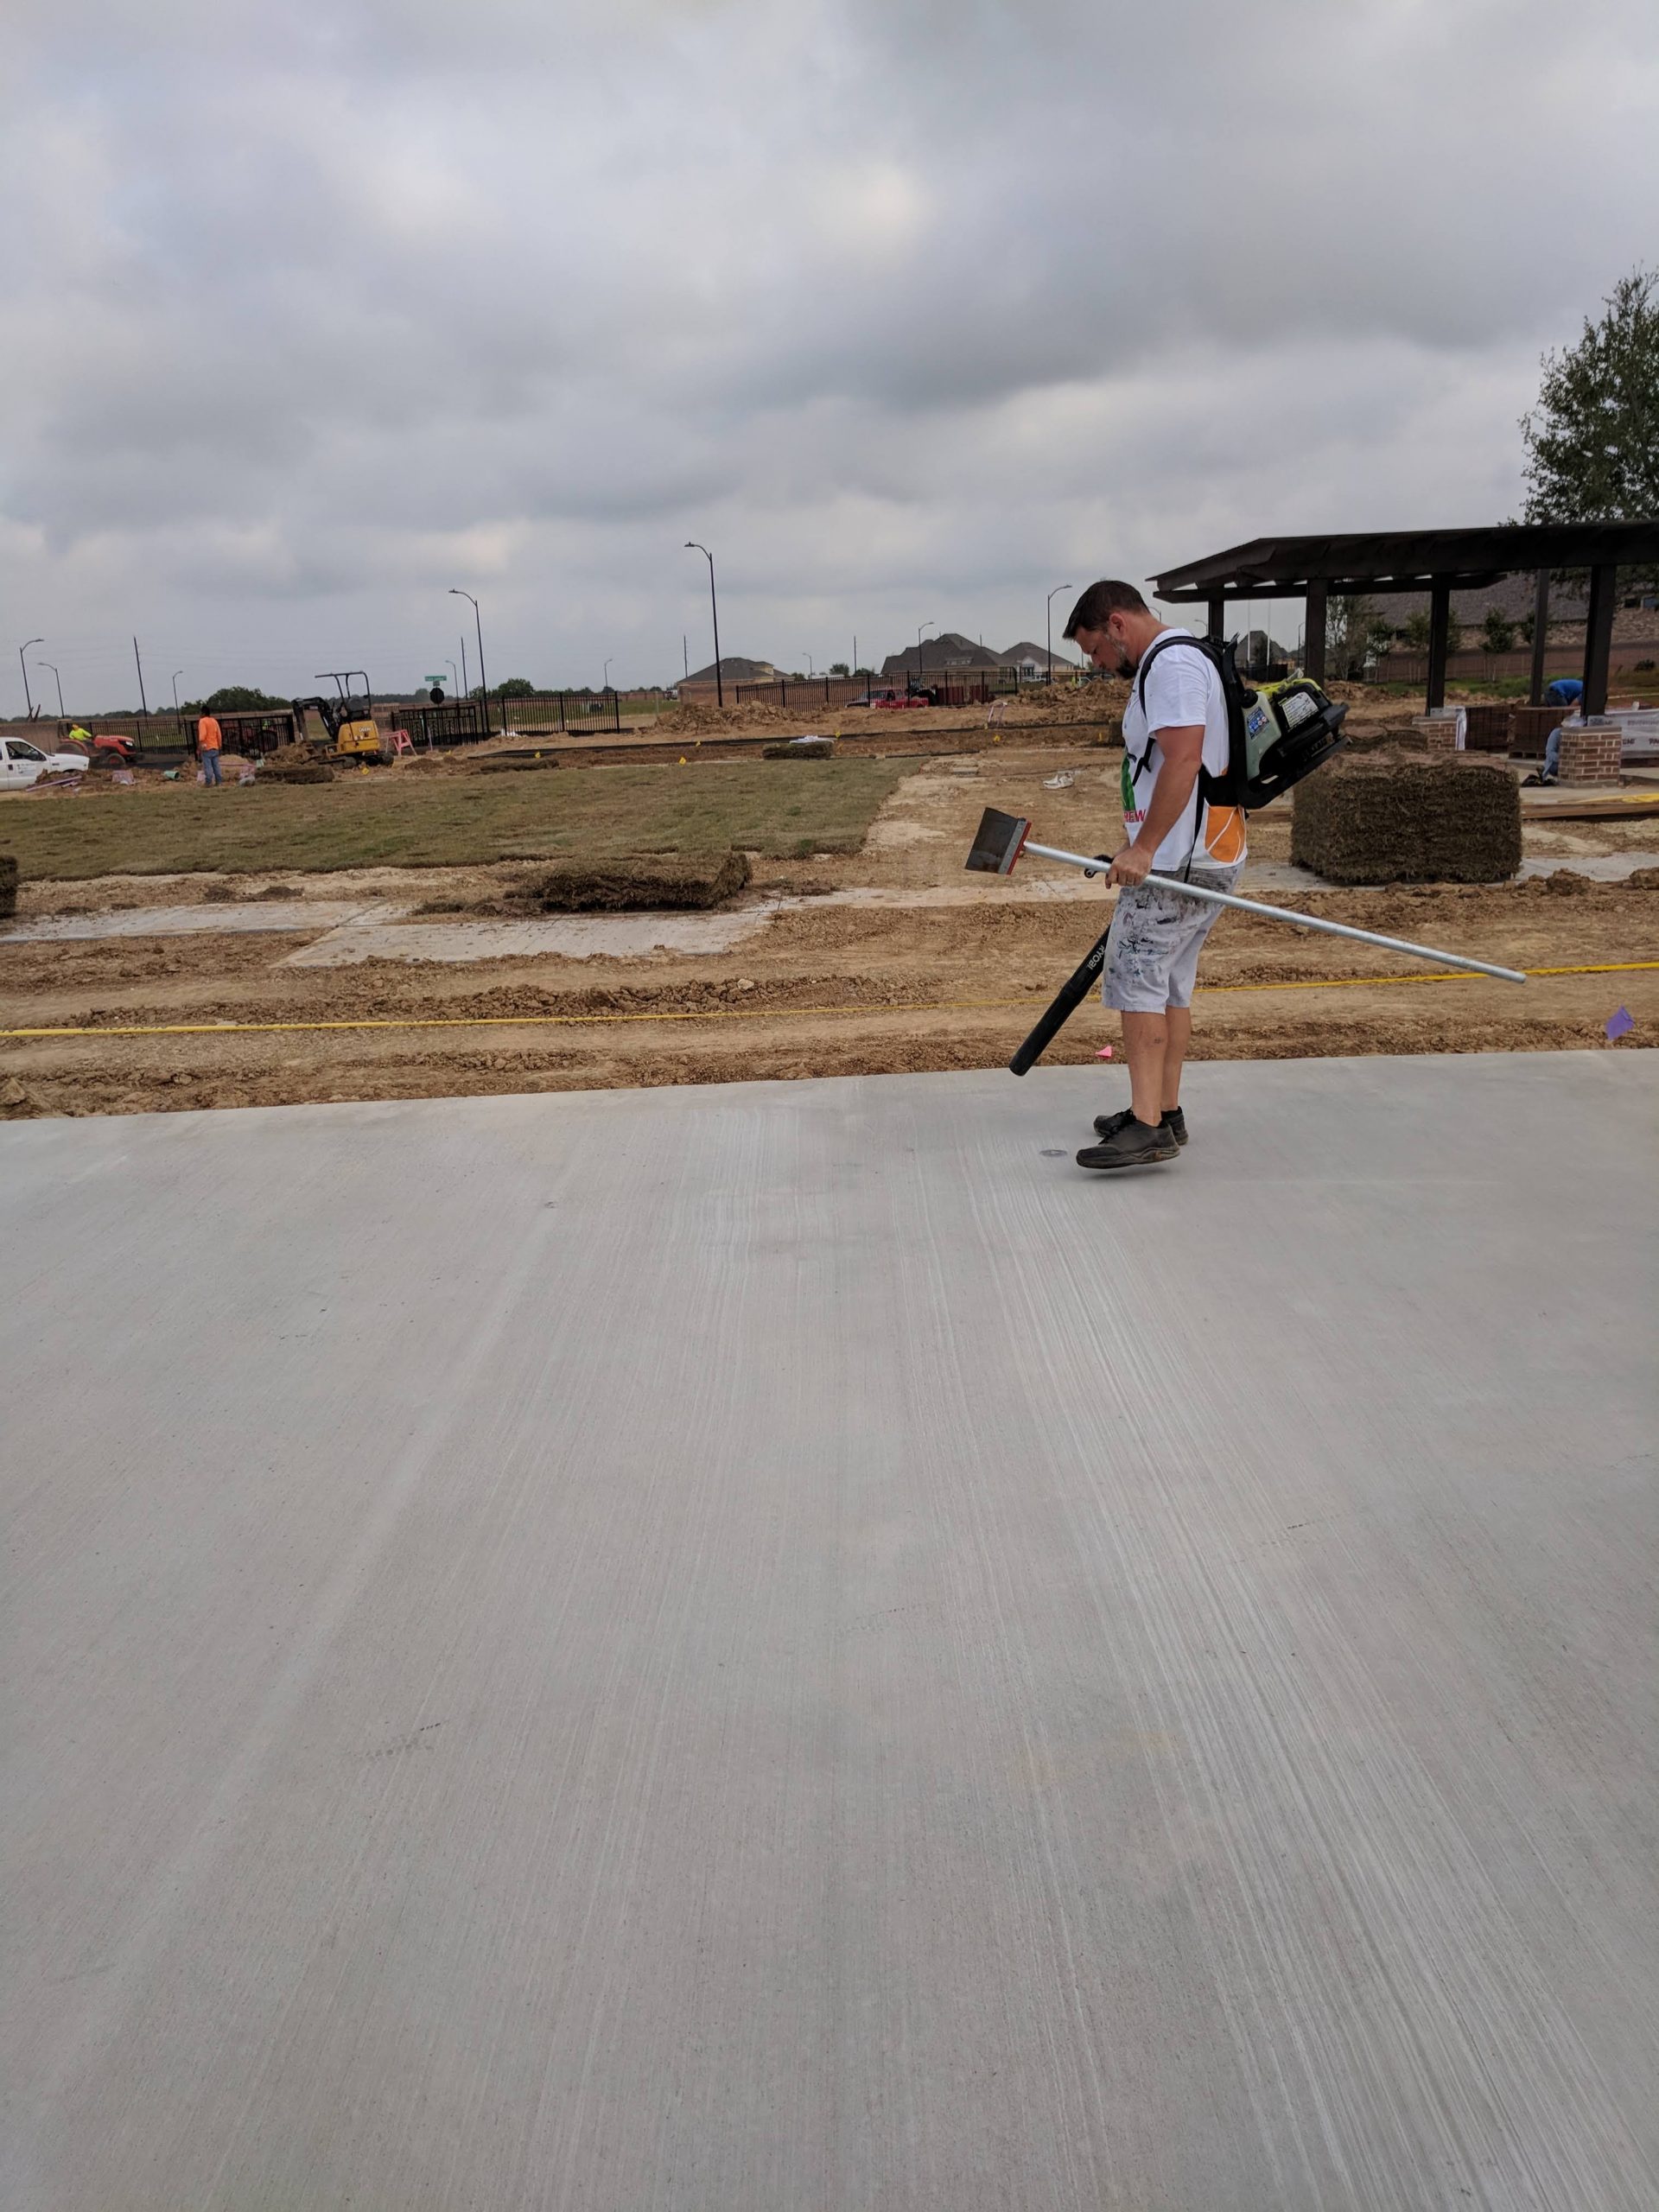
Concrete Preparation for Maximum Coating Adhesion
Achieving an optimal physical and chemical bond is critical to preventing delamination and blistering. The following surface preparation protocols must be strictly enforced before applying any SportMaster materials:
No Curing Compounds: Ensure absolutely no curing compounds are used on the concrete surface during the curing process. These compounds form a barrier that blocks the acrylic coatings from penetrating and bonding to the concrete.
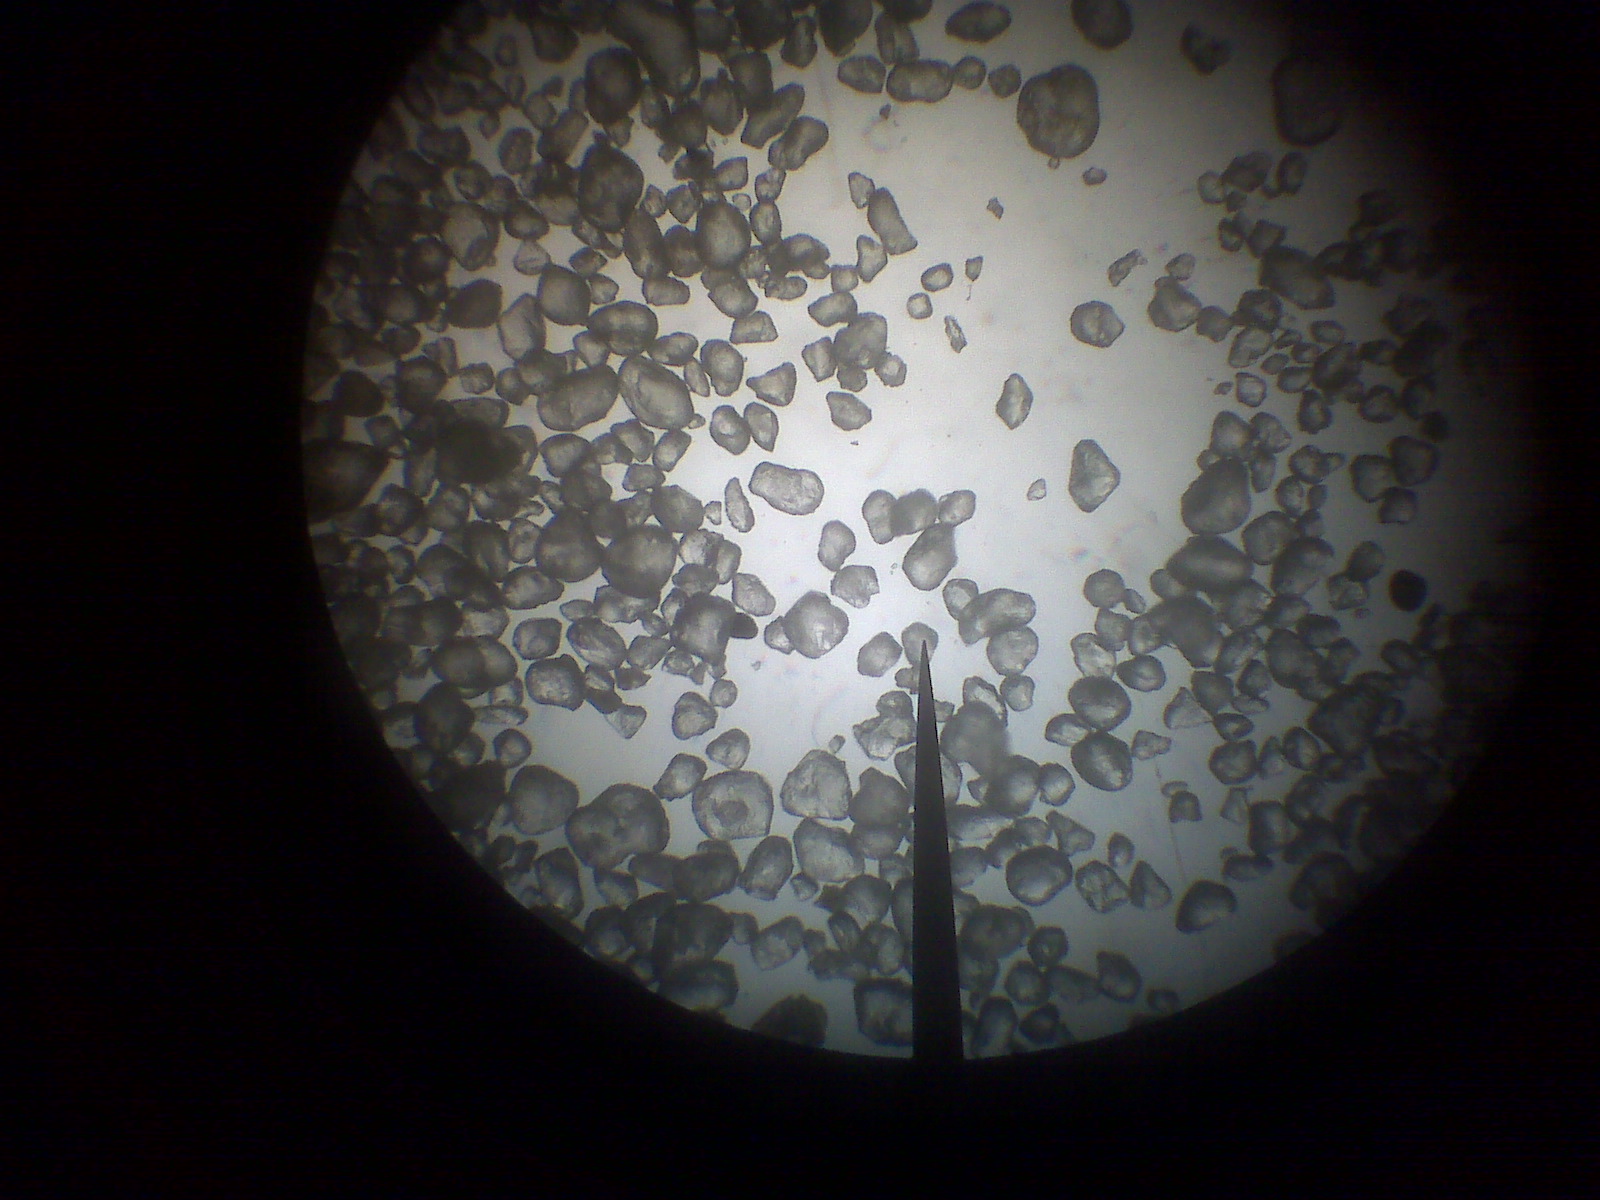
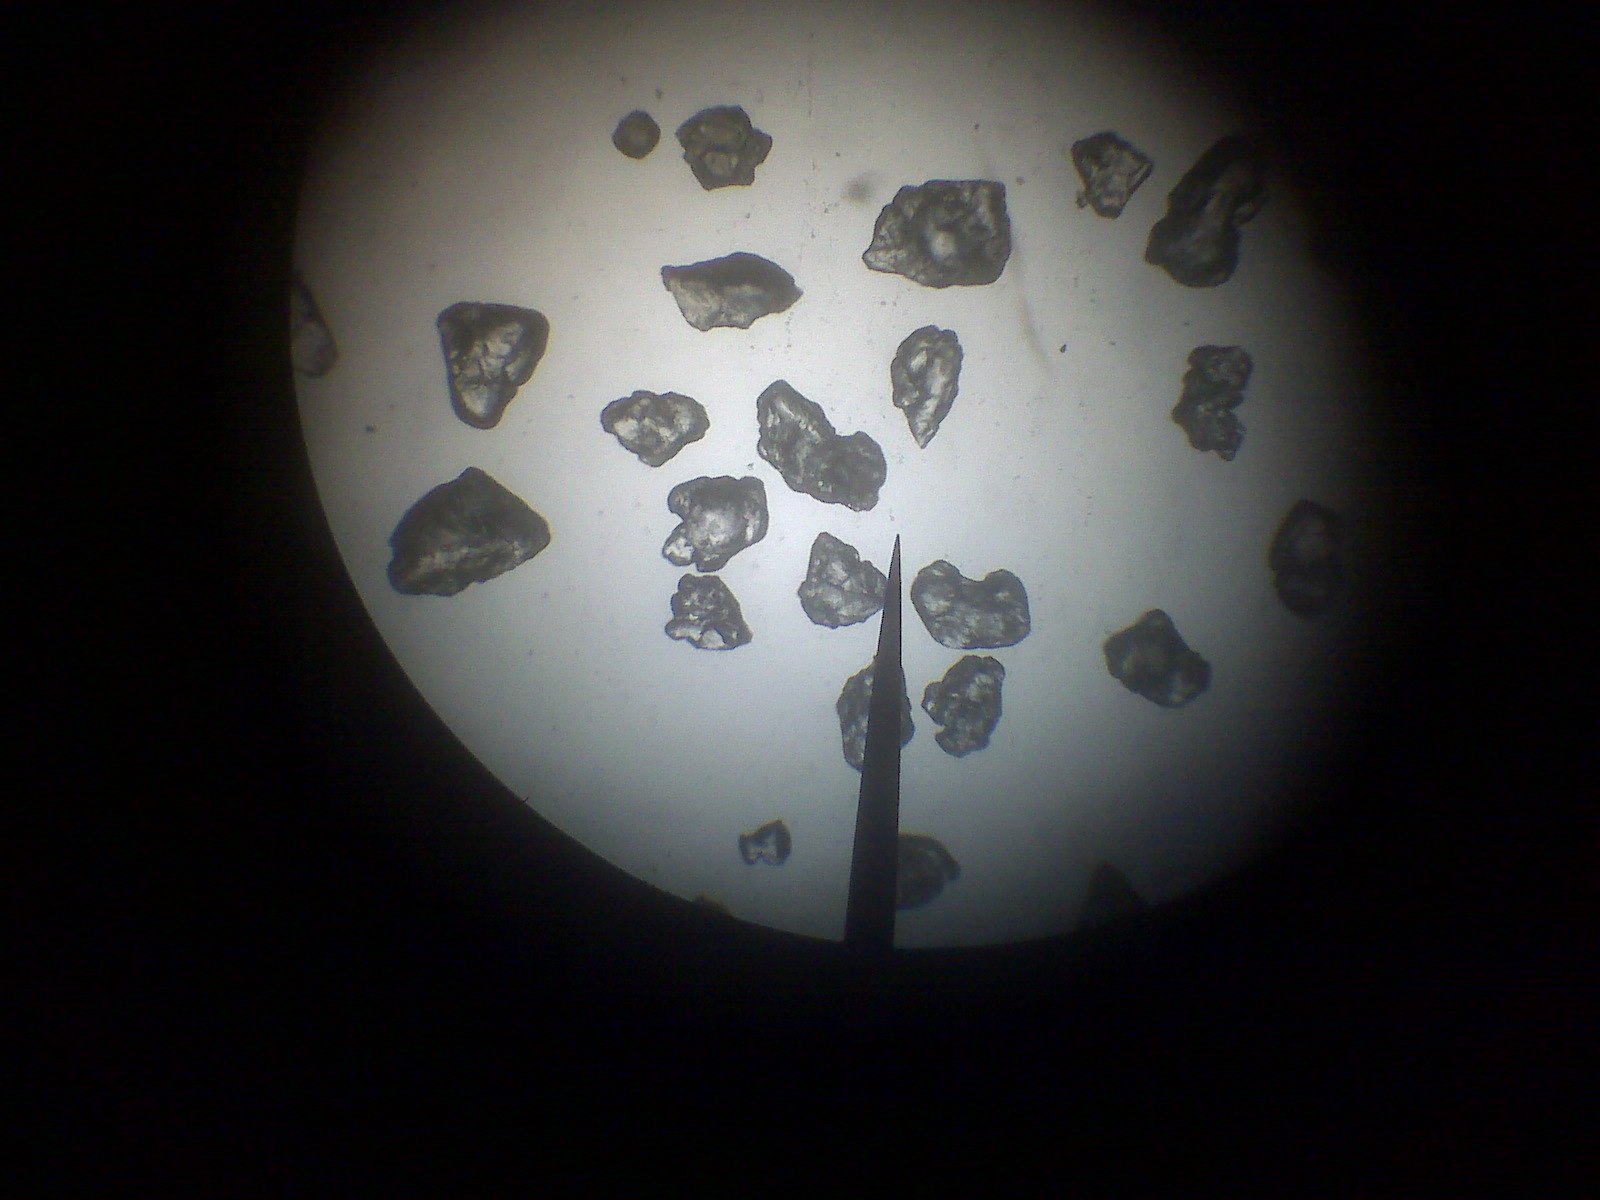
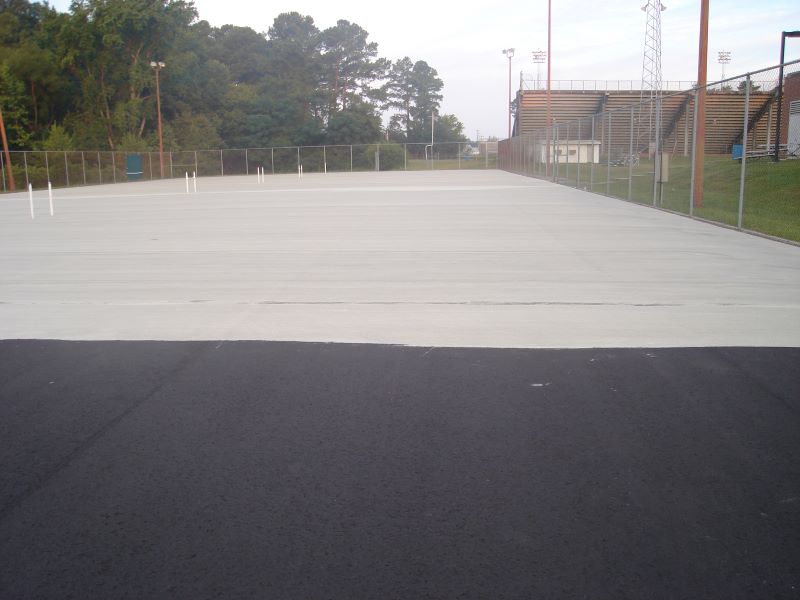
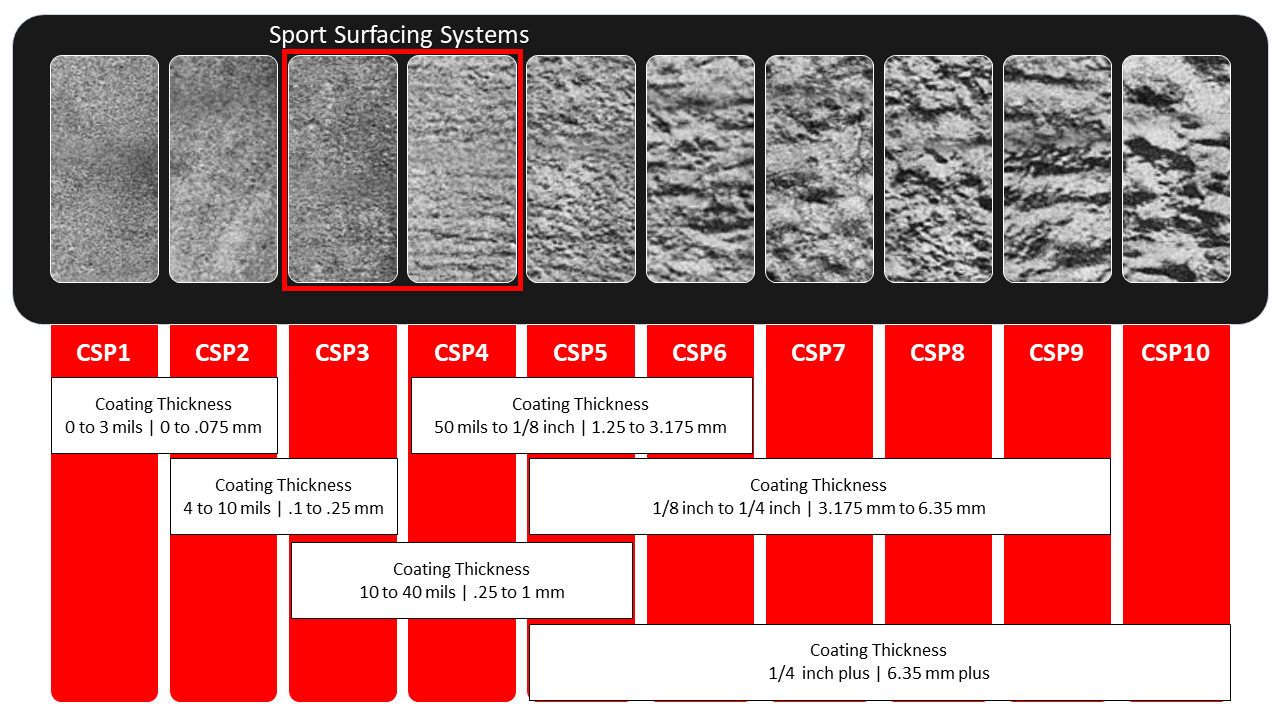
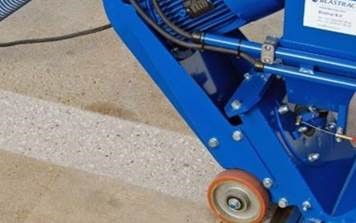
Surface Profile (Physical Bond): The concrete surface must be finished with a medium-broom finish, or mechanical profile achieving a Concrete Surface Profile (CSP) of 3 to 4. A surface that is too smooth lacks the necessary mechanical anchor pattern required for an enduring physical bond.
Acid Etching & pH Balancing (Chemical Bond): After allowing the concrete to cure for a minimum of 28 days, the surface must be acid etched using properly diluted muriatic or phosphoric acid. This process neutralizes the high alkalinity inherent in new concrete, providing a neutral pH profile ideal for an optimal chemical bond.
Preventive Construction Standards (ASBA Guidelines)
To prevent moisture from entering the concrete slab, court construction must strictly adhere to the American Sports Builders Association (ASBA) guidelines regarding drainage and vapor barriers.
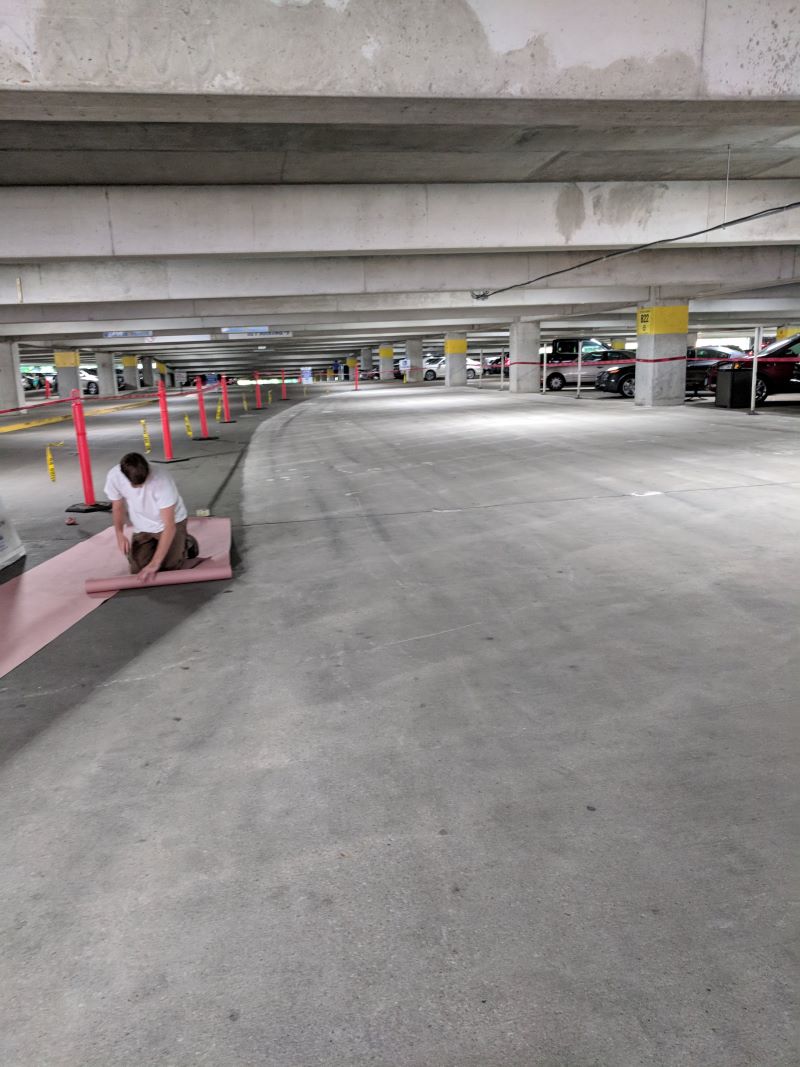
1. Under-Slab Vapor Barrier
A robust moisture barrier must be installed directly beneath the concrete slab during construction:
Specification: A minimum of 2 layers of 6 mil polyethylene sheeting must be utilized.
Installation: Sheeting must be laid in opposite, alternating directions with all seams overlapping and securely taped to form an impermeable seal.
2. Perimeter Drainage (French Drains)
Even with an under-slab barrier, water can migrate laterally from the court’s surroundings. If water hits the edge of the slab, it can bypass the barrier and travel between the polyethylene sheeting and the concrete.
Requirement: Continuous perimeter drainage, such as French drains, must be installed around the entire perimeter of the court to redirect ground and surface water away from the slab.
3. Surface Slope and Drainage
Surface water that sits too long can also soak downward through the semi-permeable coatings, only to be pulled back up by solar heat, generating top-down blistering.
Slope Specification: The concrete slab must be properly sloped at a 1% tilt in one direction (equivalent to a 1-inch fall for every 10 feet).
The “Nickel Test”: No low areas should hold puddled water for more than 1 hour after a rain event. Any standing water must not exceed the thickness of a standard nickel.
Repair and Remediation
CRITICAL STEP: Do not attempt aesthetic surface repairs until the root cause of the water accumulation beneath the slab has been completely diagnosed and corrected. If the drainage failure is not fixed, new blisters will inevitably form.
Once sub-surface moisture issues are resolved, existing blisters can be repaired using the following methods:
For Intact (Unpopped) Blisters:
Use a small syringe to inject a small amount of SportMaster Acrylic Patch Binder liquid directly into the blister cavity.
Place a heavy weight over the area to press the coating back into contact with the concrete substrate until cured, effectively reattaching the layer.
For Popped, Peeled, or Damaged Blisters:
Scrape away all loose, delaminated coating materials down to a sound, clean concrete substrate.
Level the depression using SportMaster Acrylic Resurfacer (incorporate CushionMaster products if repairing a cushioned system) to bring the area flush with the surrounding court surface.
Apply matching SportMaster color coatings to touch up and restore the visual uniformity of the playing surface.
For additional technical assistance, specification documents, or product inquiries, please contact your local SportMaster representative.