Tag Archives: curing

How long should asphalt cure before applying sport surfaces

Question: How long should asphalt cure before applying sport surfaces?

Answer:  New asphalt should cure a minimum of 14 to 30 days, prior to application of a sport surfacing system.

Asphalt Curing & Sport Surfacing Systems

Asphalt consists of rock, generally limestone, and liquid asphalt.  The liquid asphalt, also referred to as asphalt cement or asphalt binder, is the “glue” that holds the rock together and enables the paving layers to bind to the prepared base.

When asphalt is newly paved in place, it exudes some excess asphaltic oils during the initial curing of the slab.  It’s important to let some of the oils cure out, before application of any coatings, sealants, and sport surfaces.

Prime Asphalt Curing Conditions

Risks of Inadequate Asphalt Curing Before Surfacing

If the asphalt is too rich with asphalt binder and hasn’t had the opportunity to cure, or release the initial gush of asphalt oils, it can potentially lead to:

  • Lack of proper coating system adhesion (which may result in peeling and other paint and coating failures)
  • Staining, yellowing, and discoloration of the sport surfaces and coatings.

What are prime conditions for asphalt curing?

Hot & sunny conditions will help to pull the rich asphalt binder up to the surface.  Once the excess oils are pulled to the surface, it is also important to have rainfall.  This helps to rinse some of the oils away and “unplug” the pavement voids.  The combination of sun to draw the oils to the surface and water to rinse them away, allows for continuous prime curing conditions.

If the conditions are good, the asphalt can be ready to coat in a minimum of 14 days.  The safer option is to wait 30 days, if time allows.  If conditions are warm and sunny after paving, but the area experiences a drought, rinsing of the surface by manual methods can help to keep the curing process in motion.  Indoor asphalt curing can take longer than 30 days,  to ensure sufficient release of oils.

Asphalt Sport Surfaces

Since there are variables, and no actual testing processes to guarantee initial curing, it is best to allow proper time for adequate curing.  Sport coating manufacturers & experienced sport surfacing contractors are the best source for recommendations, when it comes to proper application timing.  Rushing to resurface your tennis, pickleball, or basketball court before the asphalt is ready can lead to expensive problems now or down the road.

Indoor Asphalt Curing

Acid Etching Concrete Sport Surfaces

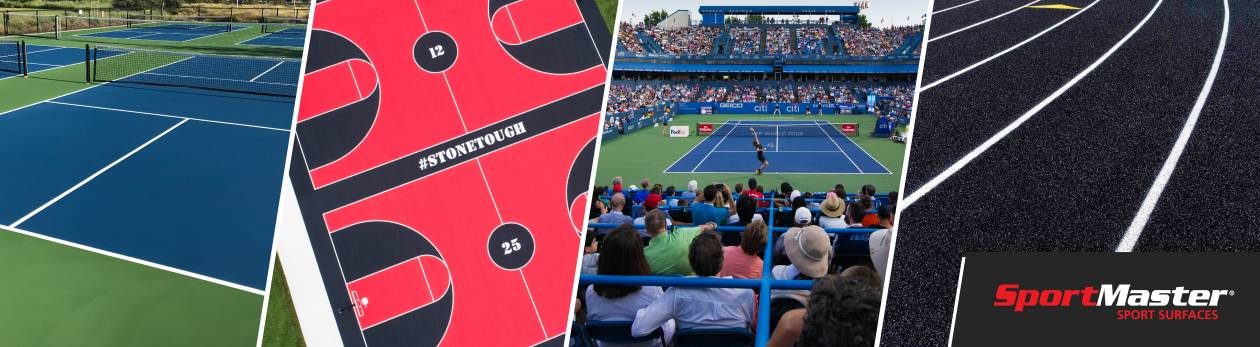
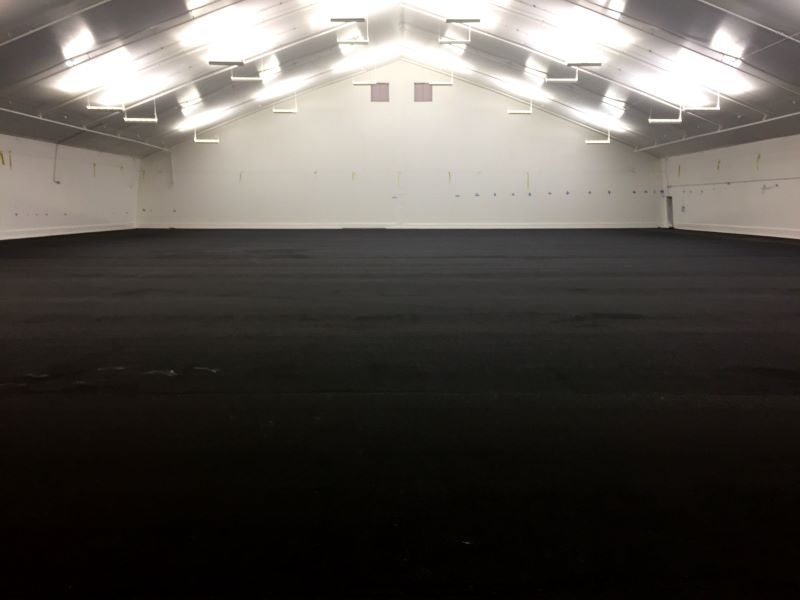
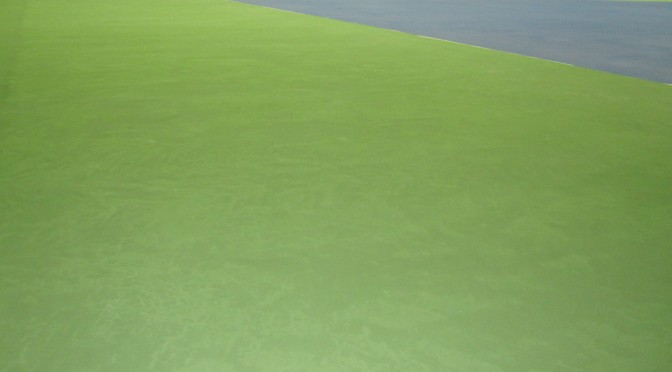
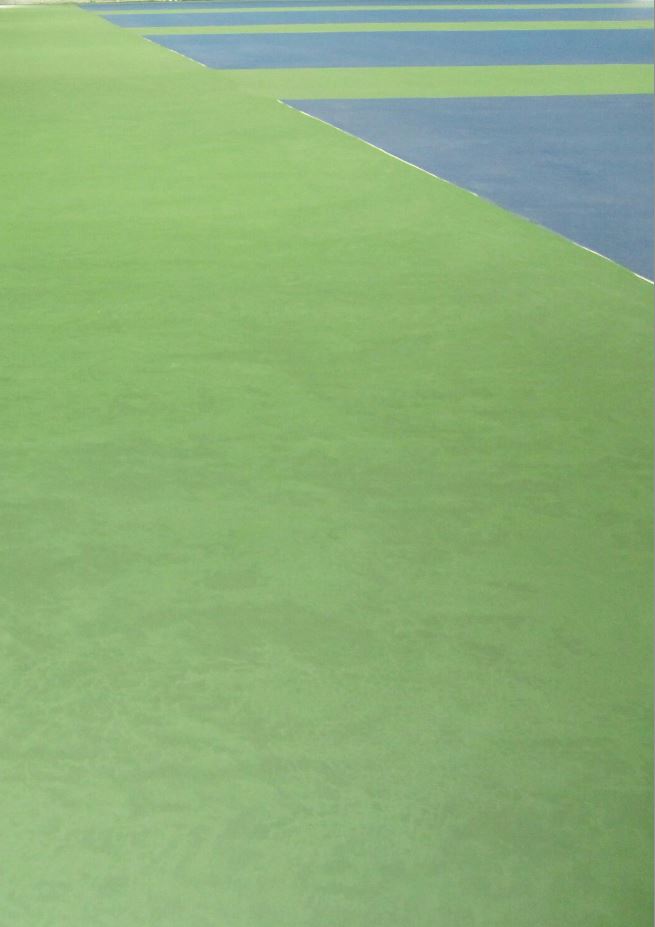
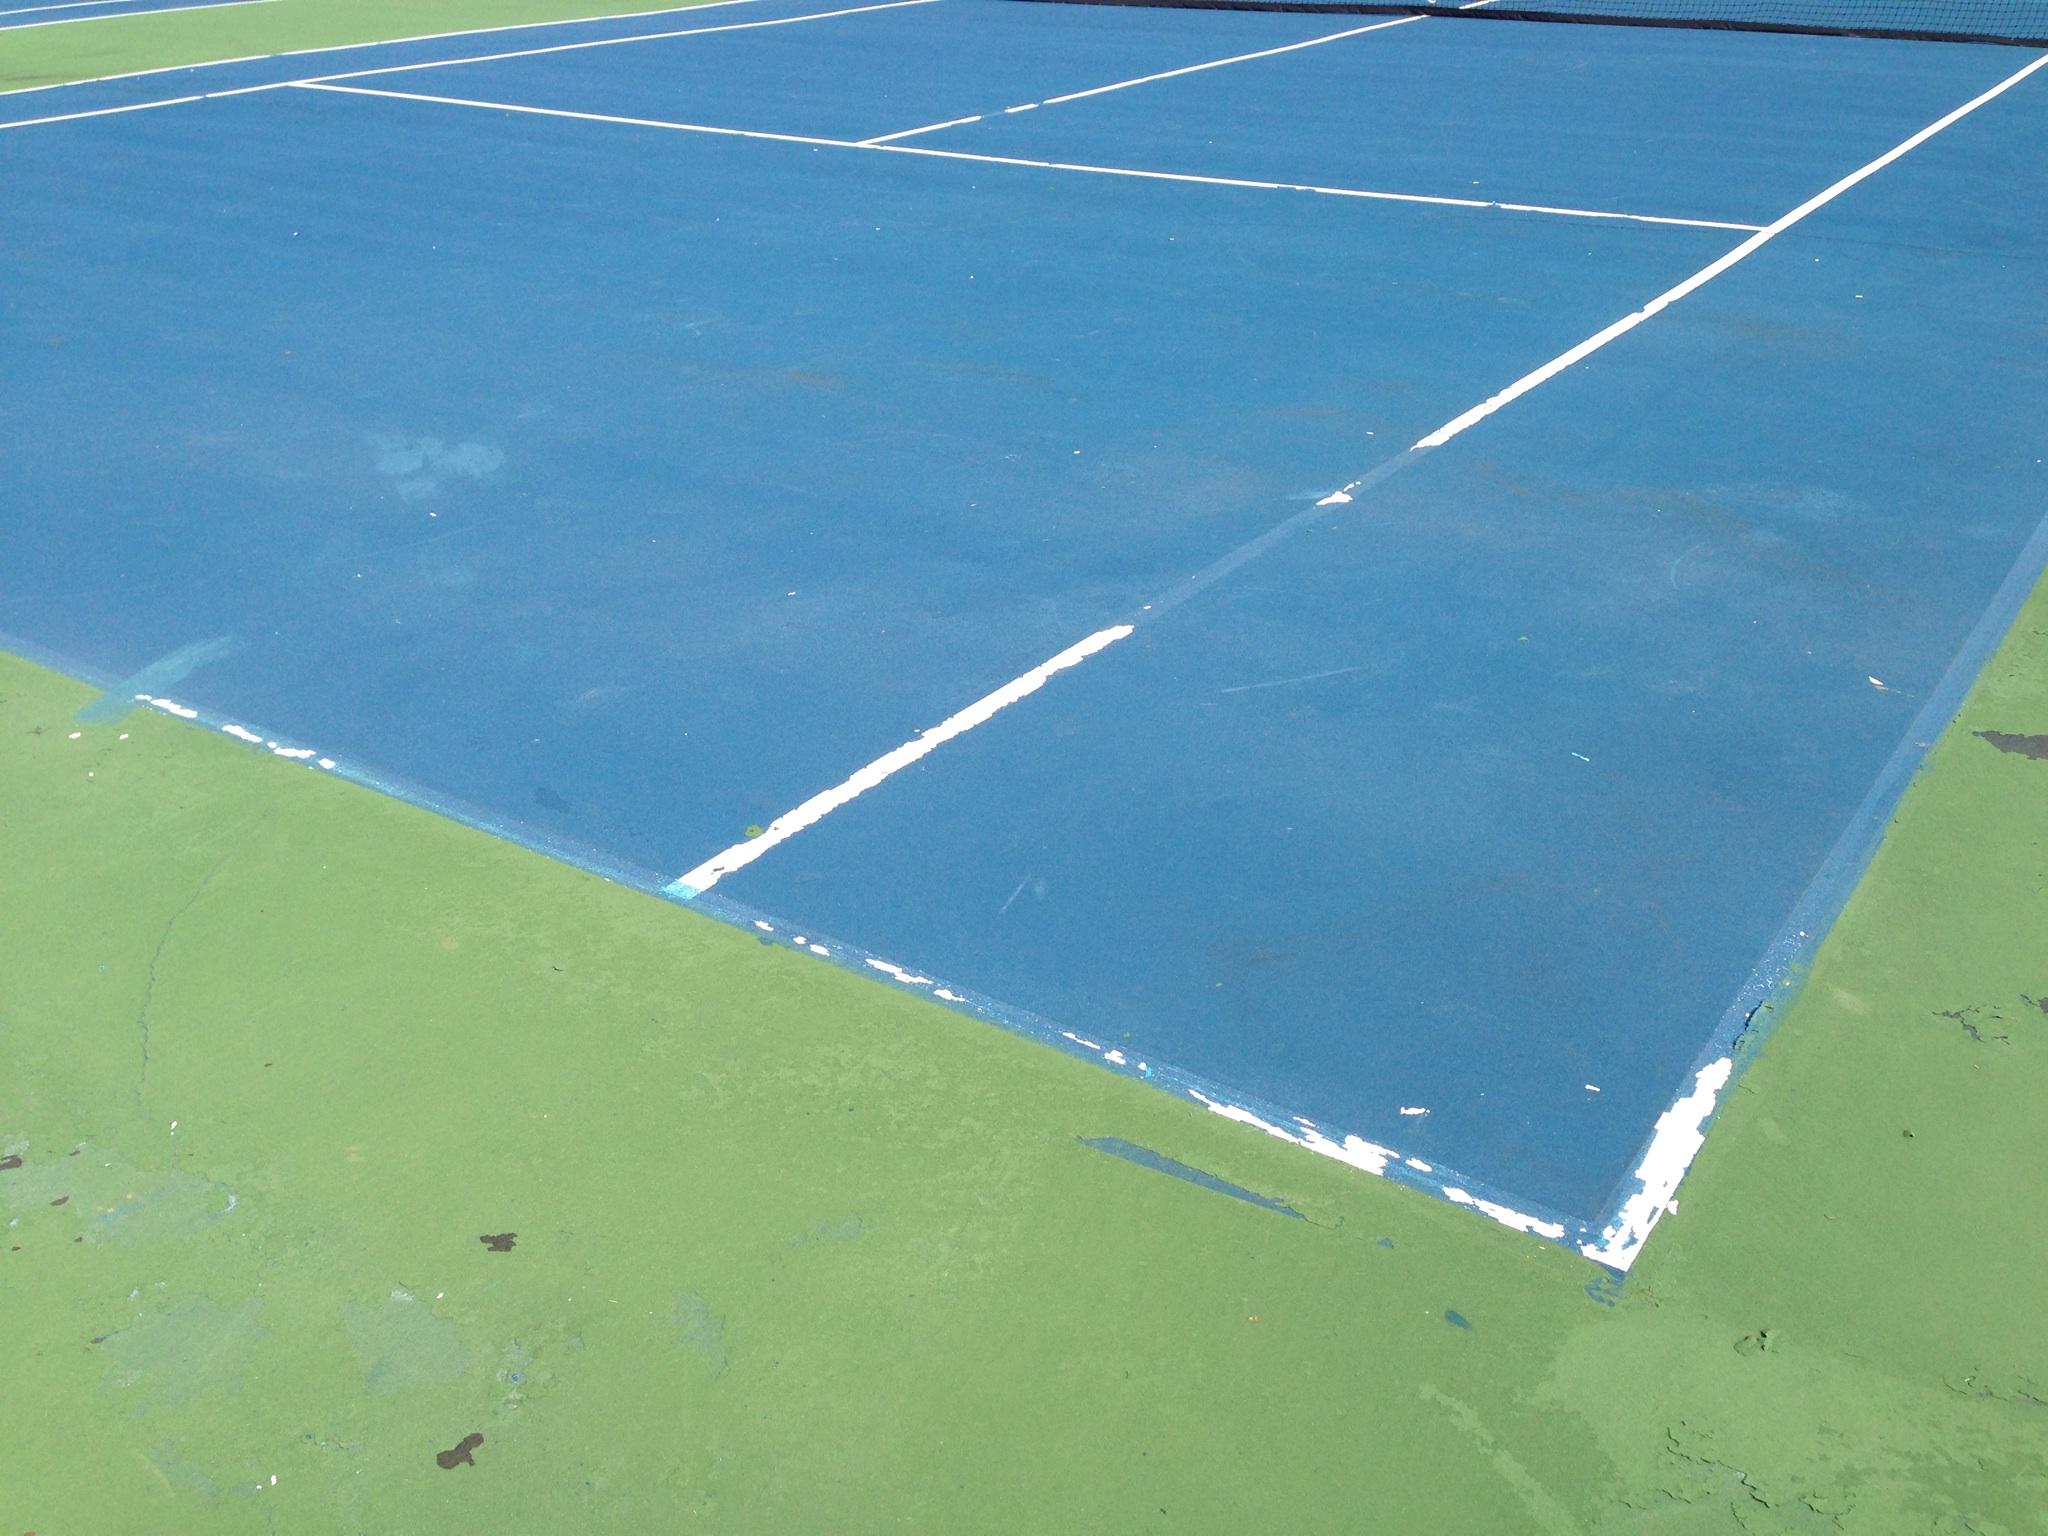
Sport and game courts are as popular as ever, especially with the extreme growth of sports like pickleball and continued popularity of basketball, tennis and multi-sport games and courts.

SportMaster has a multitude of durable and vibrant acrylic surfacing systems that are designed for asphalt or concrete courts.   Each substrate has a somewhat different approach to preparation, prior to application of the sport surfaces.  We are going to discuss a common step that is required when coating concrete courts for the first time.  This process is called acid etching or acid washing.

What Is Acid Etching? | Concrete Court Surfacing

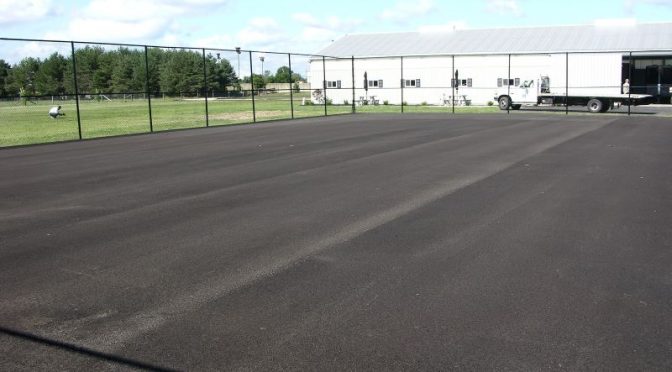
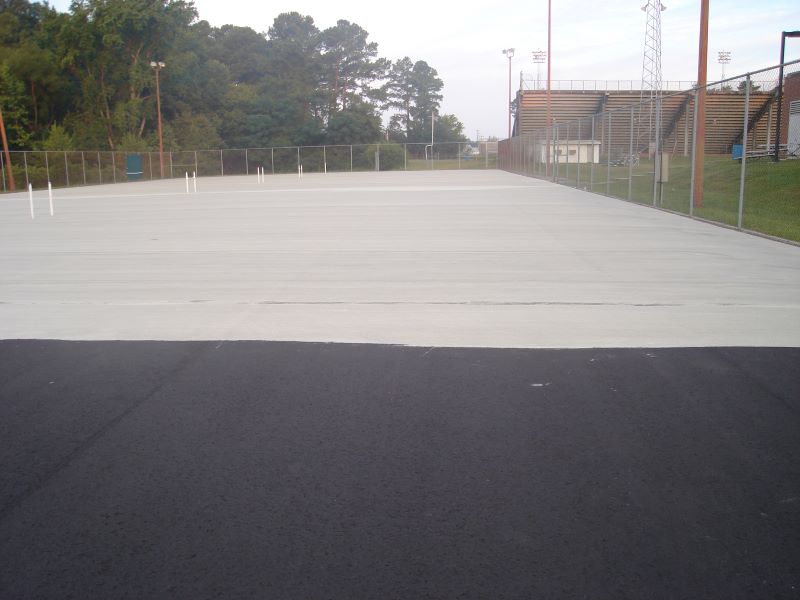
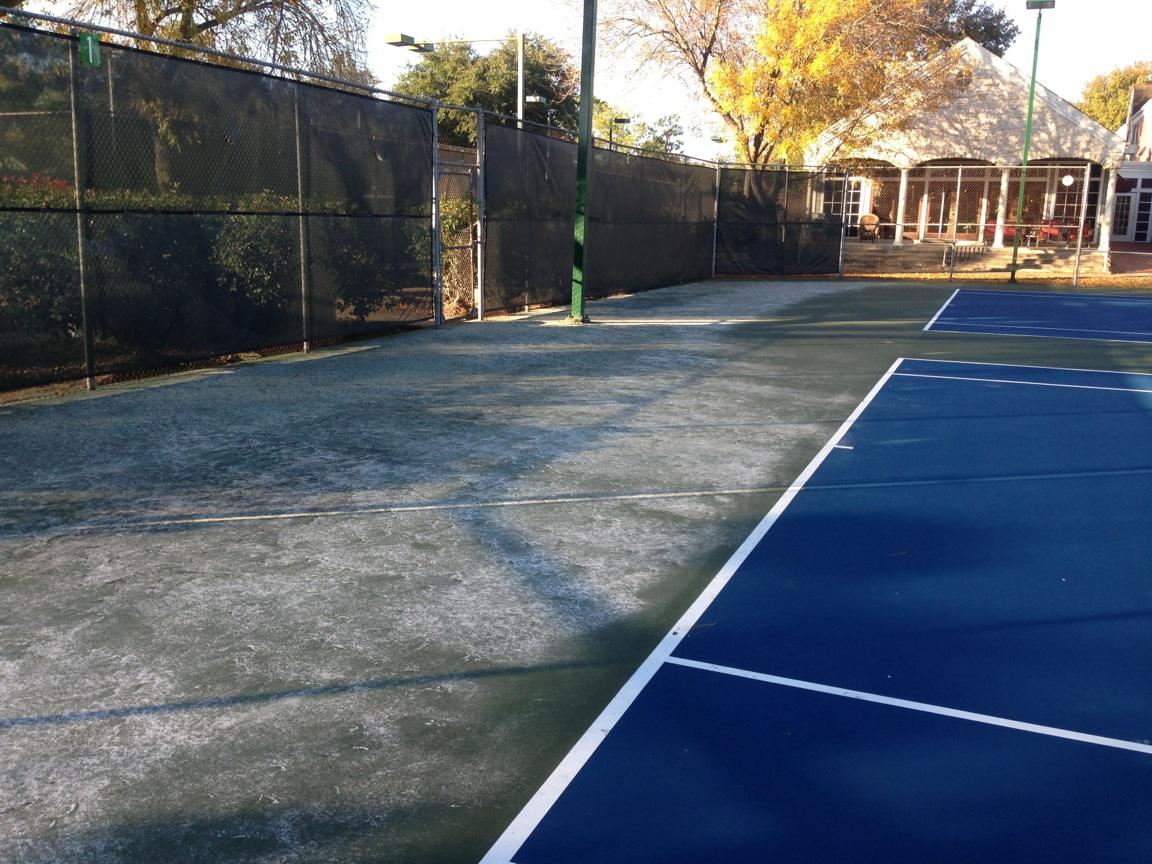
Acid etching is the process of pouring a mixture of water and acid on a fully cured concrete slab.  Generally, either muriatic or phosphoric acid is used, but muriatic is a bit easier to find.  In a nutshell, acid etching promotes an ideal environment for chemical bond of coatings to concrete.  If done properly, acid etching only has to be performed once.  If a concrete slab has not been acid etched or coated, even years after it was built, it’s always a good idea to do it.

What is acid etching?

Why do I Need To Acid Etch My Concrete Court Surface?

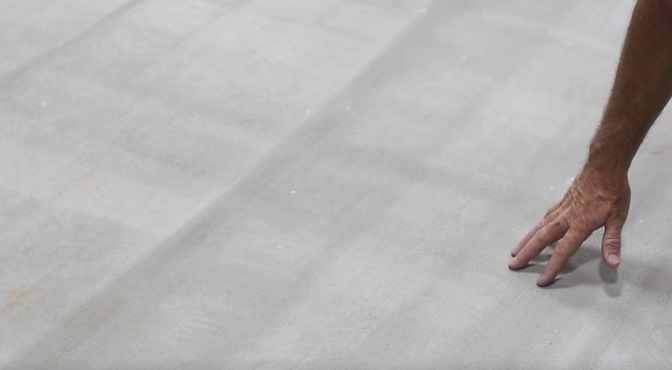
Concrete goes through a chemical curing process after it is poured. It takes 28 days for a concrete slab to completely cure. There is a good bit of water in the concrete mix and as the concrete is curing, water is continuously wicking and evaporating upward and out of the slab.  As the water is migrating upward, it brings efflorescence, or salts, that reside in the concrete.  After the initial curing phase is complete, there is a crust of efflorescence on the surface of the concrete.

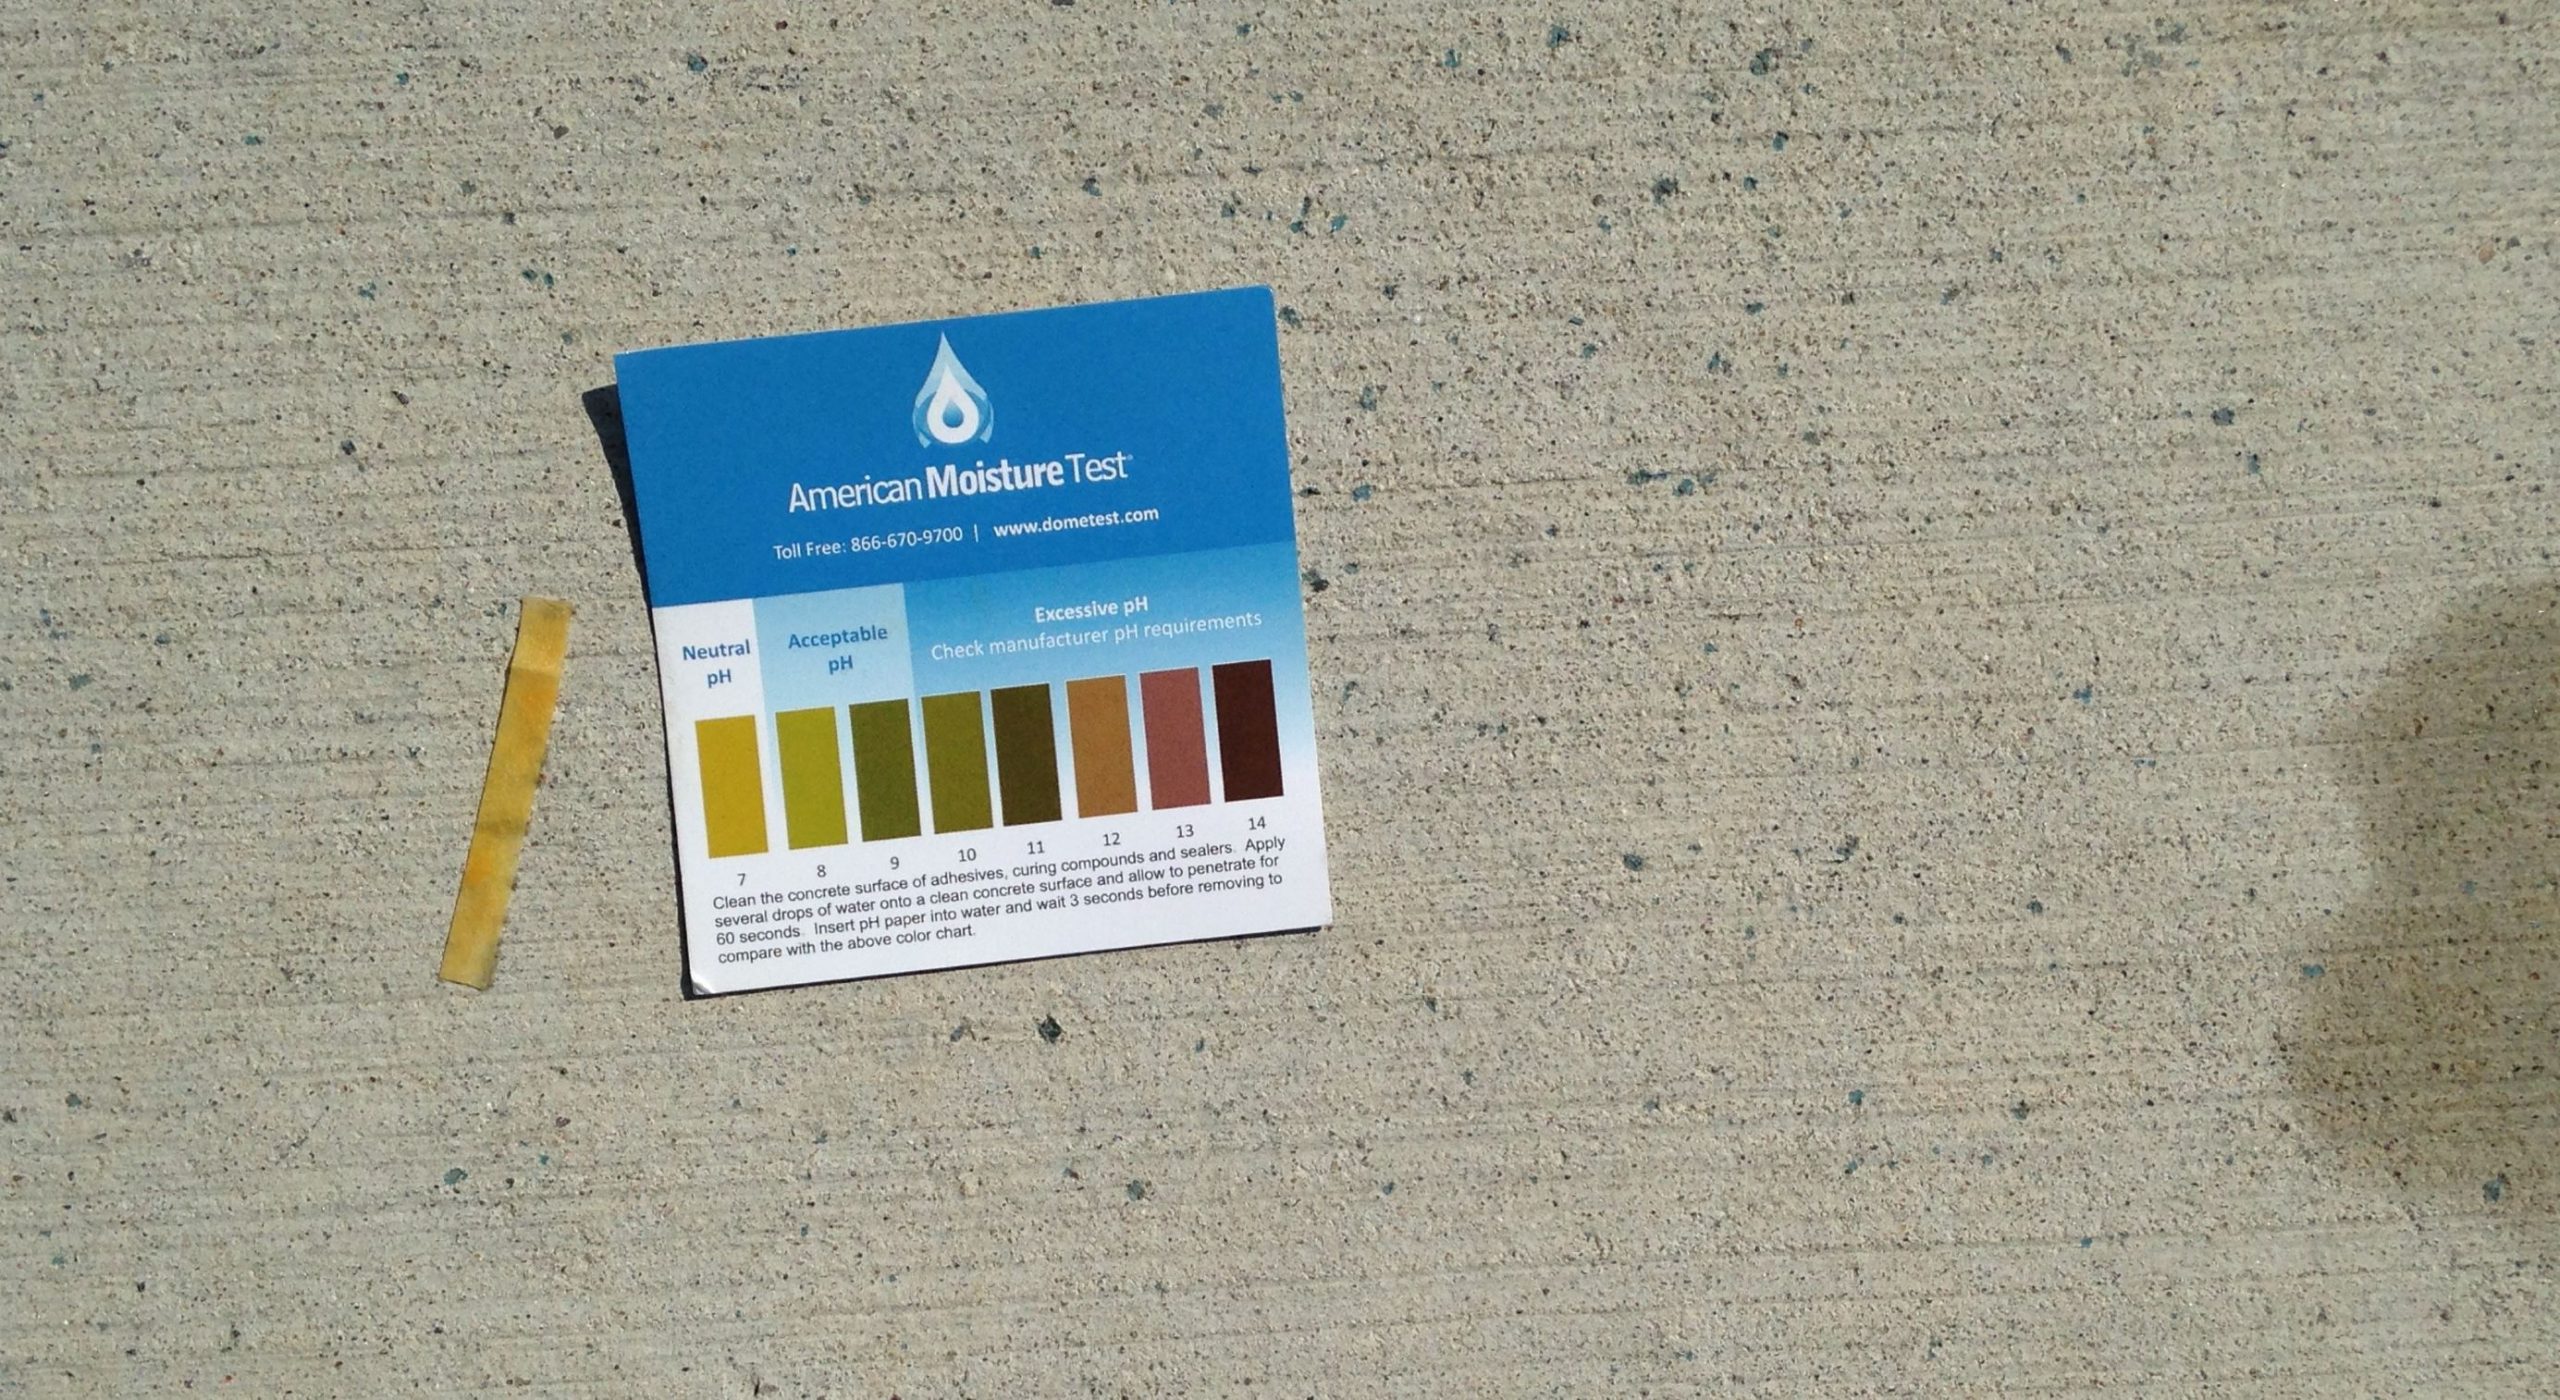
Lesson In PH & Surface Chemistry

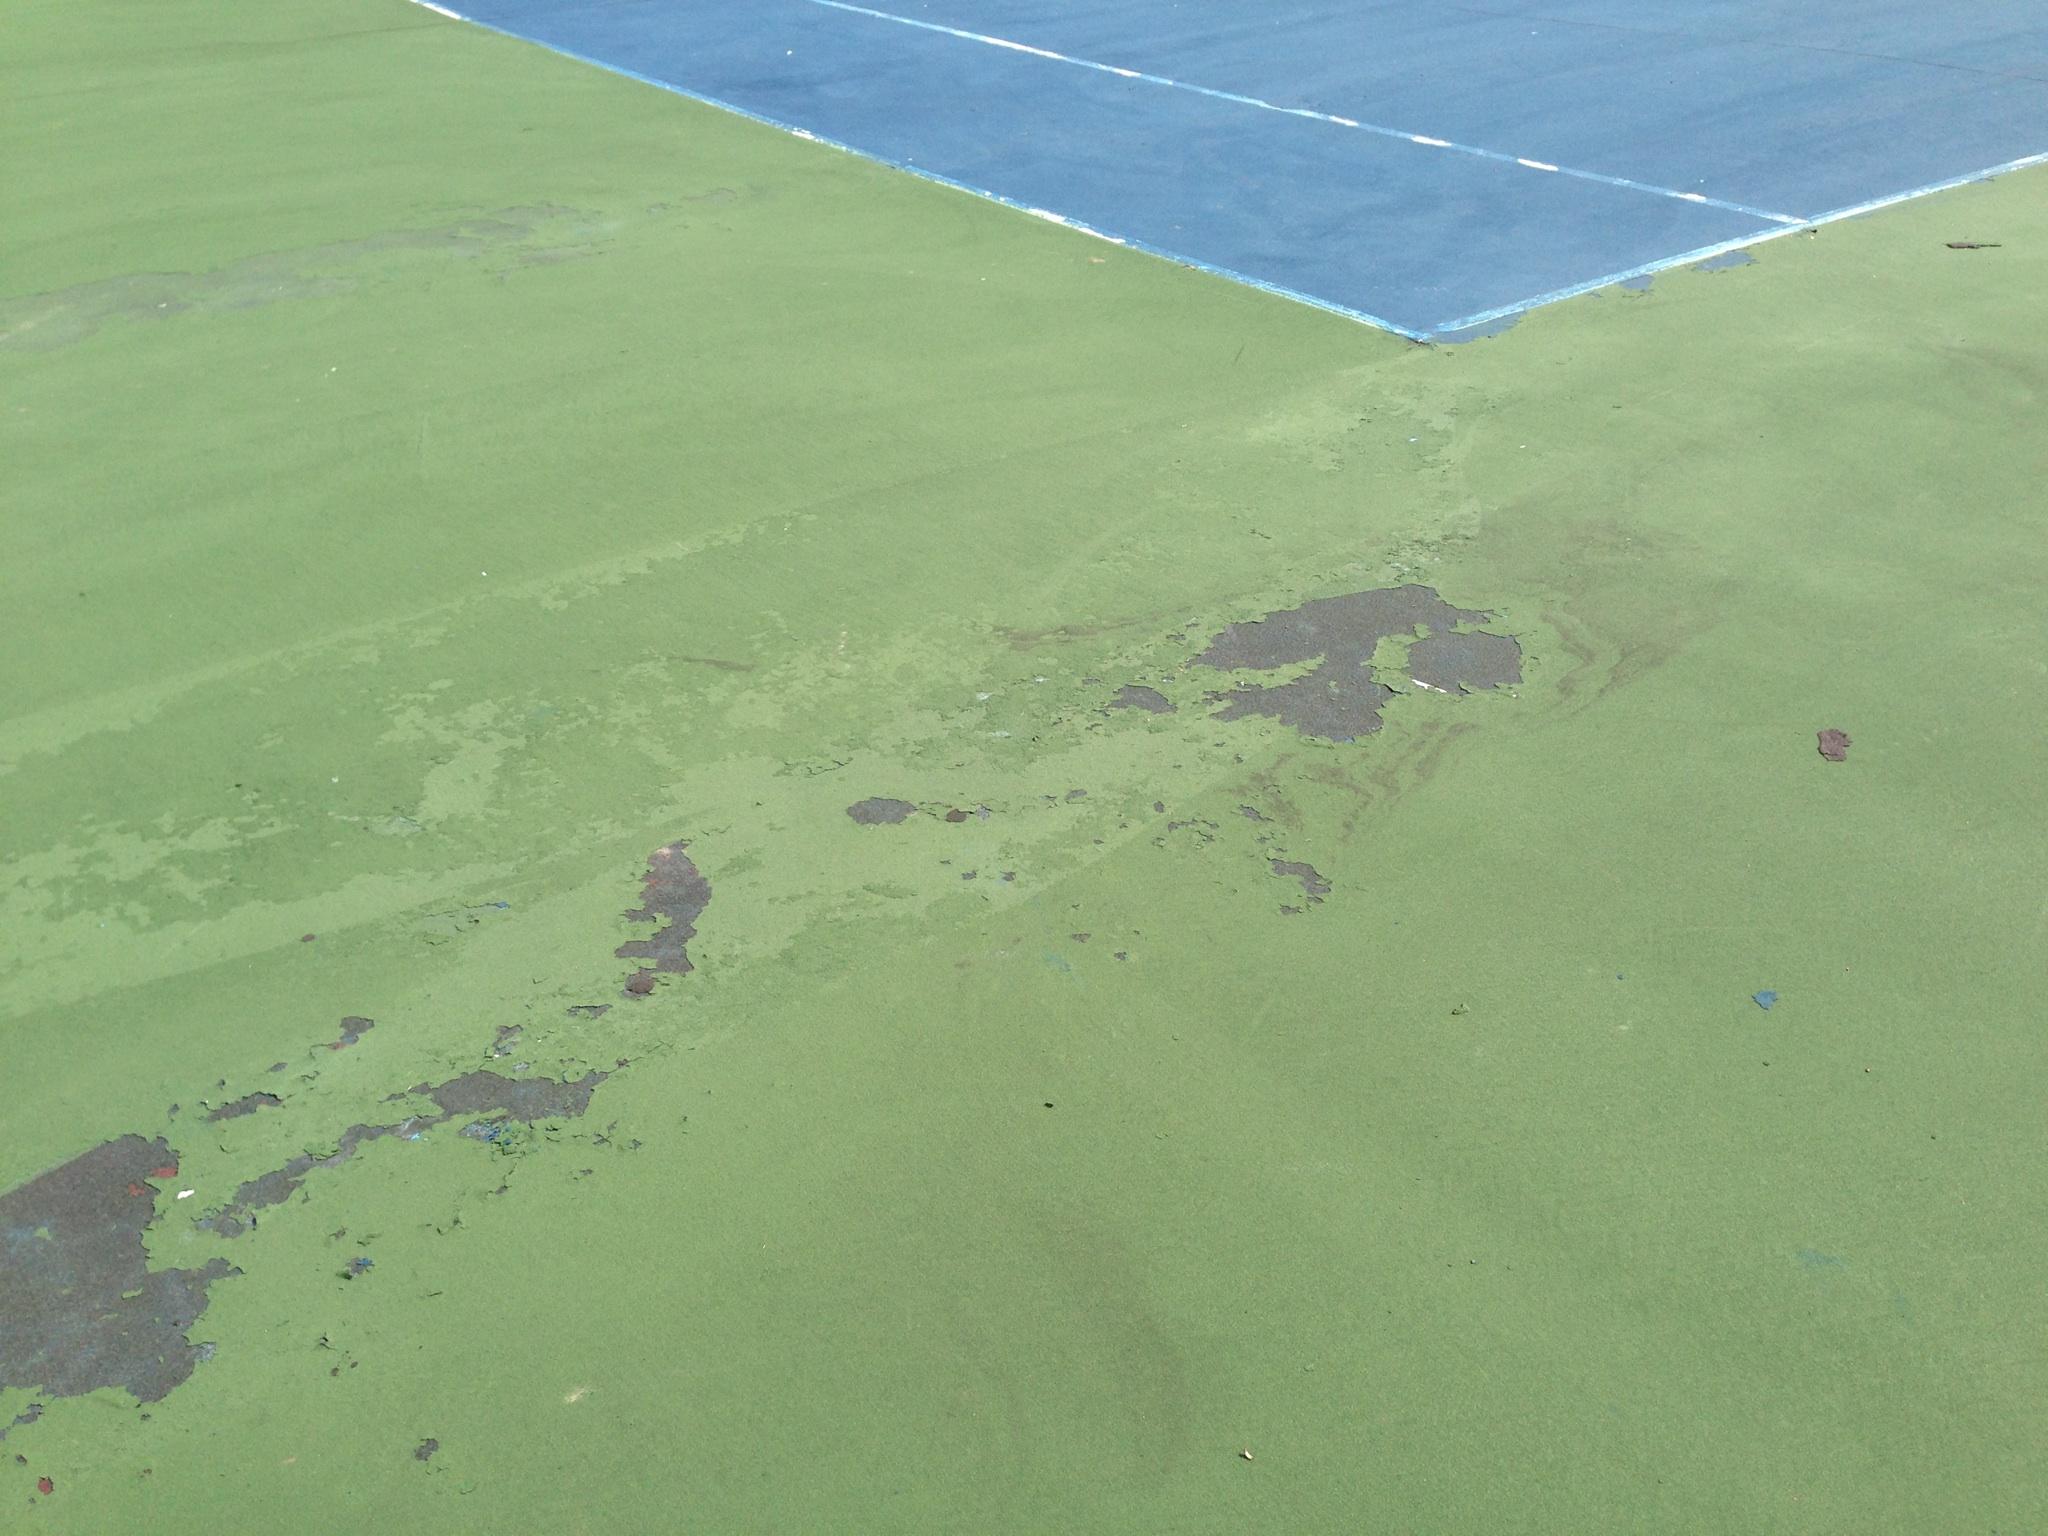
PH, or “potential of hydrogen” is the scale of acid vs base.  The PH scale goes from 0 to 14, whereas 0 is very acidic and 14 is very basic (alkaline).  For ideal chemical adhesion, coatings prefer a neutral environment.  This would be 7 on the PH scale.  When concrete cures, the surface crust or salt deposits, are very high in alkaline (a PH around 13.5).  The process of acid etching neutralizes the high alkaline crust and brings the surface PH back to neutral.  The acid washing process also helps to break down and rinse away the powdery efflorescence.  This also prevents flaking or peeling of coatings & migration of powder into the color coatings resulting in a cloudy appearance.

Concrete Sport Surface PH

How To Acid Etch A Court | Pickleball – Basketball – Tennis

In this section, we will outline how to acid etch a concrete court surface.  But first, here are a few pointers:

  • Make sure to acquire and wear adequate safety gear, when working with acid.  Thick rubber gloves, safety glasses, and relevant clothing and boots.  Avoid breathing in the direct fumes of concentrated acid and ensure that you have plenty of air flow when inside.
  • As a general guideline, it should take around 2 to 3 gallons of acid to etch a smaller court, like a 30′ x 60′ pickleball court & around 8 to 9 gallons for a full tennis court (60′ x 120′).
  • Protect any sensitive plants or surrounding materials around the border of the court.  Even though you will be rinsing off acid that is very diluted and has already reacted with the surface, it’s a good idea to minimize contact as much as possible.

Step 1:  Spray water on the court to dampen the surface.  This helps the mixed acid and water to flow and better penetrate the surface.

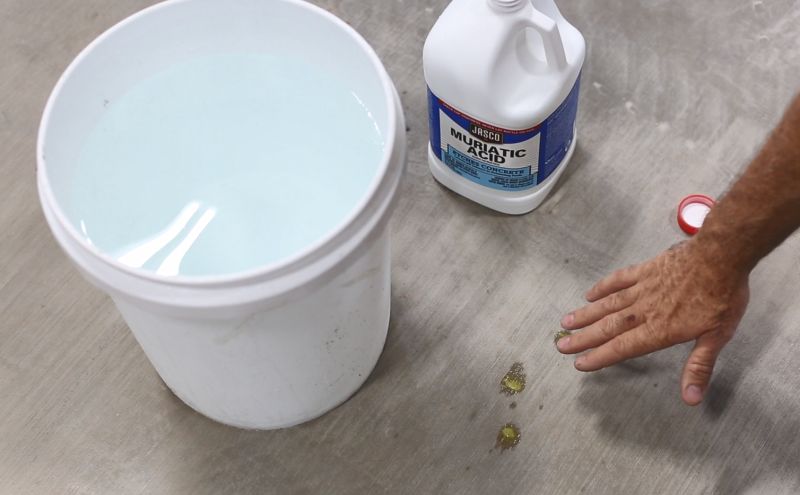
Step 2:  Properly mix the acid and water, following the dilution measurements on the acid bottle.  There should be directions for “masonry etching” on the bottle instructions.  Remember to fill the empty bucket with water first and then pour the correct amount of acid into the water.  This helps to prevent splashing of acid.

Pouring Acid Into Water

Step 3:  Pour the acid & water mixture onto the concrete, working in small areas or sections at a time.  If you’re able to have a helper, have the 2nd person immediately broom the solution around with a push broom to make sure the acid comes into contact with every square foot of concrete.  Make sure that you don’t pour the acid mixture and expect it to span a long distance.  Instead, pour around a small zone in a tight “s” pattern to ensure direct contact with the surface.  Since the acid mixture reacts instantly with concrete, the potency diminishes as it spreads.

Pouring and Brooming Acid Concrete

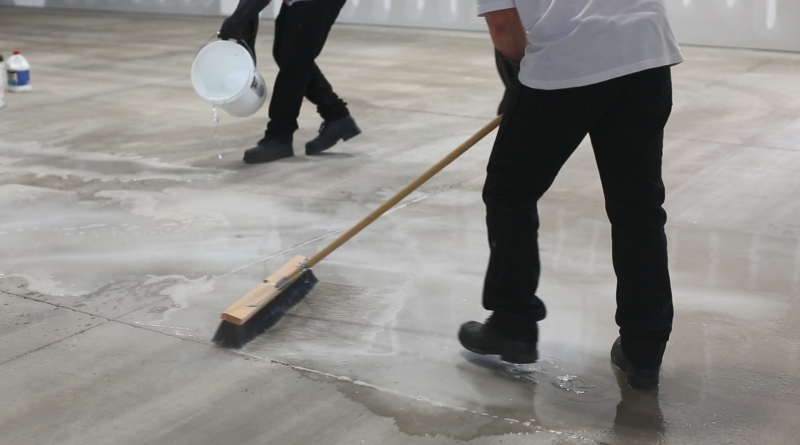
You will notice a cloudy appearance in the liquid and minor bubbling reaction, which means the acid is working to neutralize the surface salts.

Acid Neutralizing Concrete


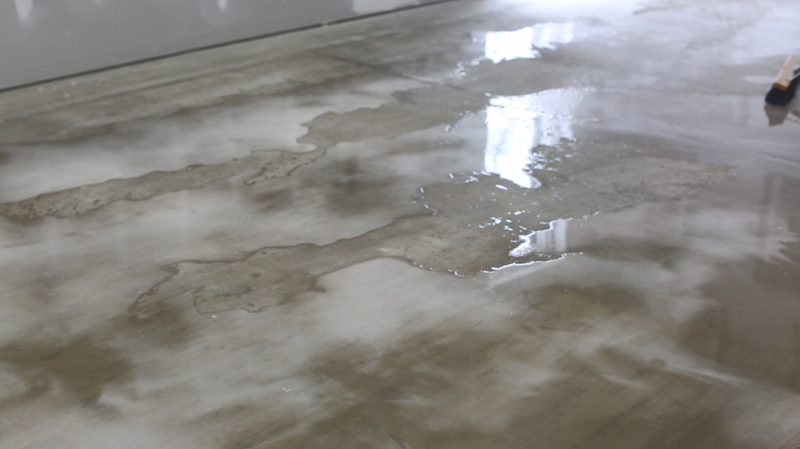
Step 4:  As you move on from section to section, you will notice the reaction dissipates in the previously treated area.  At that point, you can rinse those areas off to flush surface contaminants and  move the neutralized acid solution off the court surface.  If possible, it’s best to start on the high end of the court and slowly move all of the water toward the low end of drainage.  If possible, try to keep the entire court damp throughout the process, which keeps the sediment from sticking to the surface.

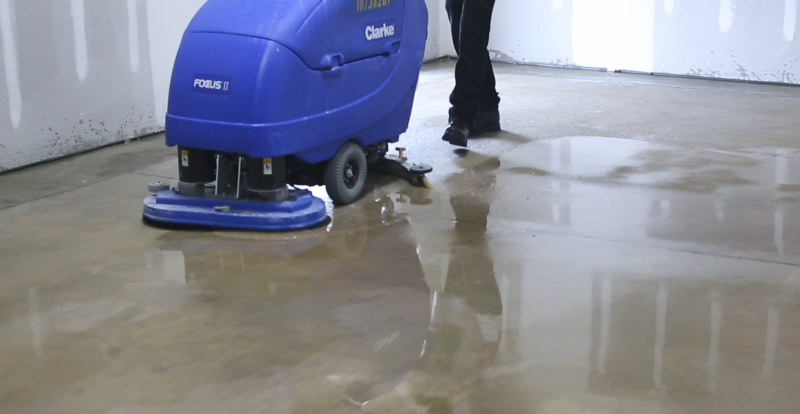
Step 5:  After you have etched the entire court surface, and rinsed away most of the remaining acid mixture and sediment, it’s always good to do a final rinse of the entire surface.  This ensures a completely clean surface, free to any potential acid or other contaminants.  If you’re indoor and don’t have available drains, a floor cleaner machine can be used for a good final cleaning.

Rinse Surface Clean Water

*Remember to protect and avoid adjacent concrete areas that are not receiving the sport coatings, as the acid can create a different color or appearance to exposed concrete.  This is hidden when coatings are applied over the acid etched play areas.

Acid Directly On Concrete

Common Misconception About Acid Etching

Many people think that acid etching creates a physically textured surface for the coating to adhere.  This is not the case, as the actual purpose was established earlier in this bulletin.  It is still very important for the concrete surface to have a medium-broom finish or similar.  That is very important for physical adhesion of coating systems.  Remember, the two most importance factors for good adhesion of sport coatings is:

  • A good surface texture/profile for physical adhesion
  • Neutral surface PH for excellent chemical adhesion


When Is It Too Cold To Apply Tennis Court Surfaces?

When is it too cold to apply tennis court surfaces?  The quick and direct answer is:  It must be 50 degrees Fahrenheit (10 Celsius) and rising during application, and for at least 24 hours after.  This is very important to ensure curing of the 100% acrylic latex binder.

My tennis court coatings were dry, why is it failing?

As explained in a previous article, there is a difference between drying and curing.  The coating must dry first, which means the water in the paint evaporates.  This leaves all of the coating molecules, which are unconnected.  It looks normal to the naked eye after drying.  However, the particles are not melted together or coalesced.  If the temperatures fall below the recommended range and the coating gets wet from dew or precipitation, it can be easily damaged.

Tennis Court Coating Failure
Tennis court coating failure from improper curing, during cold temperatures.

Application During Marginal Temperatures

You have to be very careful when the temperatures are close to the edge.  As a general rule of thumb, don’t even think about applying tennis court coatings when the nighttime lows are forecast to be below 50 Fahrenheit / 10 Celsius.  Here are some other important risk factors to consider when temperatures are marginal:

  • Apply coatings very early in the day, just after dew has dried.
  • Don’t apply much later than early afternoon.
  • Sunshine is very important to drying and warmth of the pavement.  Shade can prevent drying of coatings for many hours.
  • Make sure to measure ambient air temperature, as well as pavement temperature.  The ground temperature is usually colder than air temperature during spring and fall.
    Measuring Pavement Temperature
    Infrared Thermometer for measuring surface temperature
  • High humidity slows down drying, and coatings must dry before they start to cure.
  • White lines reflect sunlight and are usually the first coating to fail if not properly cured.

Completing the surfacing process in cold weather

What happens if you start a tennis or sports court resurfacing project, and you run out of good weather part-way through?  No worries, you can wait until next spring/summer to finish the job.  It’s not worth risking failure and having a major cleanup on your plate.  No matter what stage of the coating process you are in, it can wait until the weather is right.

Indoor Tennis Court Resurfacing Problems | Common Drying Issues

Resurfacing indoor tennis and recreational courts can have a few challenges not common to outdoor tennis court resurfacing.  Indoor tennis courts do not have to contend with outdoor enemies like UV rays and harsh weather, but some indoor conditions can wreak havoc, even for the experienced tennis court surfacing contractor.

This article is relevant to all kinds of indoor acrylic courts, including by not limited to:

Indoor Tennis Court Resurfacing | Drying Problems

Acrylic tennis court surfaces are water-based and dry by evaporation.  Water is the vehicle that allows the heavy coating solids to be squeegee applied.  Once the coating is applied, the water begins to evaporate.  If there is not adequate ventilation in the facility, the water can be trapped in the airspace above the courts and slow down the drying of the surfaces.  This can cause a “marbled” look on the coating, resulting in light and dark or patchy areas.

Marbled Tennis Court Surface

Poor ventilation and cooler outside temperatures can also create problems by causing condensation to “rain” down onto the tennis court surfaces.  If the inside temperatures are warmer and the ceiling is cool from colder outside temperatures, the moisture can drip onto the partially cured surface, creating blemishes.  To prevent both of these issues, make sure to turn on heating or air conditioning systems to draw humidity out of the air. Open any available vents, doors, and windows to allow an escape route for moisture.  Large industrial fans can also be rented and help to circulate the air, as well as push moisture out when placed at exterior doors.

Indoor Tennis Court Drying Problems

If the facility doesn’t have a good way to expel the moist, humid air, you may need to bring in industrial dehumidifiers.  Until the high level of humidity is allowed to escape, the coatings will not be able to dry and cure.  They will retain the marbled or uneven drying pattern, and be susceptible to damage and early wear.  Plus, when the coatings are like this, it will be very difficult to get tape to stick to the surface for painting the playing lines.

Loose Sand On Indoor Courts | Drying & Curing

It is also common to see loose silica sand on an indoor athletic facility, and sometimes on outdoor courts.  Court coatings are fortified with silica sand in order to provide a non-slip surface and ideal ball trajectory for speed of play.  The latex binders in acrylic coatings need to dry completely before they can cure.  Once the full cure is complete, the coatings can coalesce or fully cure.  When the full cure happens, the components (sand in this case) of the coating are full bound and locked in to the coating film.  In some cases, this can also have the same affect on pigments.  If tennis balls become a bit colored from the surface, it is also a drying/curing issue.

The large amount of evaporating water, from the coatings, can take a while to escape from inside the building.  This depends on the ventilation, and more importantly, the exhaust system of the facility.  When the indoor humidity level is high, it slows down the cure of the coatings.  The silica sand can be rolled out of the coatings and or can migrate out if very humid.  There is no need to worry about this, as it will slow down and stop as the full cure is reached.

The quicker you can get the interior humidity level lowered, the sooner the sand roll-out will cease.  Here are a few things that can help:

  • Rent big agricultural fans and point them outside, by an open doorway to exhaust interior humid air.
  • Turn up the heater and run all fans to keep air moving, with the main focus on exhausting the moist air at the same time.
  • Air conditioning takes moisture out of the air.  Just keep a balance of using AC and heat, since heat helps the curing process more than cool conditions
  • Industrial dehumidifiers can also be used to bring inside humidity levels down.  Check with local equipment rental stores to find ones for rent.
  • Also ensure that the slab/ground temperature and air temperature is well above 50 degrees F.  Warmer is much better, but acrylic binders cannot cure when the temperatures are below 50 degree Fahrenheit / 10 Celsius.
Tennis Court Surface | Improper Curing
Loose Sand on outdoor courts – Due to inadequate curing and low temperatures

Tennis Court Squeegee Application Issues | Smooth Indoor Court Surfaces

Another common problem with surfacing indoor tennis courts is application of coatings on a very smooth surface.  Indoor courts do not benefit from the wind and rains, which actually help to move debris off the surface.  Dirt and sand particles, that come out of the surface, become abrasive to color coatings under the scuffing of tennis courts.  Long-term, this can create a very smooth surface which makes it difficult for application of color coatings.  The application squeegee can wipe the coatings off of a smooth surface, and leave a very thin coating.  This can sometimes cause irregular color patches or inconsistent textures on the surface.  To prevent this, apply the first coat of Acrylic Resurfacer (properly mixed with sand and water) with a squeegee, but follow directly behind with a soft, horse hair-type broom or brush.  This puts a fine grooved text in the coating.  Once the first coat of Resurfacer is dry, squeegee apply another coat of resurfacer, going the cross-direction.  This allows the second coat of resurfacer to “grab” onto the groove finish and deposit a complete textured coat.  At this point, the surface is ready to accept the tennis court color coating surface layers.


Drying Vs Curing | Tennis Court Surfaces & Paint

One of the most understood topics and frequently asked questions are,  “what is the difference between drying and curing”  when it comes to tennis court paint and coatings.

Acrylic sport coatings are water-based, and latex is the binder or “glue” that adheres to the pavement or existing acrylic surface.  The binder also locks in all of the components of the coating system, like pigments, sand, and other proprietary ingredients. Water is the vehicle that thins the coating solids so that application by squeegee can be achieved.  Once the coating is applied, the water evaporates leaving the solids of the coating in a consistent film.  This evaporation is “drying“.

At this point, the film solids are dry.  They can even be walked on without a problem. However, all of the components of the coating are not entirely connected and bonded in a strong film.  In order for the coating components to properly coalesce, or “melt”  together,  it is important that the film remain mostly dry and in temperatures above 50° Fahrenheit.  This is especially important within the first 24 hours.  This is “curing“.

If the coating is not allowed to achieve this initial cure, the components like sand and pigment can wash or roll out the film can fall apart to varying degrees.  The level of damage or failure depends on how marginal the cure.

Tennis Court Curing Failure

Many coating and paint specifications include the statement “product shall be applied when temperatures are 50° and rising”.  This means start coating in the morning when the temperatures are at least 50° and getting warmer, not late afternoon or evening when temps are dropping.

Remember, the coating must dry before it can begin to cure.  Starting application late in the day puts the film at risk of dew and cooler nighttime temperatures. A good rule of thumb is to avoid acrylic paint and coating application on days when the nighttime lows are forecasted to drop below 50°.  If the daytime highs are not very warm and it is cloudy, or the courts are heavily shaded, you also need to take that into consideration.  The shade will increase the drying time and affect the temperature of the court surface.  These factors affect drying and curing.

If you are forced to push the application on marginal days, you may want to use an infrared thermometer to check the surface temperature.  Pavement absorbs and holds cold for longer than most people think. In Spring and Fall, the sun is further away and not as intense. The pavement surface isn’t able to warm up as quickly as it does in the summer.

If you are a contractor and your customer is pushing you to apply when the temperature and weather is not within acceptable range, make sure to provide them with a copy of the coating manufacturer’s specifications and ask to reschedule application when conditions allow.