Category Archives: Concrete Sport Surfaces

Do Concrete Pickleball Courts Need Saw Cuts or Expansion Joints?

With the high volume of concrete pickleball courts being built, the common question “Do concrete pickleball courts new saw cuts or expansion joints” comes up frequently.

The short answer is “maybe”.

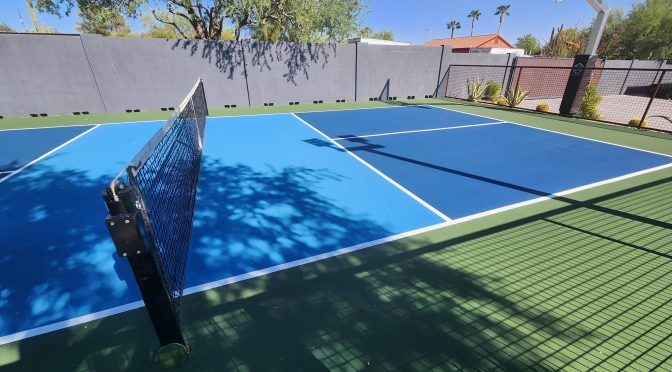
Joints Concrete Pickleball Court

Saw Cuts & Expansion Joints | Pickleball Courts

The American Sports Builders Association provides up-to-date construction guidelines for sport surfaces in the US and abroad.  In conjunction with USA Pickleball, the governing body of pickleball, ASBA created a book with pickleball court standards.  This book is utilized by architects, engineers and other pickleball courts specification writers.

Currently, the recommended substrates for pickleball courts are asphalt & post-tensioned concrete.  Post-tensioned concrete slabs are supported by a grid of steel tendons in a protective sheath that are tensioned after the concrete is placed.  These slabs are considered crack-resistant due to the support of the tensioned cables and do not need saw cuts or expansion joints.

Expansion Joints Pickleball Court

Why are saw cuts & expansion joints placed in concrete?

Concrete is a very hard substrate, and it’s very important that the sub-base is properly laid, sloped for drainage & compacted.  Another popular concrete construction method is reinforced concrete.  Reinforced concrete slabs contain rebar, or steel reinforced bars that lend extra strength within the concrete slab.  For most applications, like driveways, saw cuts are placed after the concrete is formed to control cracking.  However, once the saw cuts are placed, you always have a cut through the slab that will open and close during expansion and contraction from temperature swings.  The saw cuts are straight and consistent, to minimize random cracking in varying directions.

Saw Cuts Pickleball Court

Pickleball & Athletic Courts on Reinforced Concrete

Previous specifications through the ASBA mentioned use of reinforced concrete for tennis courts.  Tennis Courts are 60′ x 120′ and the recommendations were to place saw cuts under the net line and between adjacent courts.  This prevented cuts in the playing areas and potential vertical displacement, or trip hazards, for the players.  Based on the tennis court saw cut recommendations, you basically had two 60′ x 60′ slabs with no saw cuts on each side of the net.  Pickleball courts are usually 30′ x 60′, so many people choose to only put a saw cut under the net line to avoid visible cracks and potential heaving of the slabs between joints.

Acrylic Crack Filler | Uses and Longevity

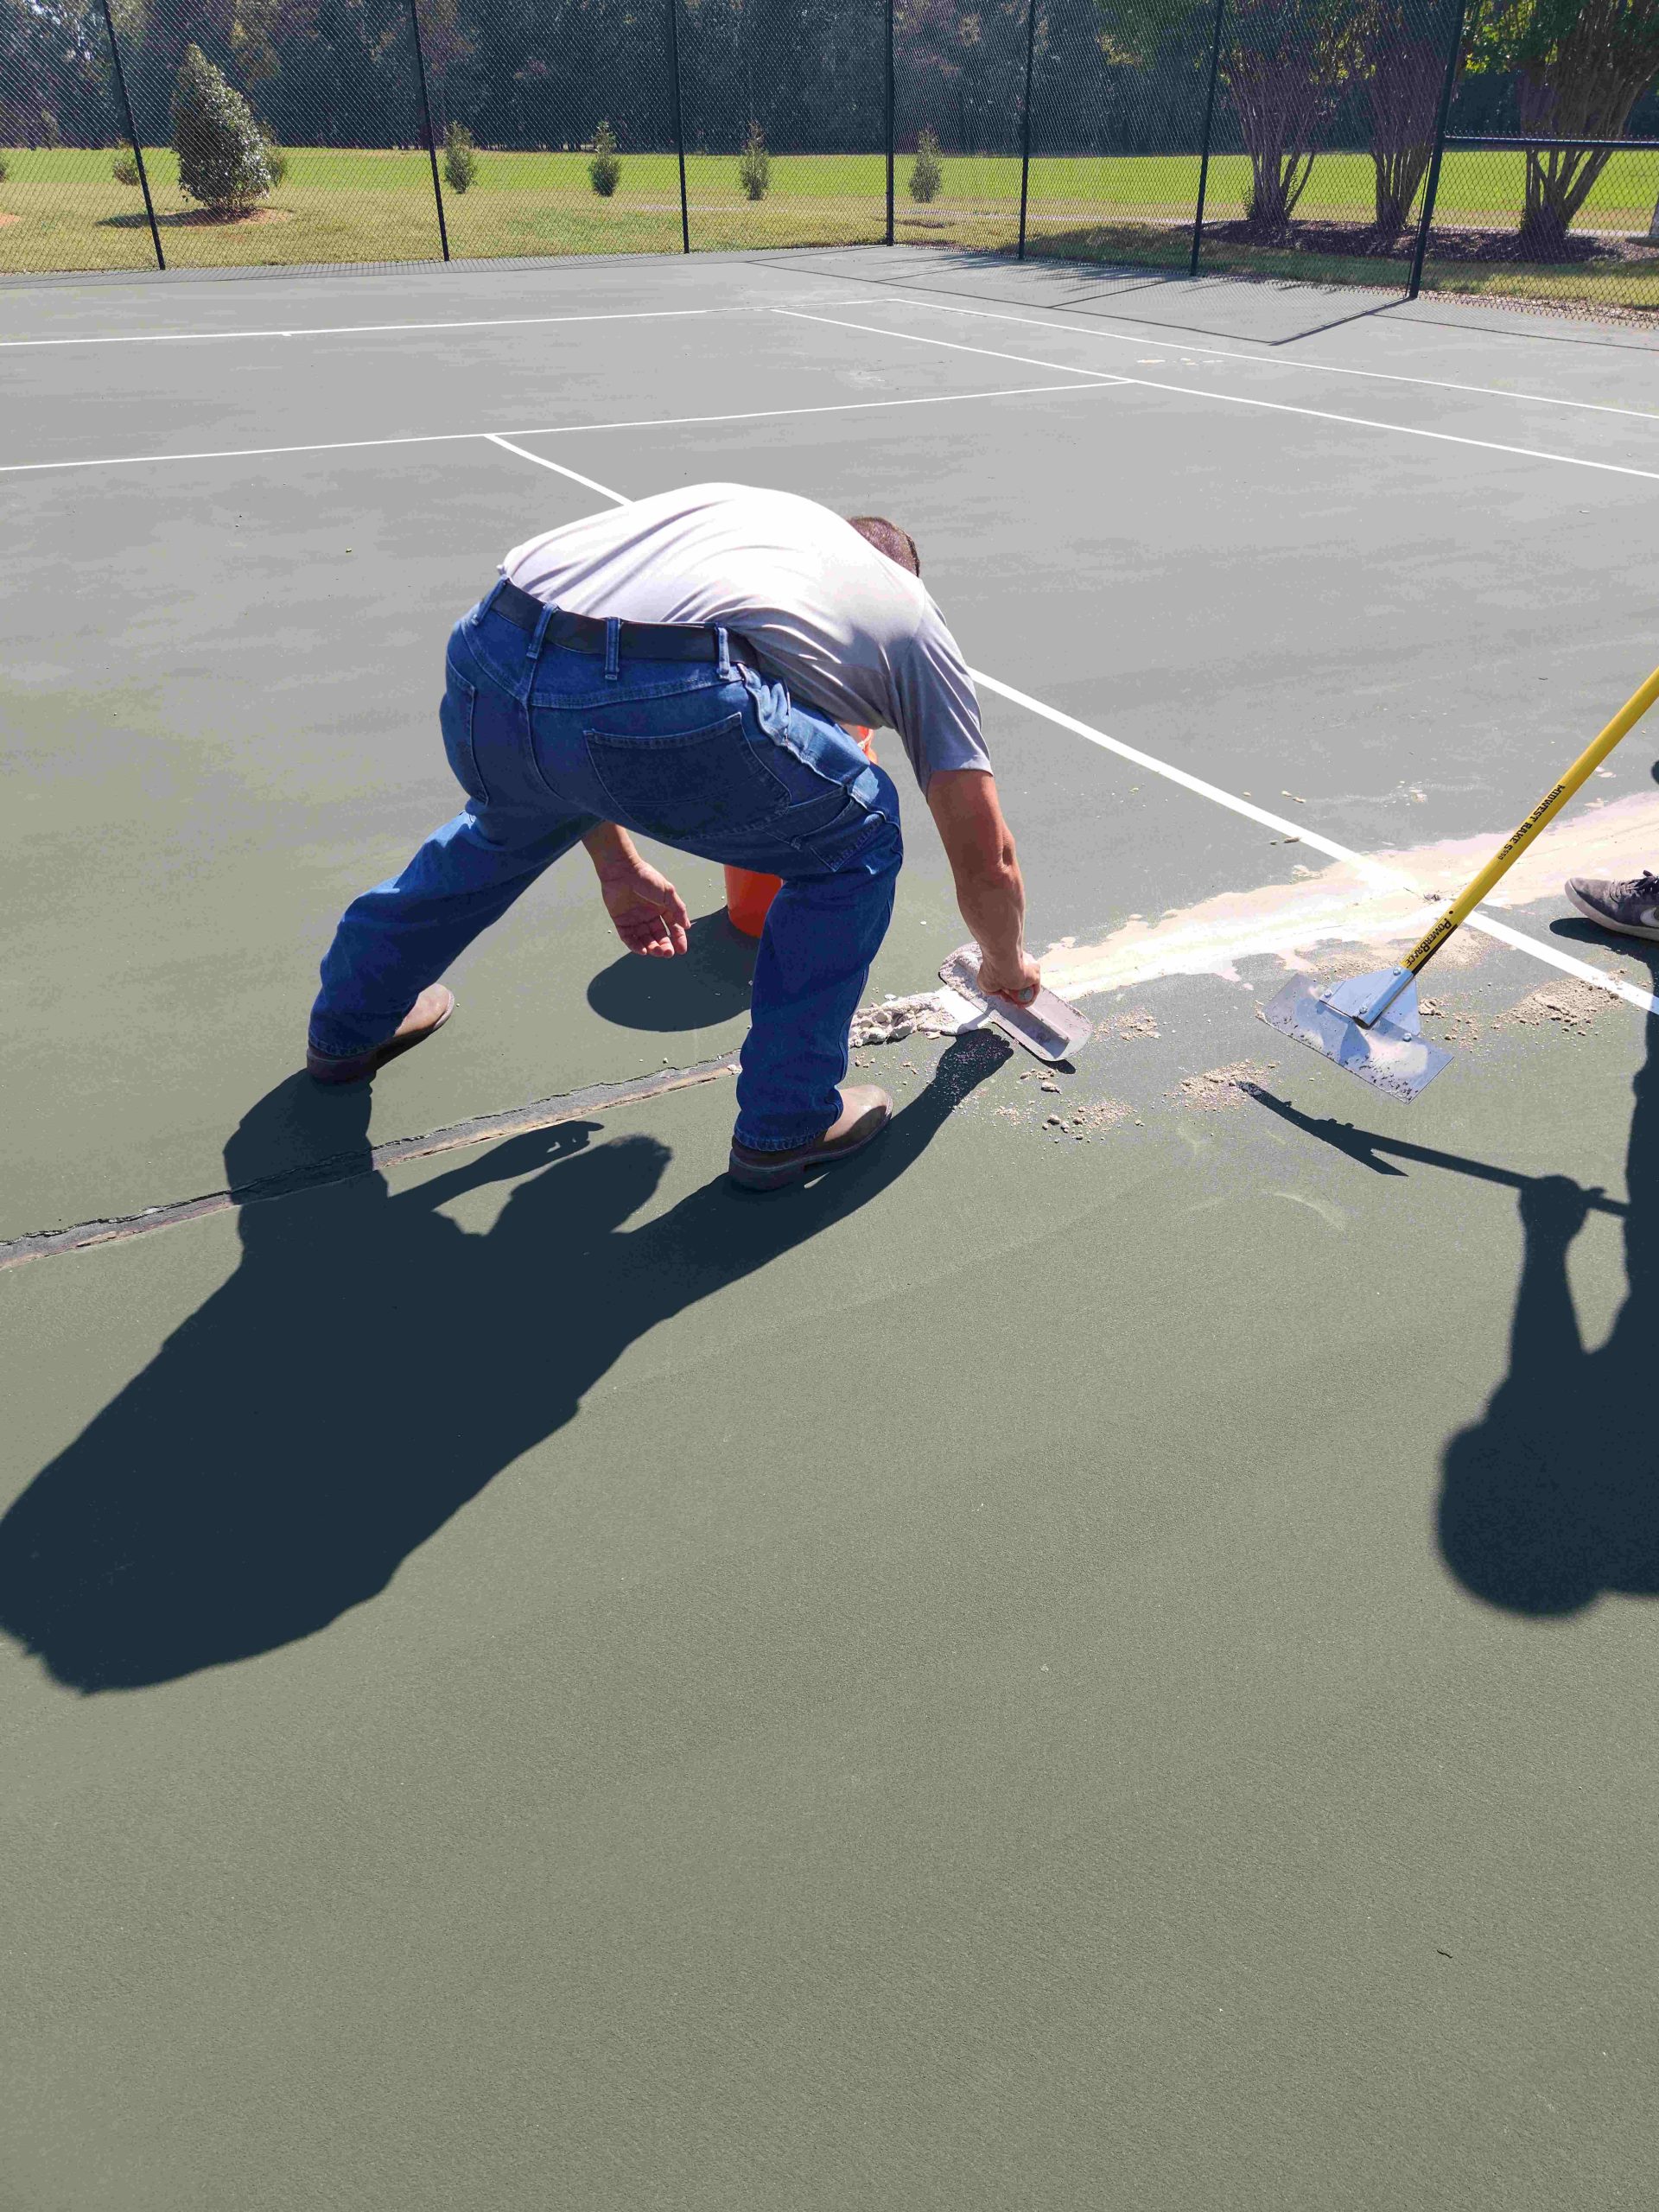
Acrylic crack fillers are usually applied before application of court coatings to fill the saw cuts.  This helps to keep the coatings from puddling in the joints and maintain a cleaner look.  However, movement in the joints will cause a hairline crack to appear, which will gradually widen.  Some joints will reopen quickly and others may take longer to appear, depending on the amount of movement and moisture under the court.  Crack fillers can be reapplied as needed, to minimize moisture intrusion, but this is a continuing maintenance cycle.  The saw cuts/expansion joints are doing their intended job by allowing movement to minimize stress on the rest of the slab.

Saw Cut Crack Filling Pickleball

Flexible and Elastomeric crack fillers

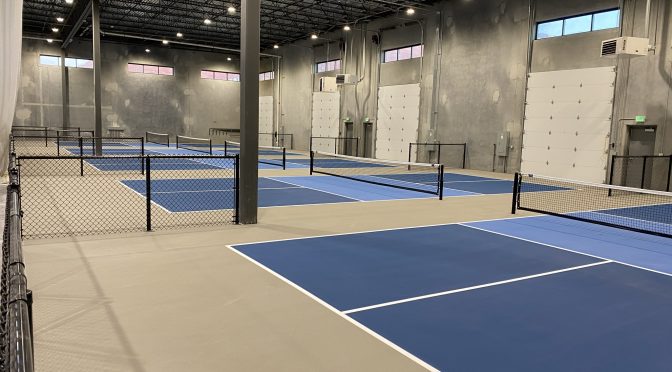
There are also flexible elastomeric fillers that can be used in saw cuts and expansion joints.  These products have better elongation in the cracks, but they can also lead to other issues.  In some cases, the flexible fillers can be pushed upwards when the slabs come back together, leaving a small hump that sticks up above the joints.  This is not ideal for safe footing and consistent ball bounce.  They can also slump when the slabs move apart, leaving a small valley in the saw cuts.  For these reasons, many opt for the harder sand and cement filled acrylic crack sealants.  These situations are solely dependent on the construction of the court and weather variables.  Indoor courts are usually more consistent due to indoor temperature control and the saw cuts usually exhibit less movement than outdoor slabs.

Can I Avoid Seeing Saw Cuts on my Pickleball Court?

Here are some of the best ways to avoid seeing saw cuts on your pickleball court:

  • Management by construction methods
    • Post-tensioned concrete or asphalt construction
    • Minimizing saw cuts by strategic placement (under the net line and out of playing area)
    • Crack fillers (temporary methods and reapplication)
      • Note* reapplying crack fillers will likely leave unsightly shade differences over the cracks.

Remember, saw cuts are uniform and are designed to prevent breakage and cracking throughout the slab.  If the cracks open, they are preventing additional damage to the slab and other random cracks.  Asphalt courts are a bit more flexible, but the asphalt binders will also become brittle with age and will become more susceptible to cracking and settling.  Compaction, drainage and overall construction is also important to longevity of asphalt courts.

How To Properly Prepare Concrete For Sport Surfacing Athletic Courts

Athletic & recreational courts (tennis, pickleball, basketball, etc.) are built from either asphalt or concrete pavement.  The type of substrate used is normally determined by region, cost, preference, availability or site access.

Each substrate (asphalt or concrete) has its own set of requirements, when it comes to application of acrylic sport surfaces.  This bulletin will discuss how to properly prepare concrete for sport surfacing athletic courts.

Concrete Court Construction

When it comes to proper concrete court construction, there is a long “to-do” list.  As with anything, there is always a good, better, best list of what to do and why it is important.  If you are considering having a recreational court built, we recommend getting a copy of the American Sports Builders Association’s construction & maintenance manual.  They publish and sell these for tennis or pickleball, which is also useful for basketball and other sports.  That being said, we will reference a short list of the most important factors, prior to application of acrylic surfaces.

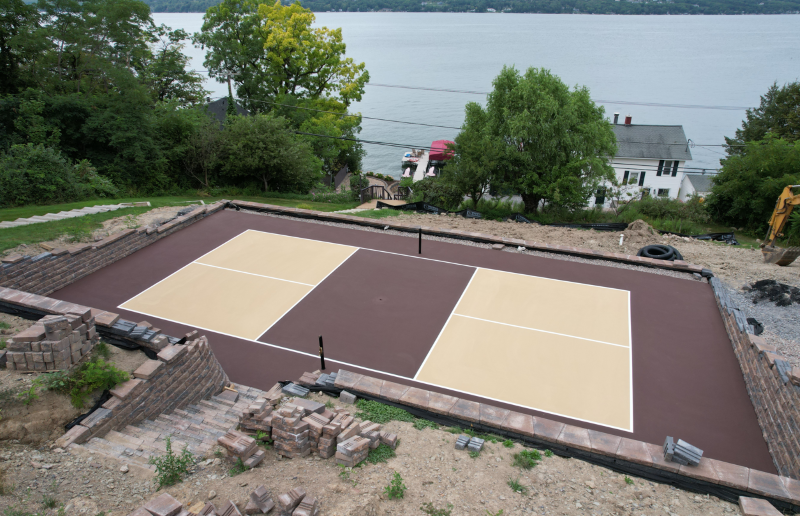
New Concrete Pickleball Court

Install Vapor Barrier

Prior to pouring the concrete slab, a vapor barrier should be installed to prevent upward migration of ground moisture.  This normally consists of two sheets of 6 mil polyethylene plastic sheeting, laid in opposite directions.  Make sure it is overlapped and taped at the joints.  The vapor barrier is on top of the stone base and under the concrete slab.

Ensure Adequate Perimeter Drainage & Slope

Another very important factor, when trying to minimize water accumulation under the concrete slab, is good perimeter drainage.  If one or both of these items are lacking (vapor barrier & perimeter drainage), your court surface could be in danger of bubbles or blisters in the coating.  In most cases, this will lead to peeling of coatings and bare spots down to the concrete.  Court surfaces should be sloped at 1% in one direction, which is 1″ fall in every 10 feet.  This helps to keep water flowing off the court and ensures fast drying surfaces and less standing water.

Medium-broom Finish or Similar Surface Texture

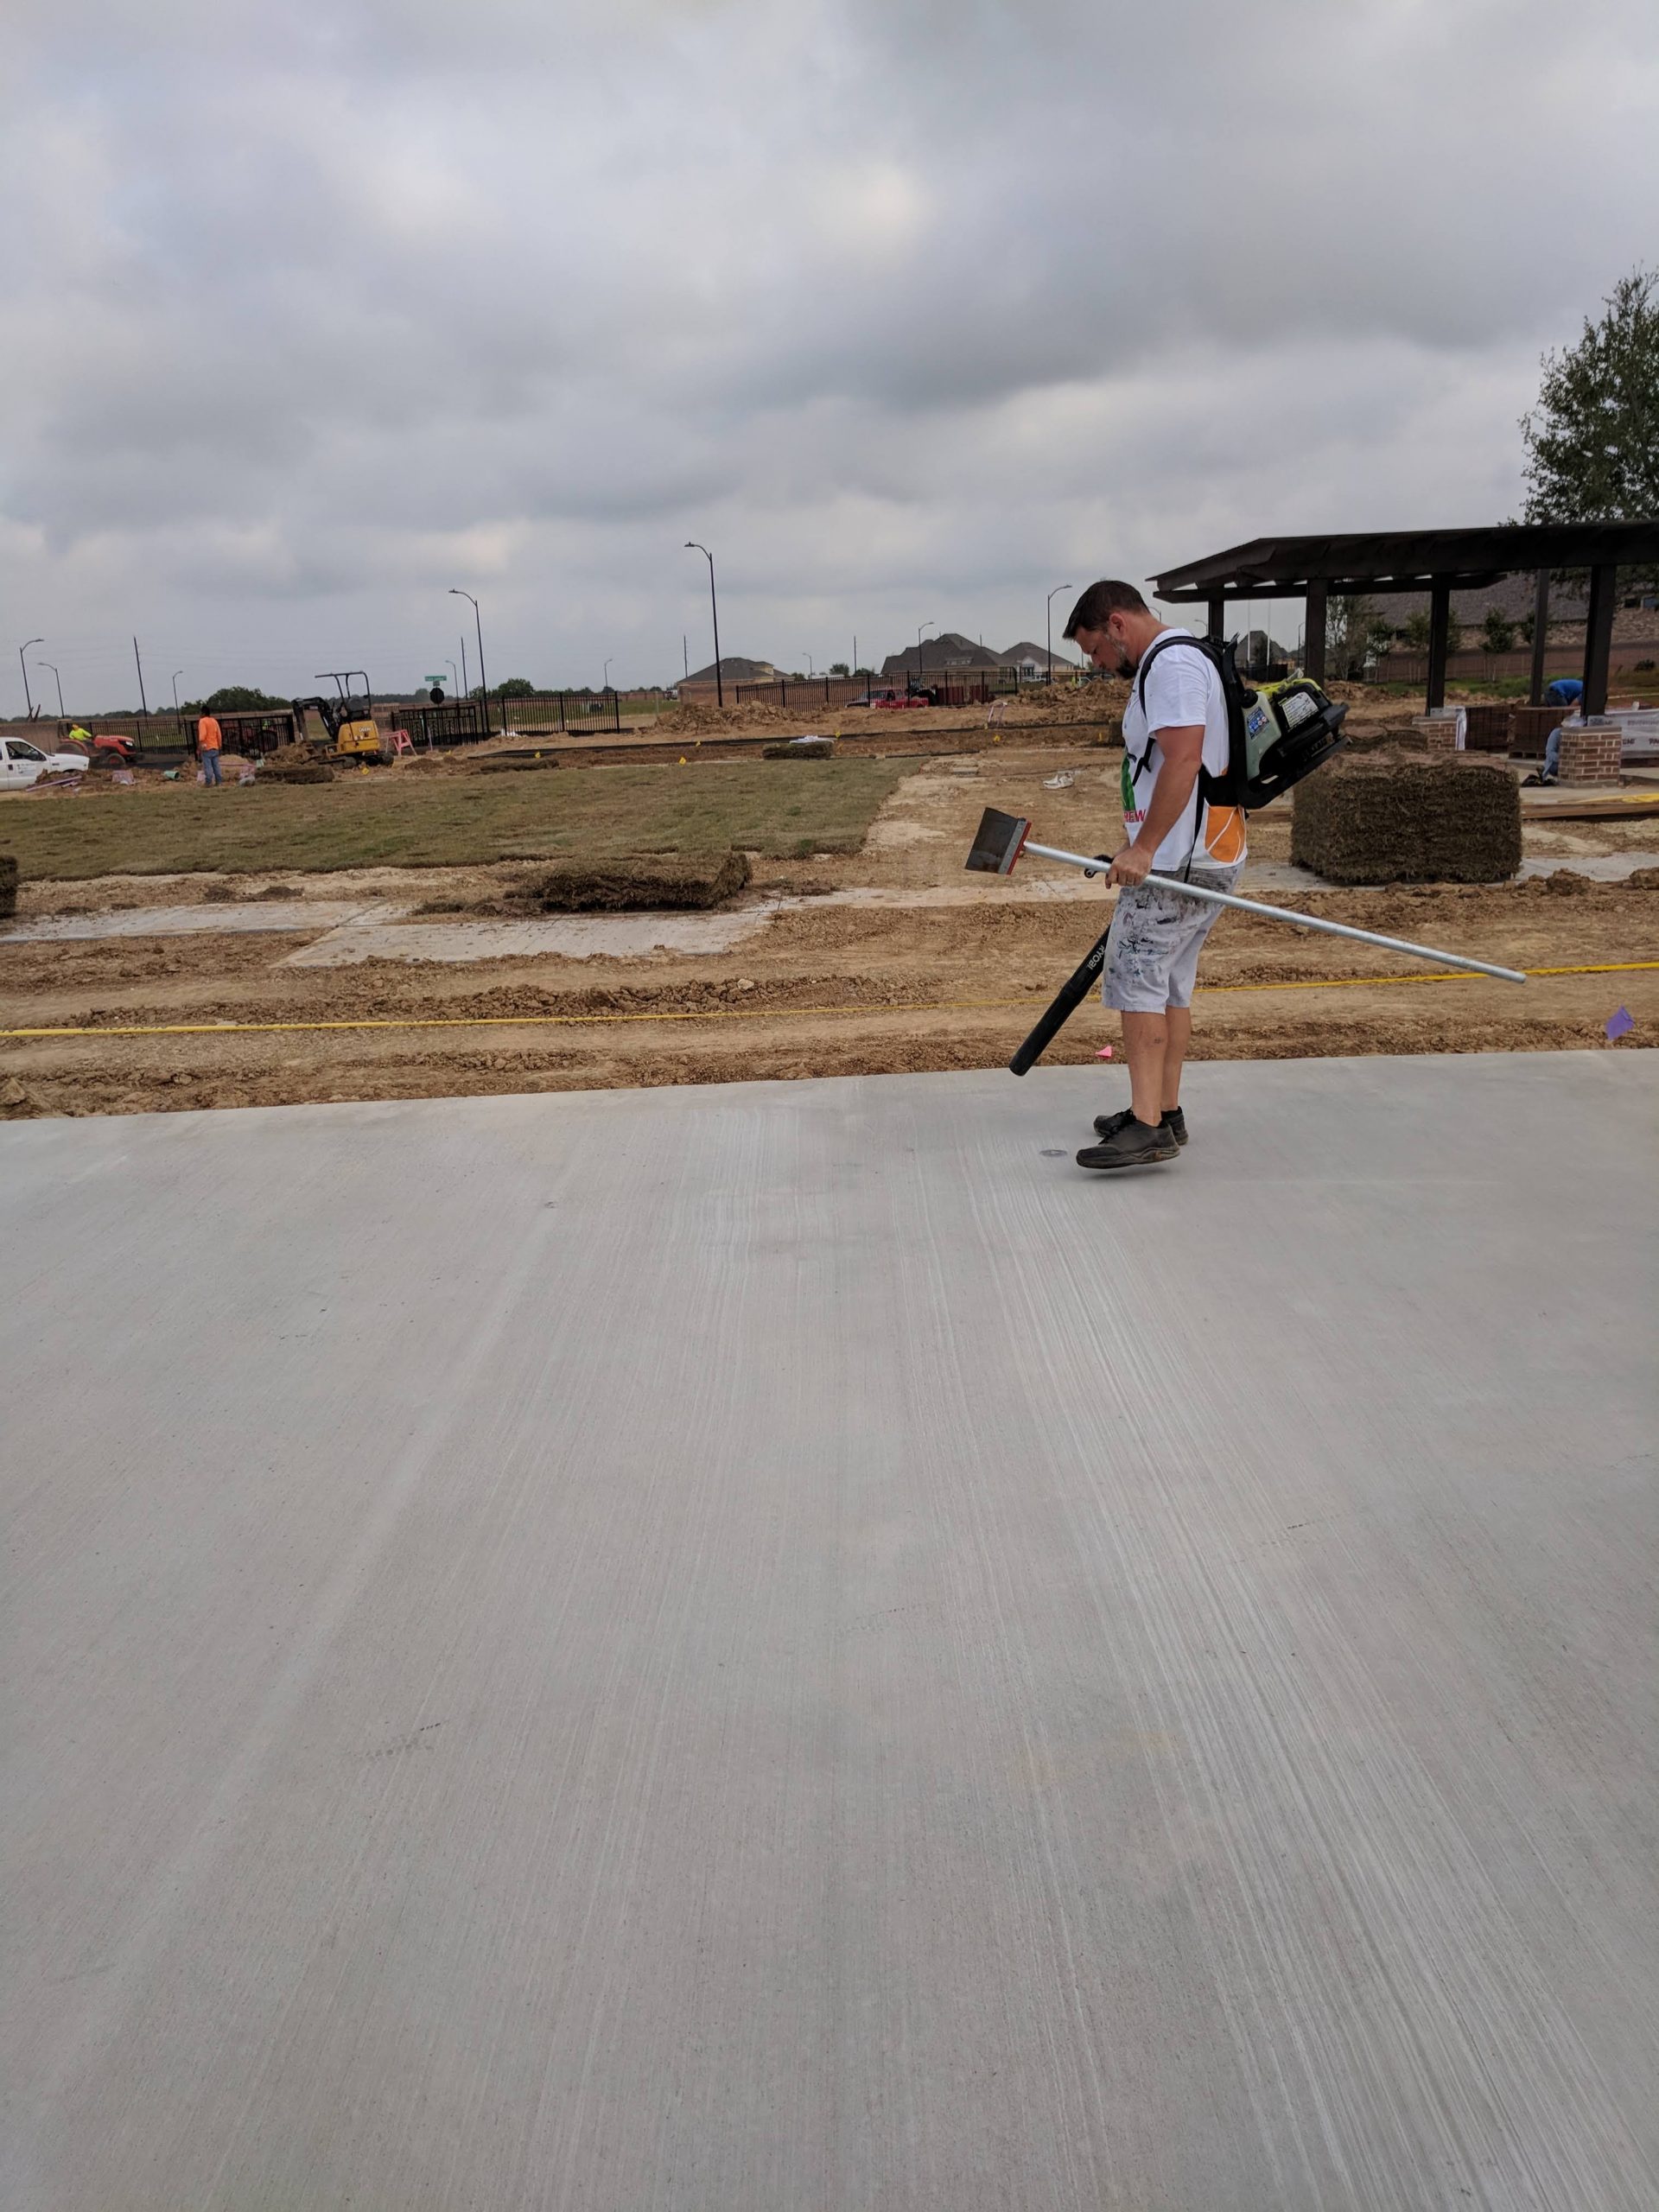
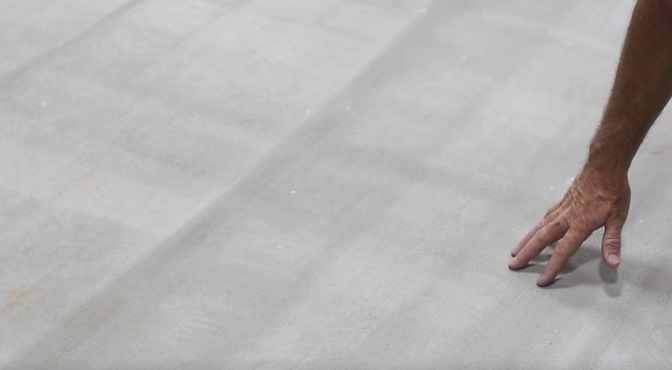
When pouring and finishing the concrete, make sure that the concrete contractor applies a medium-broom finish on the surface of the concrete.  This is very important to a good physical bond of the sport coatings.  A steel-troweled finish is too smooth and will also raise the chances of peeling surfaces.  If the concrete is already in place and doesn’t have a medium-broom finish, you can use specialized equipment to achieve sufficient texture.  The most commonly used piece of equipment is a shot blaster.  For more information, check out our dedicated page on shot blasting concrete court surfaces.

Medium Broom Finish Concrete Court
Medium Broom Finished Concrete Court

Allow Full Cure Before Coating Application

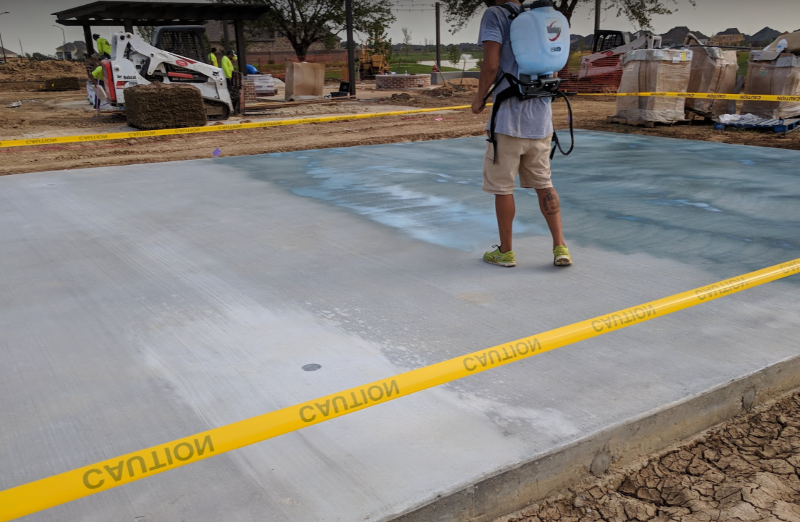
The curing process of concrete is a chemical reaction that takes 28 days to complete.  During the process, quite a bit of water is escaping from the slab and depositing high-alkaline salts on the surface.  It is important to allow a full 28 day minimum cure, prior to moving forward with coating application.  Also, after the full cure and prior to application of coatings, the concrete slab must be acid etched (or acid washed).  This helps to create a neutral PH on the surface for an ideal chemical bond of coatings.  This is fully explained on our page, acid etching concrete sport surfaces.

One more note on curing, avoid using curing compounds on concrete court surfaces.  Once the concrete is poured, it will instantly begin to losing water via evaporation.  If the temperatures are hot, water will leave the wet slab quickly, and this could lead to surface cracking (like mud cracking in a puddle).  To prevent this, most concrete contractors spray curing compounds on the surface to slow down the evaporation of water.  Many curing compounds are made up of oil based or incompatible materials that can leave a residue on the the concrete surface.  This residue, or film, can potentially cause a bond breaker and lead to failure of the acrylic sport coatings.  To avoid this situation, make sure the concrete contractor moisture cures the slab.  This is performed by keeping the slab wet after pouring, with a covering of moistened burlap, a polyethylene sheet, or other curing paper.  After 7 to 10 days, it can be allowed to dry and cure under normal conditions without the keeping the slab moist.

Not sure if curing compounds have been used, or you know they have been used?  The surface can be shot blasted to remove any bond-breaking films.  Note, you can pour a small amount of water onto the concrete slab to see if water beads up on the surface.  If it does, there is likely a curing compound or sealant on the surface.

Application Of Concrete Primer & Sport Surfaces

At this point, the concrete slab should be ready to receive the sport surfacing system.  Once the surface is clean and dry, apply one coat of SportMaster Acrylic Adhesion Promoter.  This product acts as a concrete primer and helps the SportMaster color coating system adhere to the concrete.  It also helps to lock down potential concrete powder, or efflorescence,  that may migrate into the color coating “paint” layers and leave a hazy color hue.

Concrete Primer for Sport Surface
Acrylic Adhesion Promoter being applied on concrete court surface

After the Acrylic Adhesion Promoter dries, Acrylic Resurfacer and the colored surface coatings can be applied.  There is no special timing required with Acrylic Adhesion Promoter.  The successive coatings can be applied as soon as it is dry to the touch, or on another day thereafter.

One or two coats of Acrylic Resurfacer is usually sufficient to fill broom patterns and concrete surface texture on a new concrete court surface.  Follow that with SportMaster color coatings, 2 coats minimum, and striping to complete the new concrete recreational court surfacing.

New Concrete Pickleball Surface Preparation

Shot Blasting Concrete Sport Surfaces | Tennis – Pickleball – Basketball

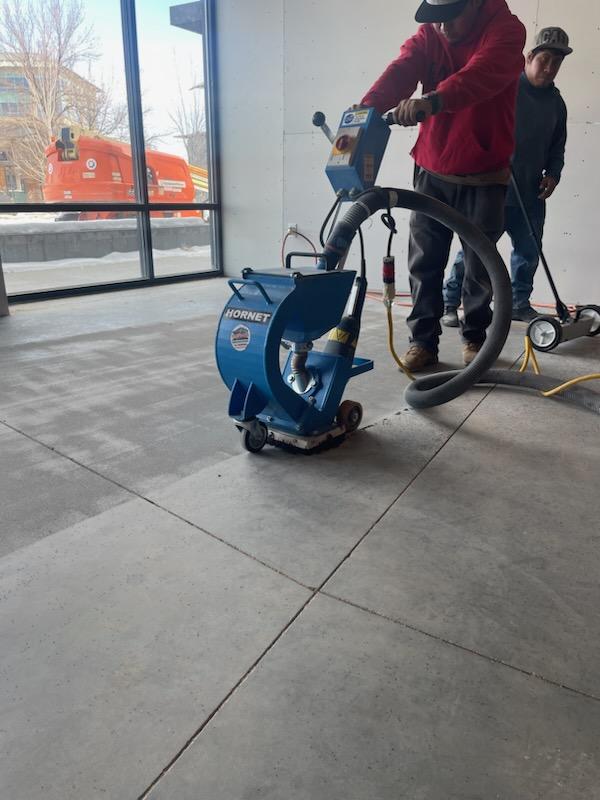
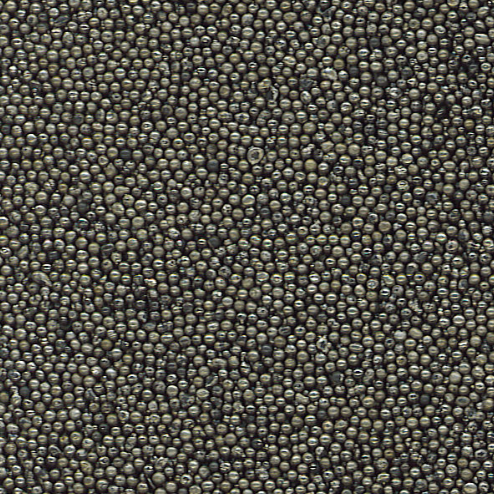
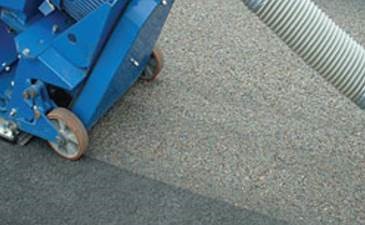
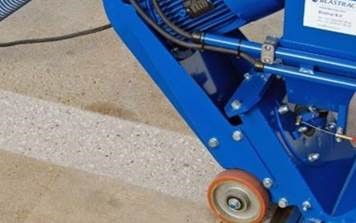
A shot blaster is a machine that is commonly used to create a texture, or profile, on concrete.  There are various sizes of “shot” that can be used in these machines.  Shot blasters propel the shot particles, or media, onto the surface and suck it back in to create texture.  Our coating systems, and many other coatings, need some texture on the surface to create a good physical bond.  We recommend concrete being finished with a medium-broom finish, as opposed to a smooth trowel finish.  Sometimes this doesn’t happen, so the best way to get a good texture profile is to shot blast the smooth surface.

Shot Blasted Area Concrete
Shot Blasted Concrete Area

This is also a good way to “open up” the concrete and remove potential curing compounds or surface residue that can cause bonding issues.

Shot Blast Profile For Tennis, Pickleball, and Basketball Court Surfaces

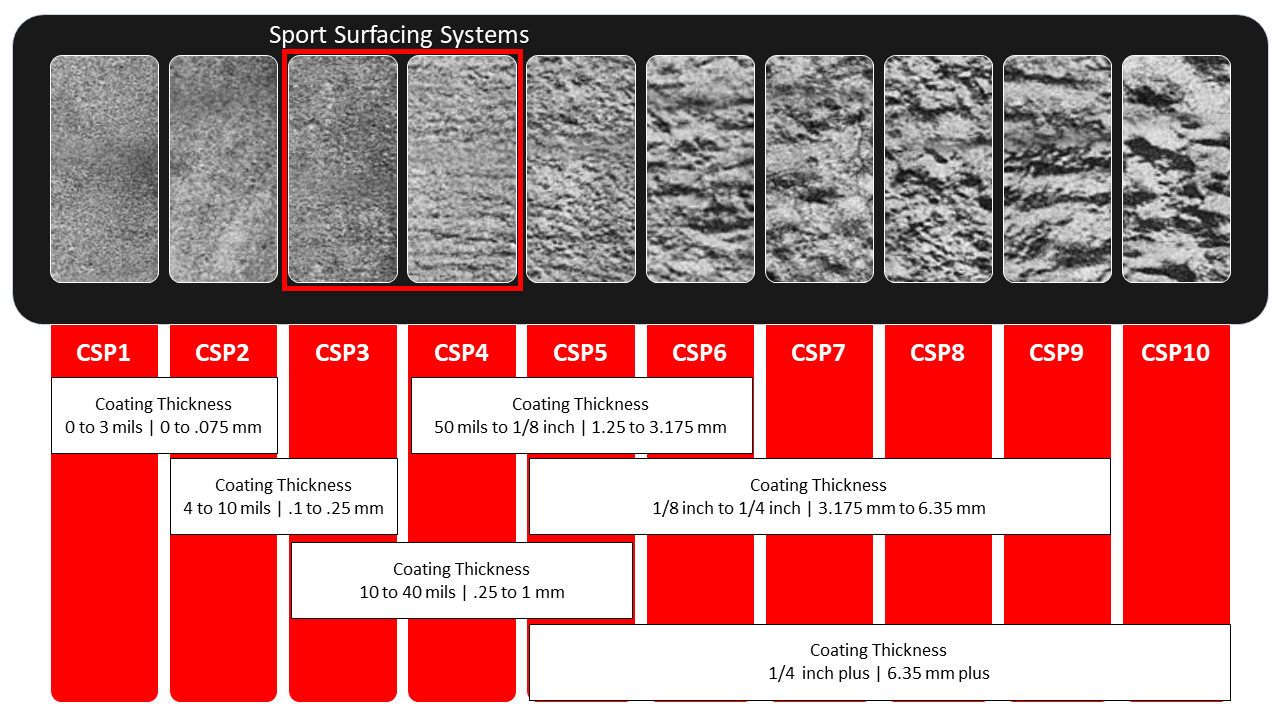
The shot blast industry has a shot blast profile chart that lists various levels of texture, created by the shot blast.  It also ties each of the texture levels to a recommended thickness of coating system.  In other words, the thicker the coating system build, the more texture needed on the surface.  Our sport coating systems, based on the average thickness and factoring in multiple resurfacings over time, work well over a shot blast profile of CSP3 or CSP4.  Don’t worry, if the shot blaster profile turns out with a little too much, Acrylic Resurfacer will fill in and hide the voids.   This may require extra coats, but better to have more than less for good physical adhesion.

Shot Blast Profiles For Sport Surfaces & Courts

Where To Find Shot Blasters For Court Surfaces

Shot blasters come in various sizes and are commonly rented at equipment rental stores.  Many times, flooring contractors that apply epoxy and polyurethane (industrial coatings) own these machines.  It may be best to hire and/or subcontract this work to contractors with experience to get past the learning curve.  They usually have larger ride-on models that get it done quickly, too.

Applying Sport Coatings on Concrete Surfaces | Specifications

To see the SportMaster engineering specification, which includes the basic steps of the process,  click on the link below.  This will open a .pdf version of the document.

Applying Sport Surfaces On Concrete

Visit our full page for more information on proper preparation of concrete sport surfaces.

Acid Etching Concrete Sport Surfaces

Sport and game courts are as popular as ever, especially with the extreme growth of sports like pickleball and continued popularity of basketball, tennis and multi-sport games and courts.

SportMaster has a multitude of durable and vibrant acrylic surfacing systems that are designed for asphalt or concrete courts.   Each substrate has a somewhat different approach to preparation, prior to application of the sport surfaces.  We are going to discuss a common step that is required when coating concrete courts for the first time.  This process is called acid etching or acid washing.

What Is Acid Etching? | Concrete Court Surfacing

Acid etching is the process of pouring a mixture of water and acid on a fully cured concrete slab.  Generally, either muriatic or phosphoric acid is used, but muriatic is a bit easier to find.  In a nutshell, acid etching promotes an ideal environment for chemical bond of coatings to concrete.  If done properly, acid etching only has to be performed once.  If a concrete slab has not been acid etched or coated, even years after it was built, it’s always a good idea to do it.

What is acid etching?

Why do I Need To Acid Etch My Concrete Court Surface?

Concrete goes through a chemical curing process after it is poured. It takes 28 days for a concrete slab to completely cure. There is a good bit of water in the concrete mix and as the concrete is curing, water is continuously wicking and evaporating upward and out of the slab.  As the water is migrating upward, it brings efflorescence, or salts, that reside in the concrete.  After the initial curing phase is complete, there is a crust of efflorescence on the surface of the concrete.

Lesson In PH & Surface Chemistry

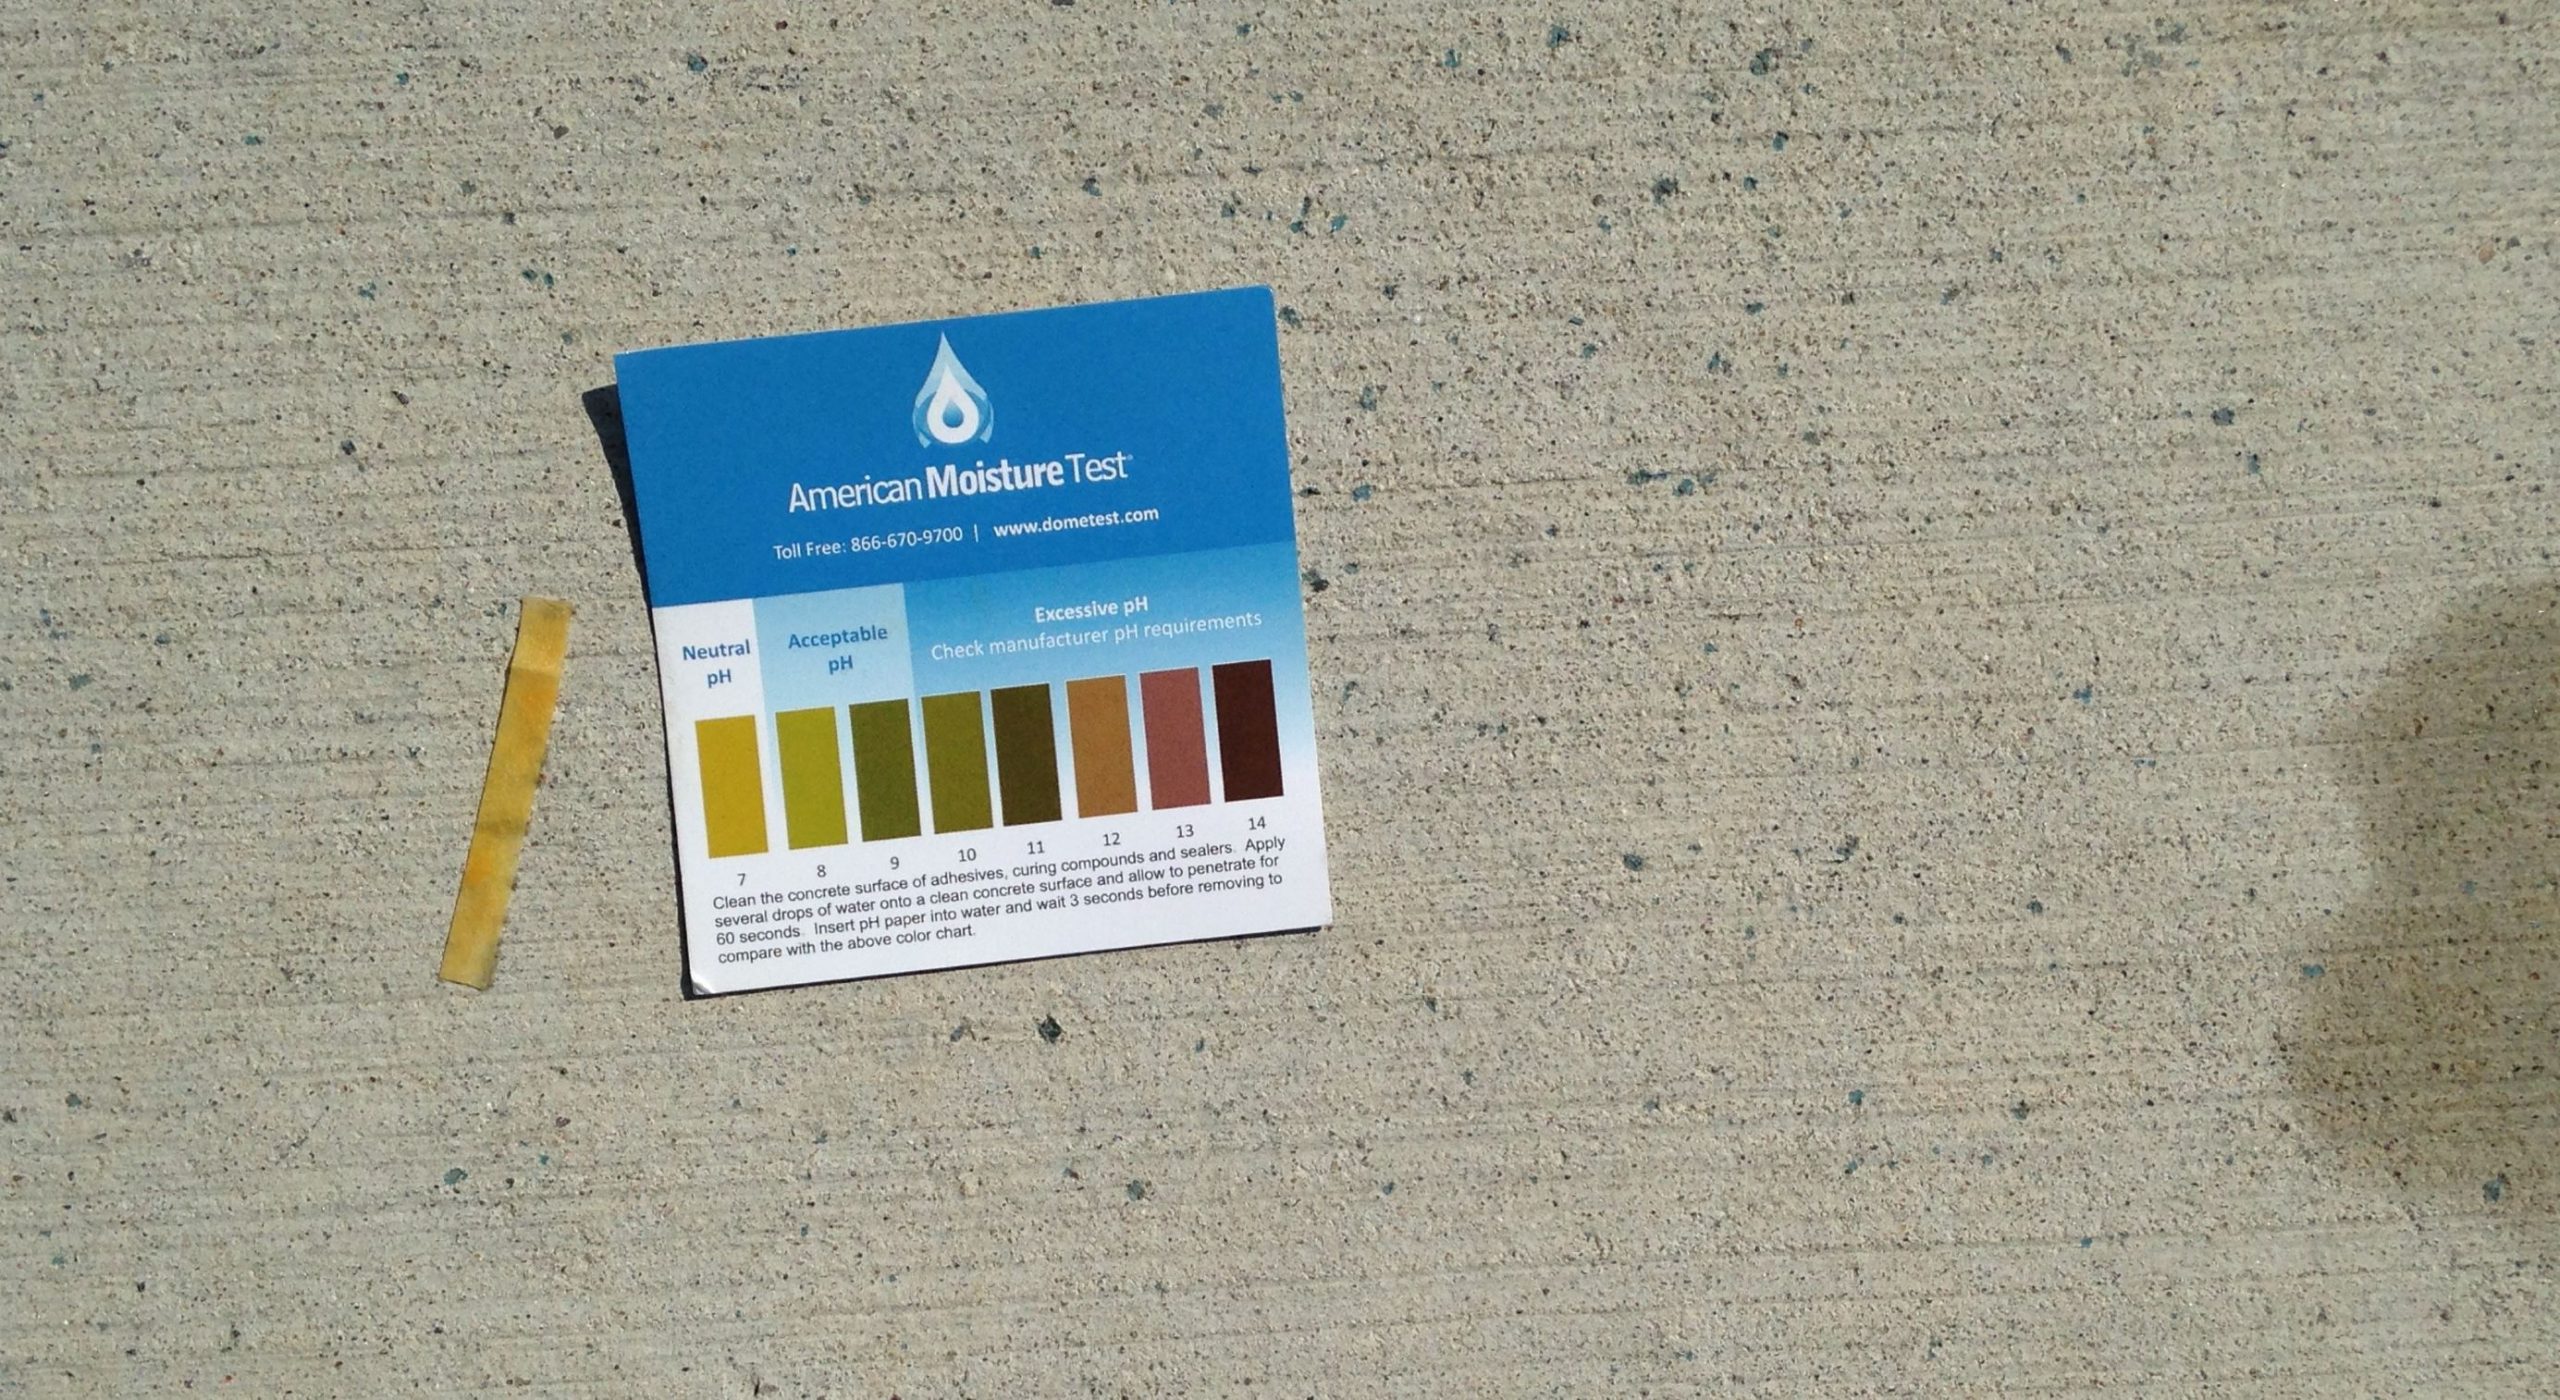
PH, or “potential of hydrogen” is the scale of acid vs base.  The PH scale goes from 0 to 14, whereas 0 is very acidic and 14 is very basic (alkaline).  For ideal chemical adhesion, coatings prefer a neutral environment.  This would be 7 on the PH scale.  When concrete cures, the surface crust or salt deposits, are very high in alkaline (a PH around 13.5).  The process of acid etching neutralizes the high alkaline crust and brings the surface PH back to neutral.  The acid washing process also helps to break down and rinse away the powdery efflorescence.  This also prevents flaking or peeling of coatings & migration of powder into the color coatings resulting in a cloudy appearance.

Concrete Sport Surface PH

How To Acid Etch A Court | Pickleball – Basketball – Tennis

In this section, we will outline how to acid etch a concrete court surface.  But first, here are a few pointers:

  • Make sure to acquire and wear adequate safety gear, when working with acid.  Thick rubber gloves, safety glasses, and relevant clothing and boots.  Avoid breathing in the direct fumes of concentrated acid and ensure that you have plenty of air flow when inside.
  • As a general guideline, it should take around 2 to 3 gallons of acid to etch a smaller court, like a 30′ x 60′ pickleball court & around 8 to 9 gallons for a full tennis court (60′ x 120′).
  • Protect any sensitive plants or surrounding materials around the border of the court.  Even though you will be rinsing off acid that is very diluted and has already reacted with the surface, it’s a good idea to minimize contact as much as possible.

Step 1:  Spray water on the court to dampen the surface.  This helps the mixed acid and water to flow and better penetrate the surface.

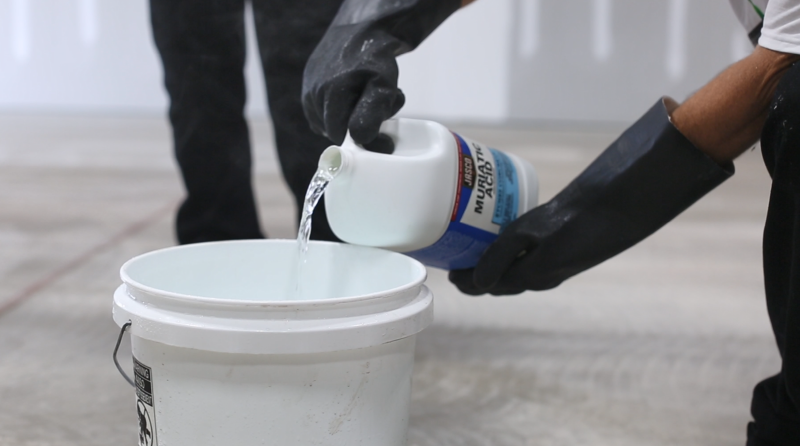
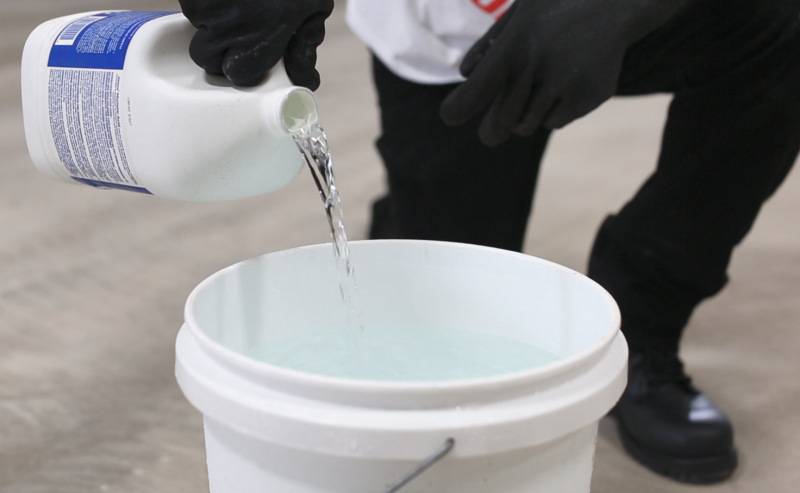
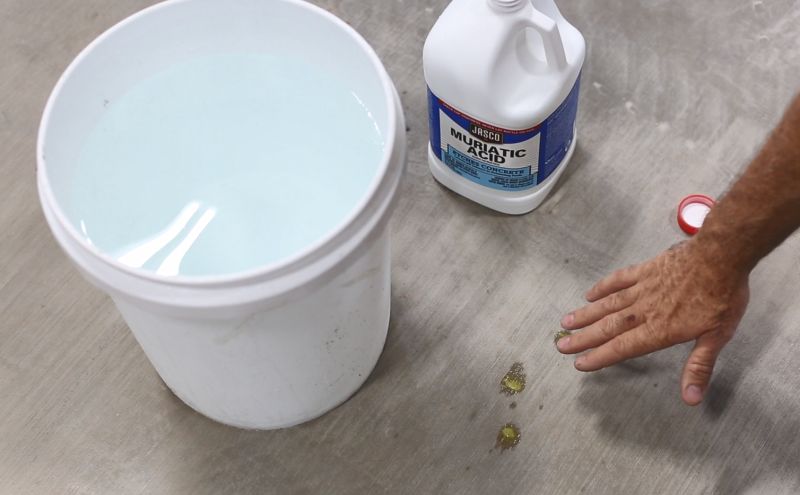
Step 2:  Properly mix the acid and water, following the dilution measurements on the acid bottle.  There should be directions for “masonry etching” on the bottle instructions.  Remember to fill the empty bucket with water first and then pour the correct amount of acid into the water.  This helps to prevent splashing of acid.

Pouring Acid Into Water

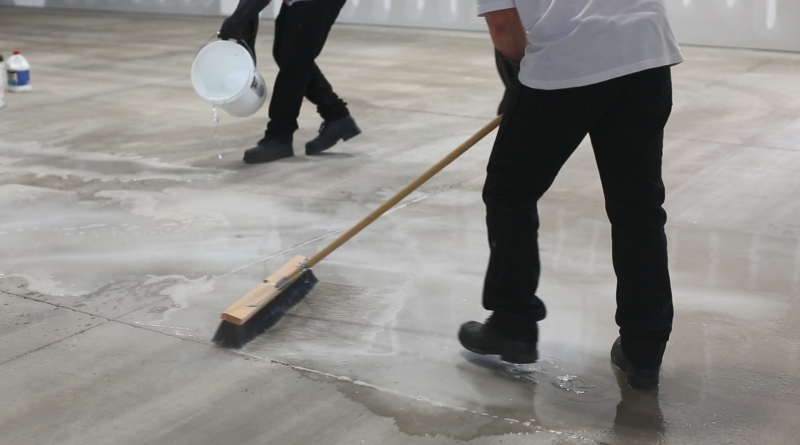
Step 3:  Pour the acid & water mixture onto the concrete, working in small areas or sections at a time.  If you’re able to have a helper, have the 2nd person immediately broom the solution around with a push broom to make sure the acid comes into contact with every square foot of concrete.  Make sure that you don’t pour the acid mixture and expect it to span a long distance.  Instead, pour around a small zone in a tight “s” pattern to ensure direct contact with the surface.  Since the acid mixture reacts instantly with concrete, the potency diminishes as it spreads.

Pouring and Brooming Acid Concrete

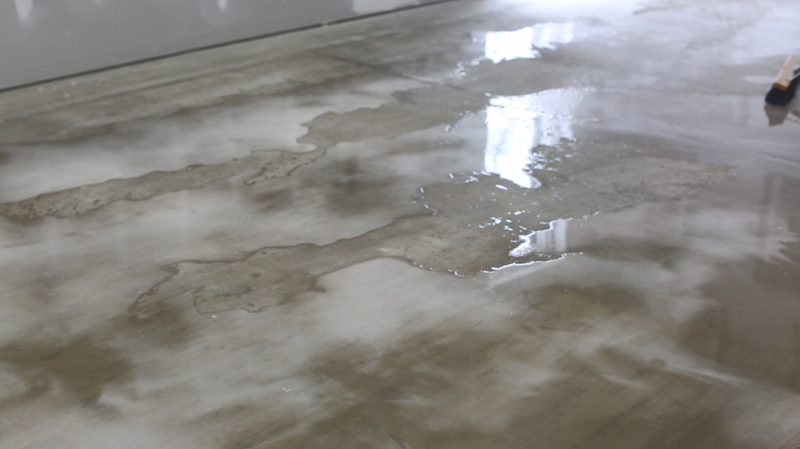
You will notice a cloudy appearance in the liquid and minor bubbling reaction, which means the acid is working to neutralize the surface salts.

Acid Neutralizing Concrete


Step 4:  As you move on from section to section, you will notice the reaction dissipates in the previously treated area.  At that point, you can rinse those areas off to flush surface contaminants and  move the neutralized acid solution off the court surface.  If possible, it’s best to start on the high end of the court and slowly move all of the water toward the low end of drainage.  If possible, try to keep the entire court damp throughout the process, which keeps the sediment from sticking to the surface.

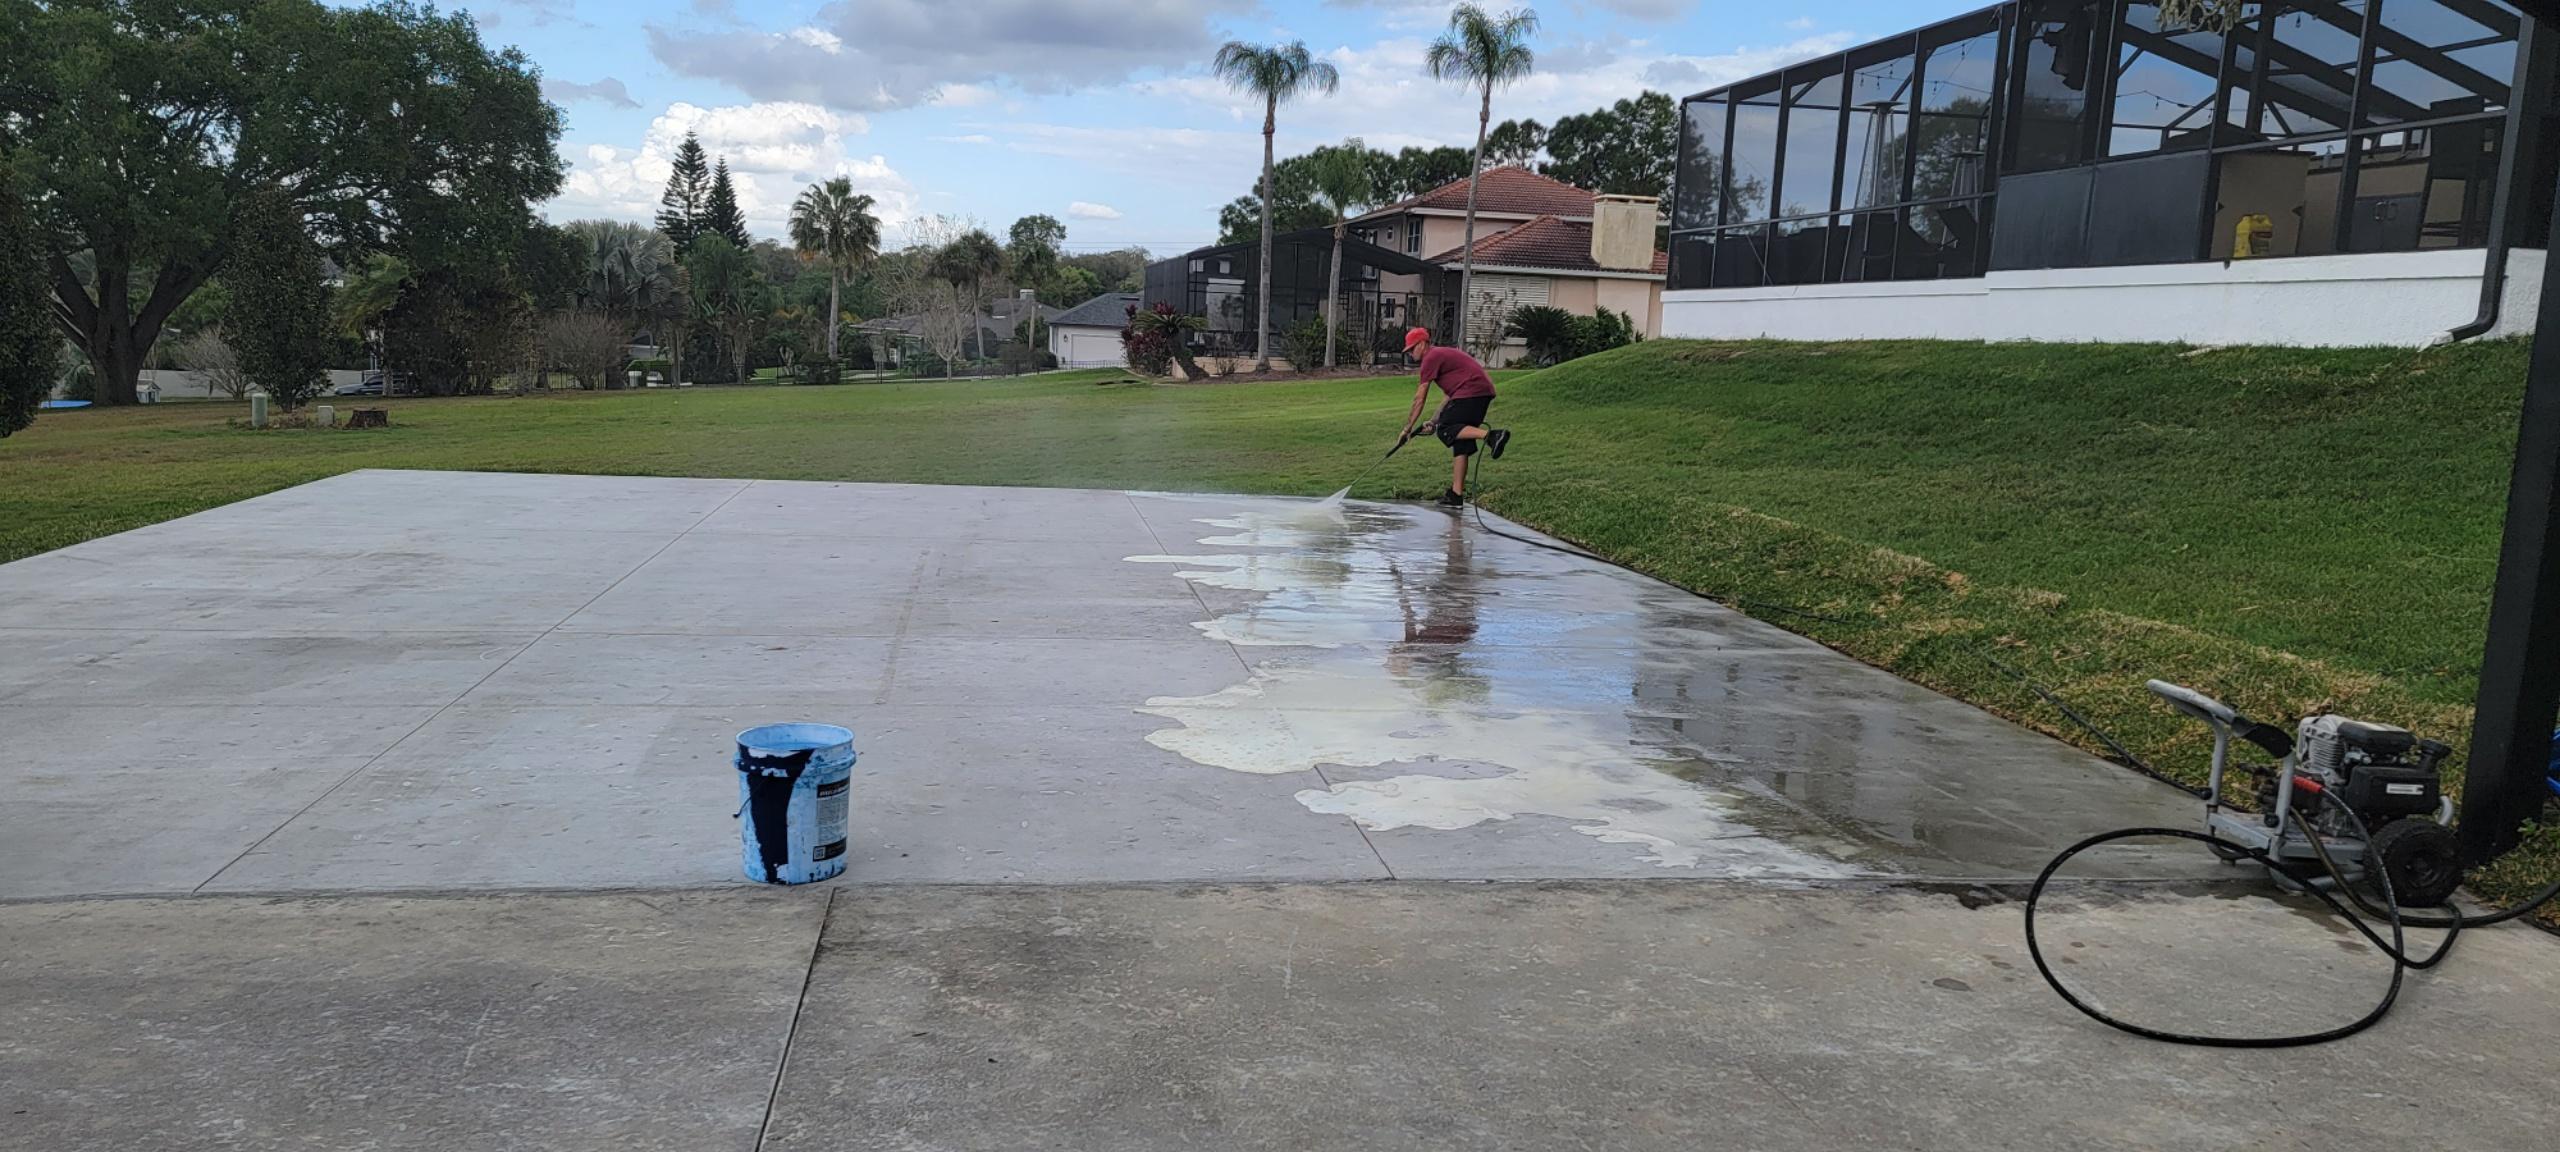
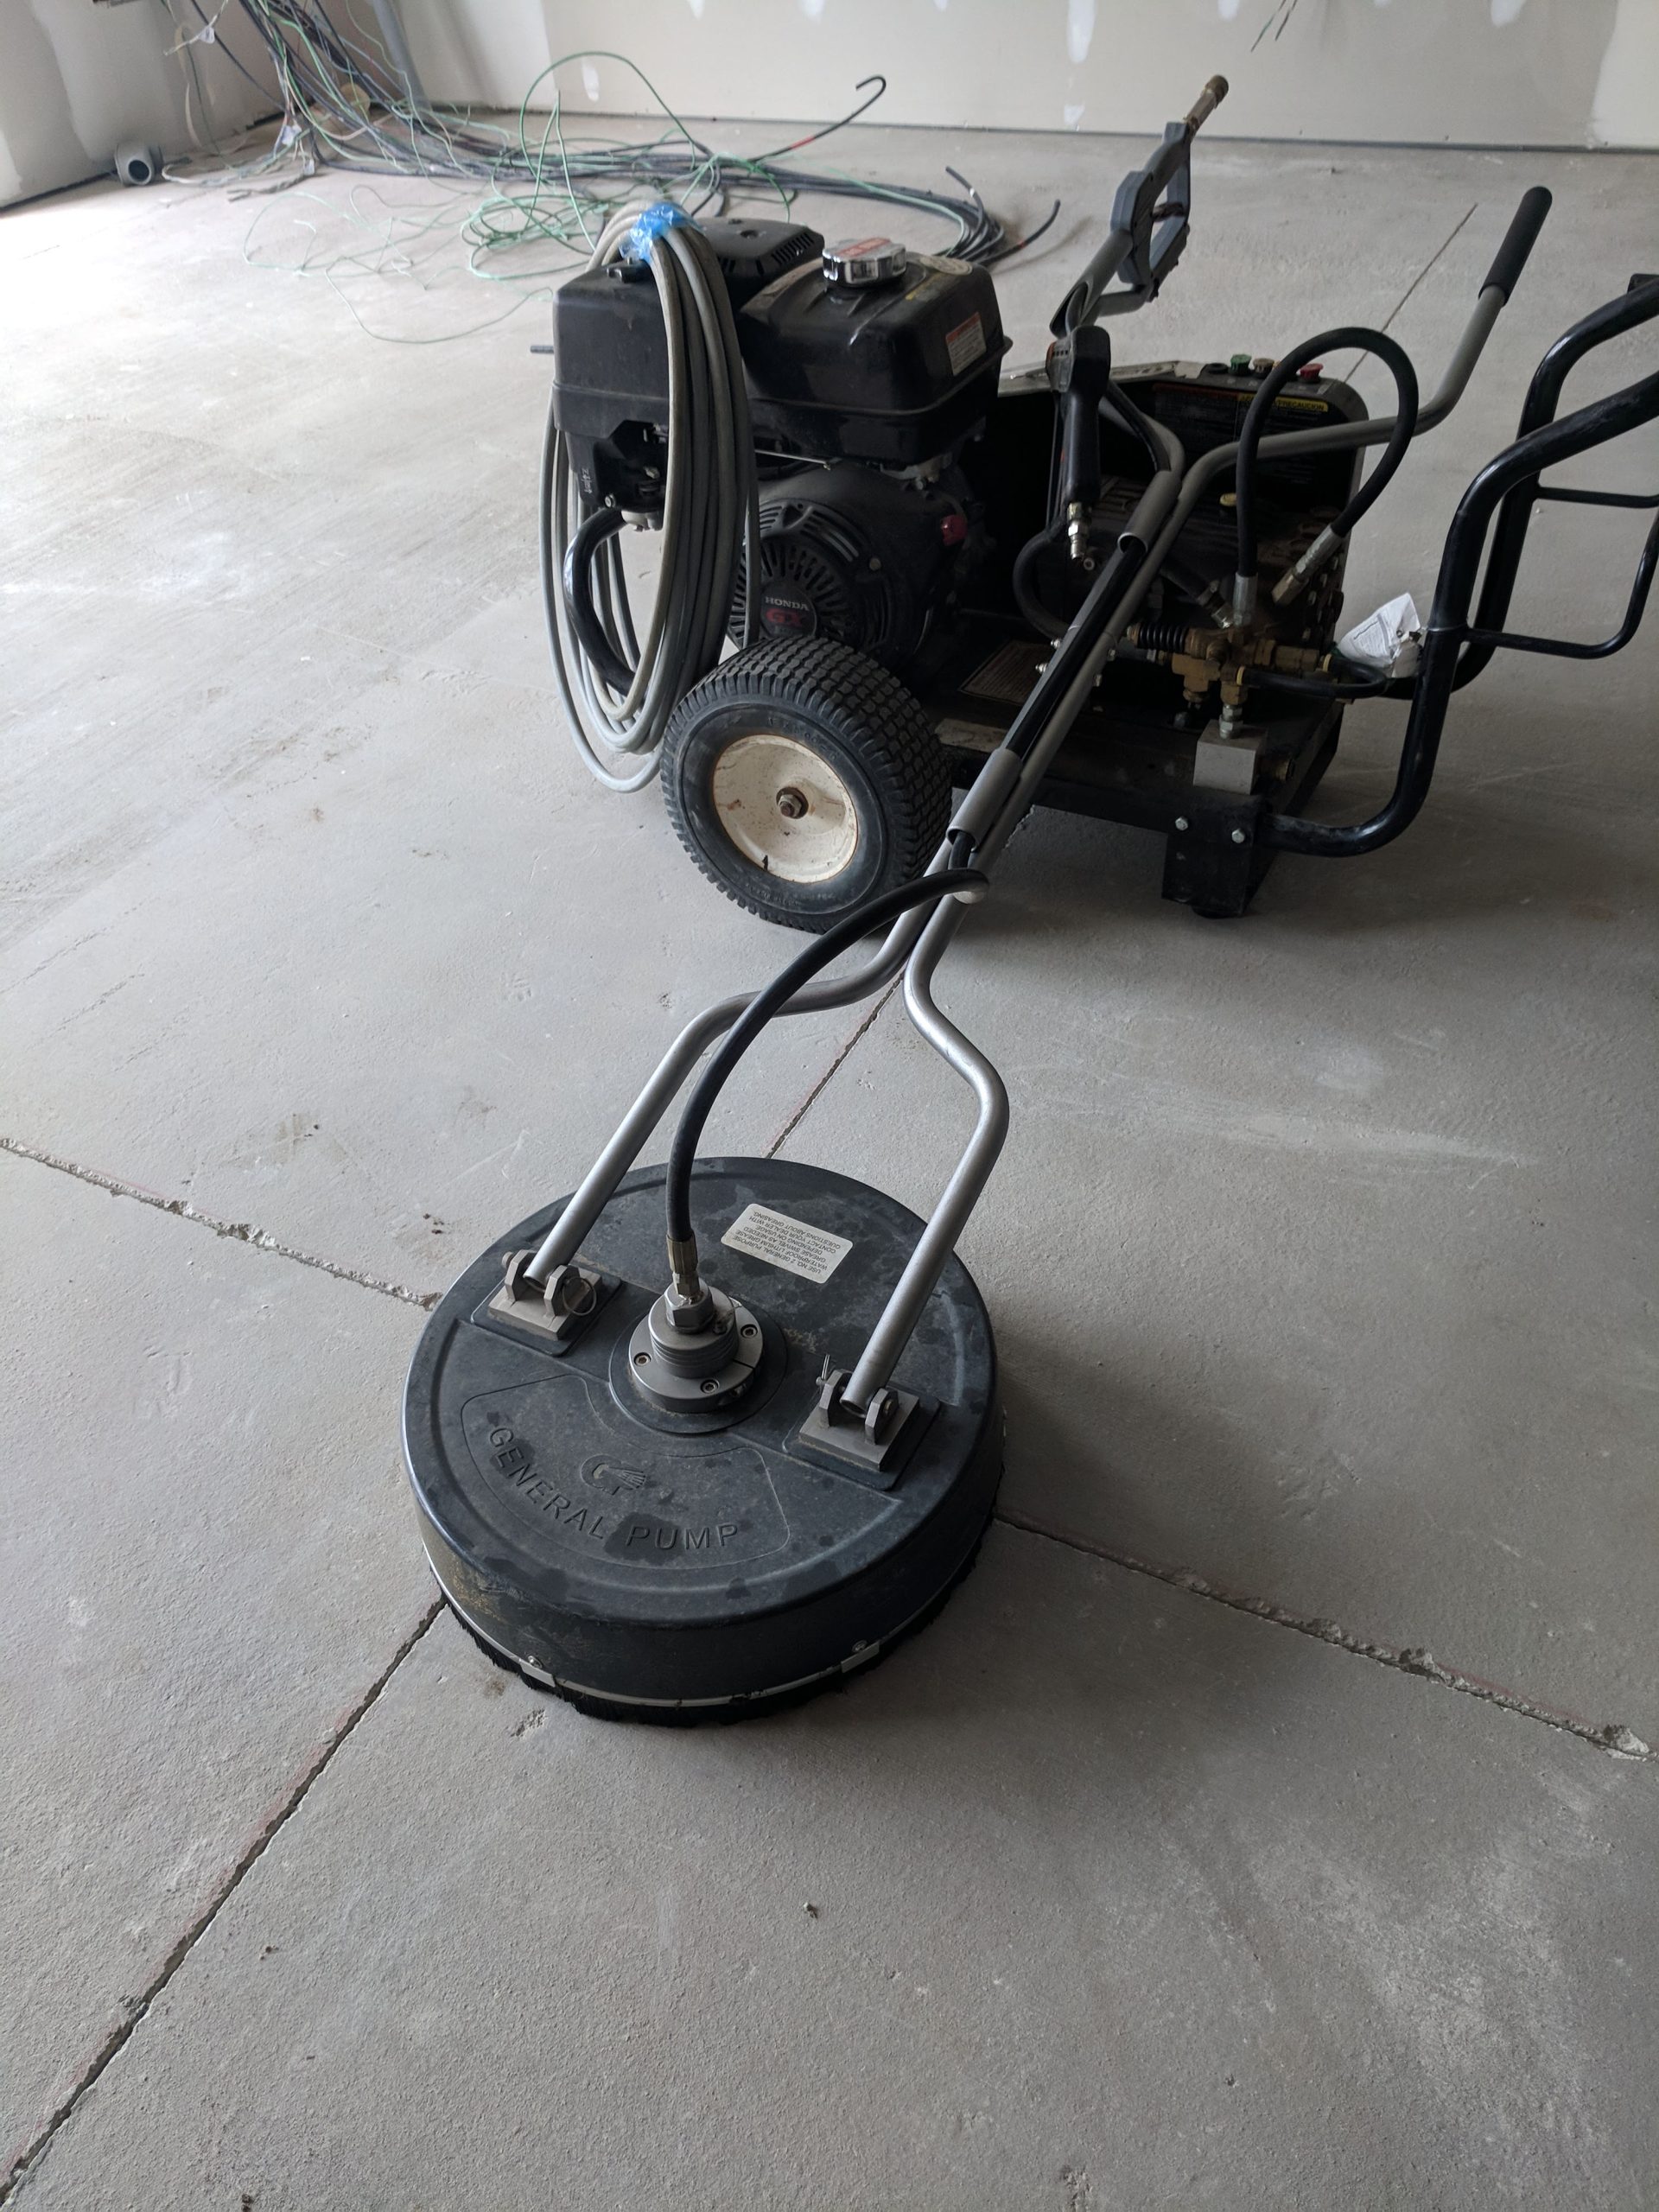
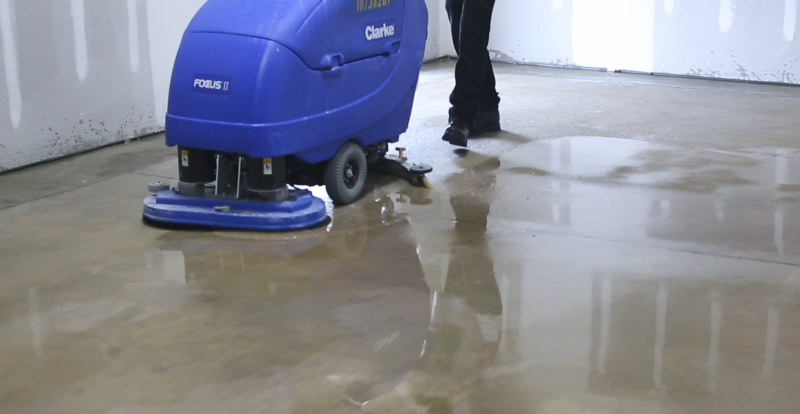
Step 5:  After you have etched the entire court surface, and rinsed away most of the remaining acid mixture and sediment, it’s always good to do a final rinse of the entire surface.  This ensures a completely clean surface, free to any potential acid or other contaminants.  If you’re indoor and don’t have available drains, a floor cleaner machine can be used for a good final cleaning.

Rinse Surface Clean Water

*Remember to protect and avoid adjacent concrete areas that are not receiving the sport coatings, as the acid can create a different color or appearance to exposed concrete.  This is hidden when coatings are applied over the acid etched play areas.

Acid Directly On Concrete

Common Misconception About Acid Etching

Many people think that acid etching creates a physically textured surface for the coating to adhere.  This is not the case, as the actual purpose was established earlier in this bulletin.  It is still very important for the concrete surface to have a medium-broom finish or similar.  That is very important for physical adhesion of coating systems.  Remember, the two most importance factors for good adhesion of sport coatings is:

  • A good surface texture/profile for physical adhesion
  • Neutral surface PH for excellent chemical adhesion